


Ball Tracker
June, 2017
The kids have a little car ramp racer or whatever you call it that is fast but I think pretty neat.
Missing little car tracker picture.
Apparently they never use it though, Elizabeth thinks it is too small and fast for them to really track the cars. So of course I proclaimed I would make one (because that is really what I need to do, start another project that no-one asked for). I didn't really know what I would do, just that I wanted it to be big and slow. I was originally thinking a quick slap together wood project for ping-pong balls but as I walked around the lumber store I didn't really like how the dimensions of any of the cheaper boards worked out and decided nope, not going to do it that way. I had some extra 1-1/4" angle that I overbought for the bin shelving units that would work better than any of the wood options were shaping up. A little excessive structurally but I like metal and it is already paid for.
So still no real plan except angle iron. First I was thinking a modular series of angle ramps that could be strung together on the fence to either make a zigzag or a long ramp but then settled with Elizabeth on making an indoor ramp. I looked around the house and settled on putting it in the hallway and just mounting it directly to the wall. A couple of screw holes is no trouble to patch at all when we move or the kids are done with it. To make sure there isn't any more damage to the walls though I wanted to make sure I made something that would hit the studs instead of relying on the drywall to inevitably support the kids weight when they decided to climb on it.
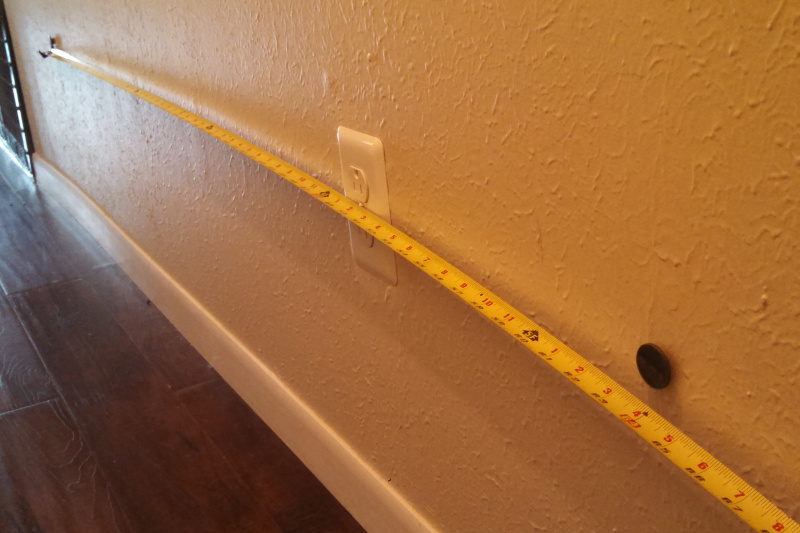
I have determined with other projects that the majority of the house is laid out with 16" on center stud spacing but you never know what is behind a wall until you check. There is almost always a stud right next to an electrical outlet or switch so I tapped the wall around one to find which side it was on (rapping the wall and listening is faster and more reliable than stud finders in my experience). I measured out a multiple of 16" that seemed reasonable for my contraption and checked there, it sounded right so I was good. I wanted a more accurate measurement than tapping the wall though so I found a drywall nail in each stud with a magnet and then measured between the magnets (you can also use the magnets to find studs if you aren't confident with your sounding).
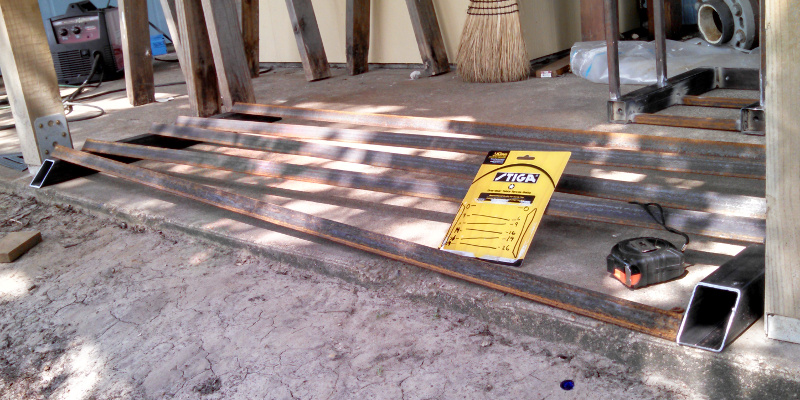
Armed with a stud measurement and a half assed plan I dragged out my steel. While perusing my stockpile I came across the leftover 2"x2"x14gauge tube from the shoe benches and decided that it would make a great end for the angle iron ramps.

I cut up 5 ramps and two end caps then laid it out on the ground to figure out exactly how things would go. I knew that I wanted each ramp to go inside one tube and dump into the other tube but I didn't know exactly what the angles would be or where I wanted to cut the tubes out. I decided a 2" drop per 64" ramp was the right slope and a fall of 3" between ramps would look right.
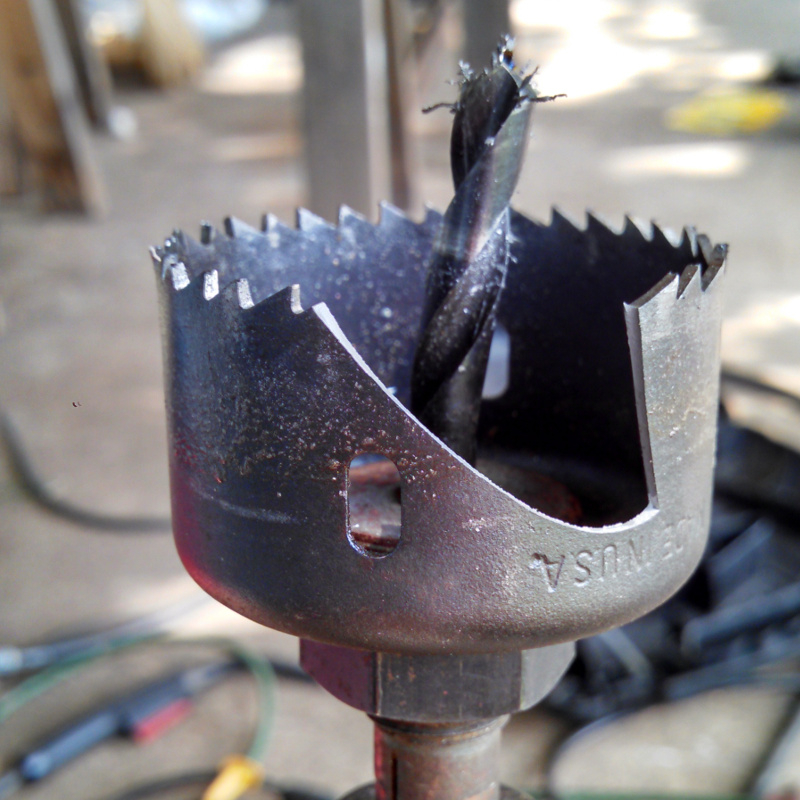
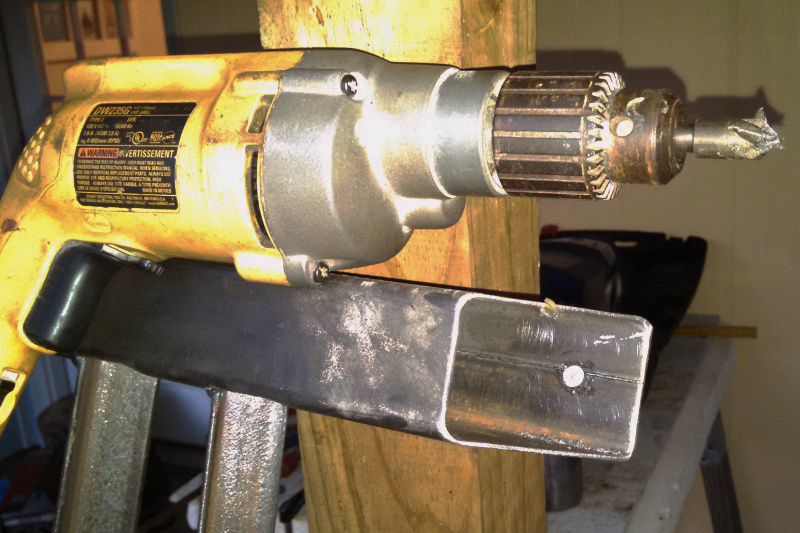
I wanted an arched cutout for the balls to enter/exit and decided the best way to make a nice arch was to use the hole saw to cut out the top of the door. I marked everything up, center punched the arches and got at it with the hole saw.

There was a casualty though, I snapped one pilot drill early on and then when I had just two more holes left I dropped the saw down onto the stock a little too hard when the pilot drill broke through. That bent up a second pilot drill and more importantly cracked a piece off my hole saw. Not too happy about that but luckily enough of the saw was left that I was able to complete the remaining holes by being really careful.
After I finished the hole cutting I broke out the plasma torch and cut the straight lines. I didn't use the torch for the arches because I don't have a circle guide yet and at the speed this 14gauge cuts with my torch I am horrible freehanded. Straight edges though are relatively easy just using the speed square to guide the torch.
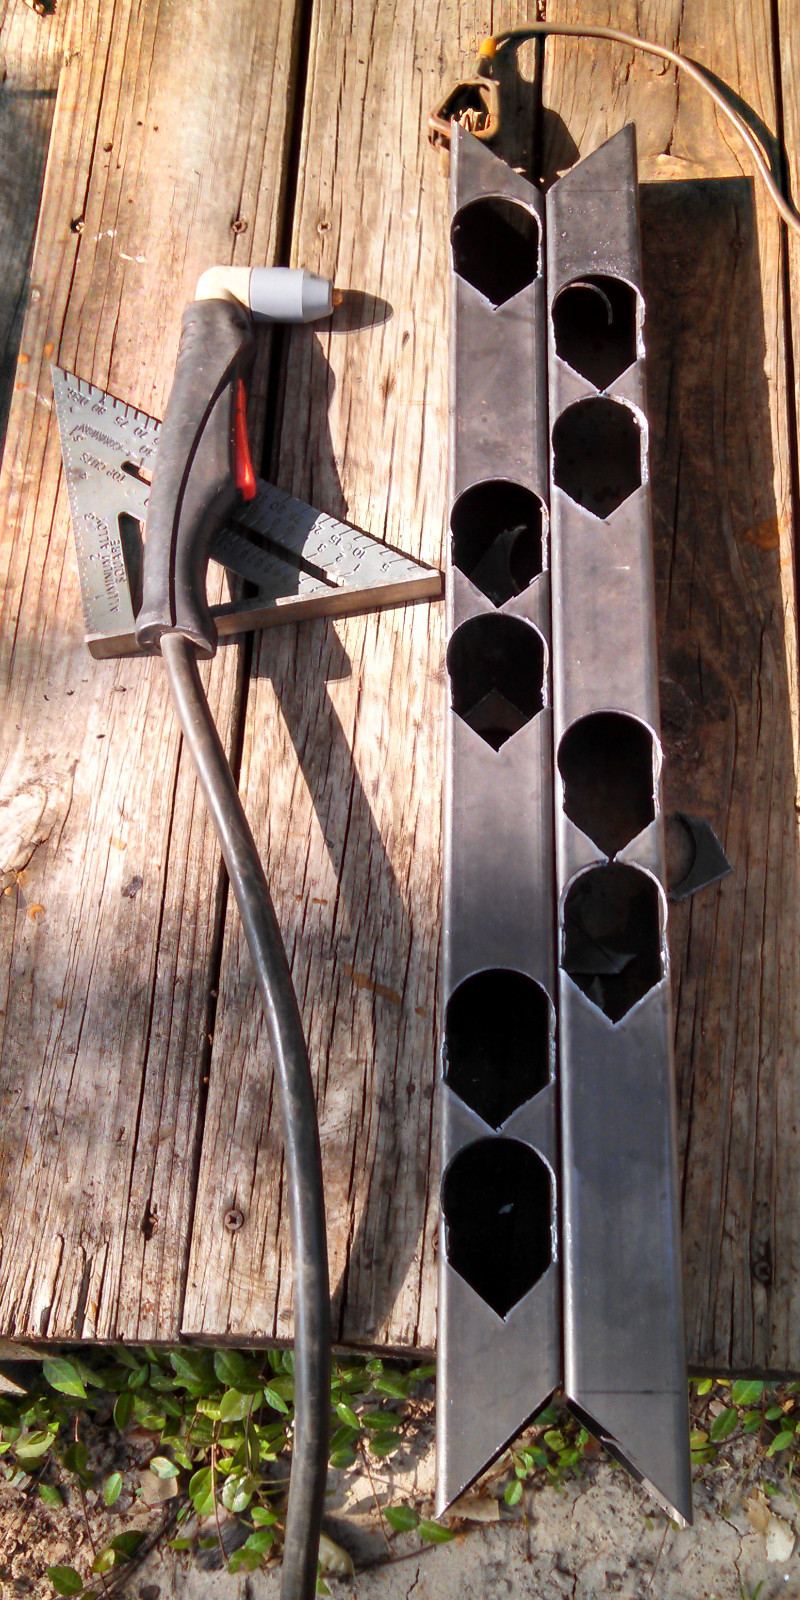
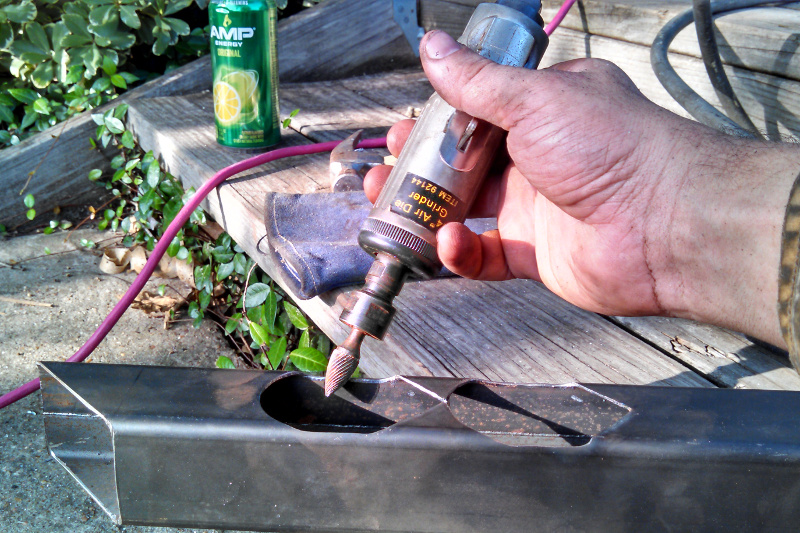
Despite using a guide my edges still weren't perfect with the plasma and there was also a little slag on the back side. There will be many little hands going into each hole I am sure so I broke out the die grinder with a carbide burr and smoothed everything up.
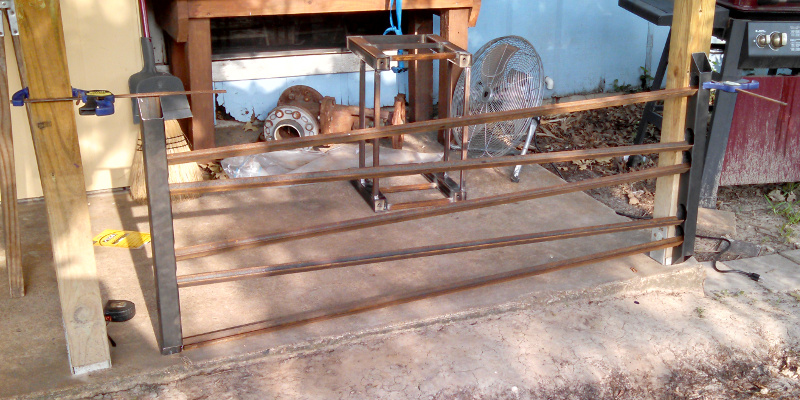
So all the parts are ready to weld up now. I test fit everything to see how it looked then wire wheeled and flap disked all the parts before I welded the whole assembly up.
I was running into nighttime by this point but had one more pit of fabrication to do. I drilled the mounting holes and countersunk them so the mounting screws would sit flush later. Then I gave everything a good scrub with acetone and sprayed the ends gloss black.
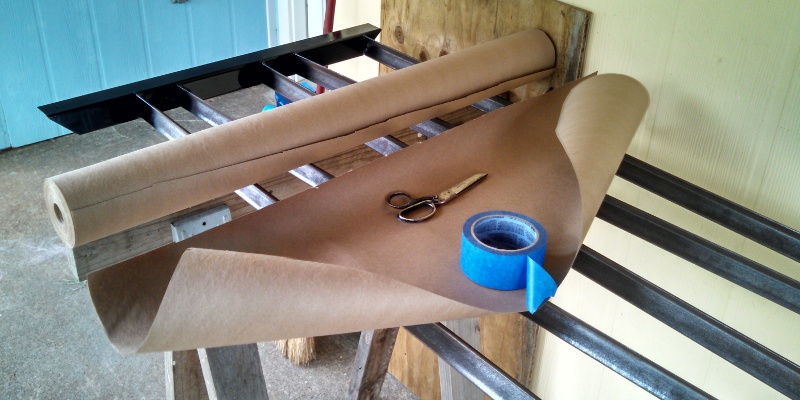
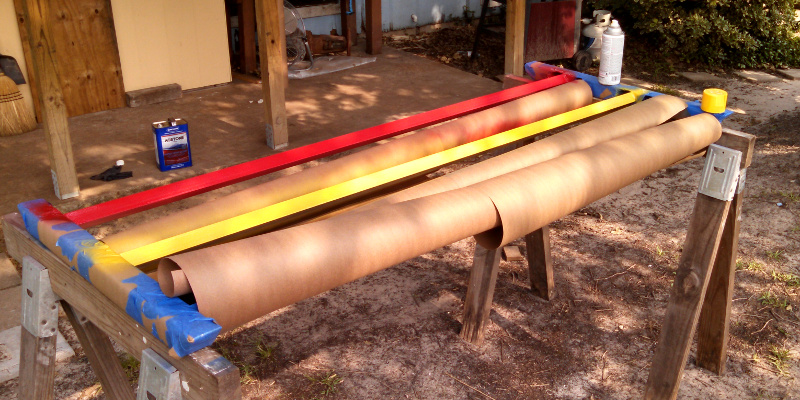
Next day I got out the craft paper and masking tape to cover up the now black tube ends. If you don't keep rolls of paper on hand you really should, they are cheap and useful to have.
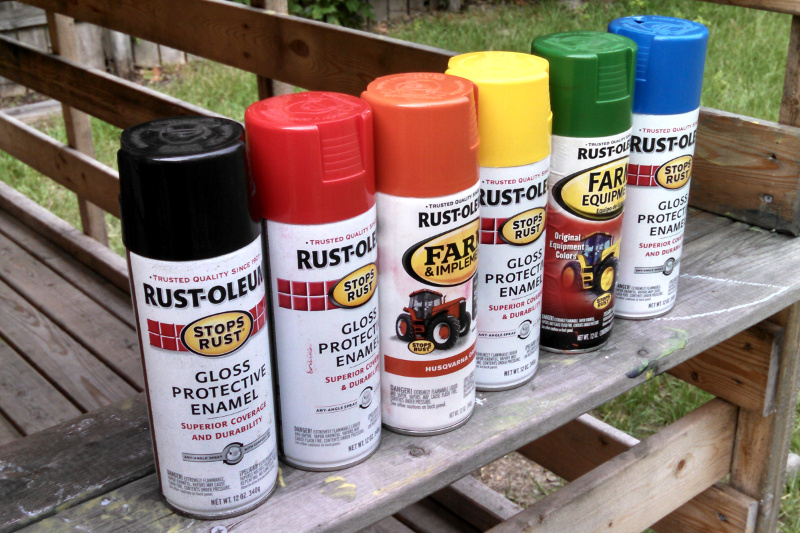
Obviously I decided that the ends would be black but the rest of it must not be if they needed masking right? I decided to make things colorful and go with a rainbow for the ramps. Perfect primary and secondary colors aren't really available in oil based enamel spray cans so I got a selection that was as good as possible and left out purple on the bottom (one reason I decided to go with 5 ramps instead of 6).
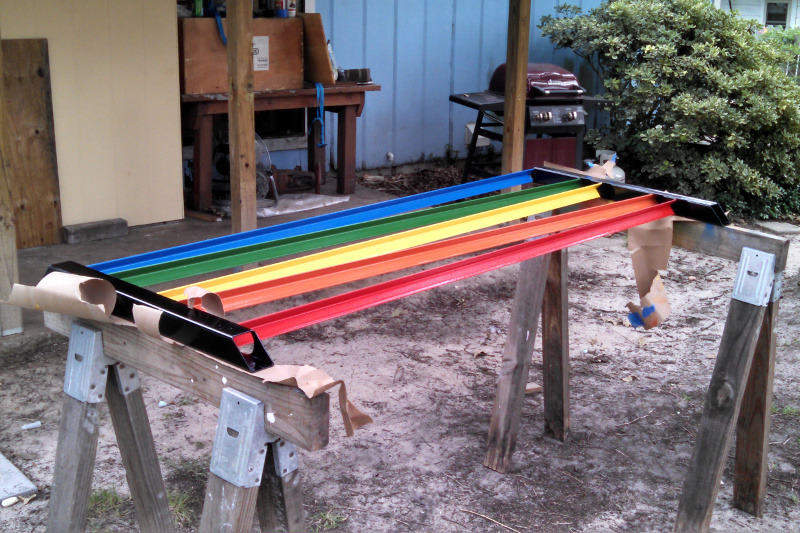
Once I finished with the masking I threw the weldment up on sawhorses and got to painting. I painted alternating ramps and used some rolled up bits of paper to shield adjacent ramps while I painted.
Before the paint on the ramps was dry I tore off all the masking tape and paper to make sure the drying paint didn't stick any of it to the weldment. Then I let things hang out and dry.
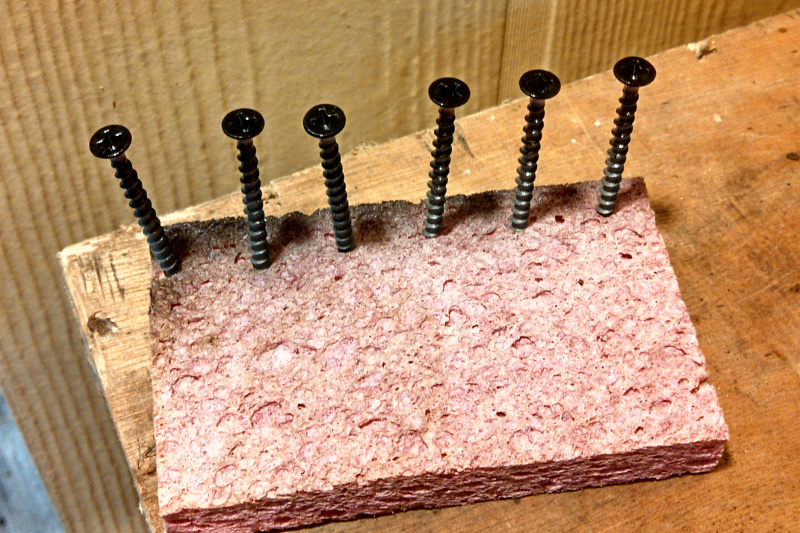
While the ball tracker was drying I got out a few of the screws I intended to mount it with and spray painted their heads black as well so they would blend in.
After the kids went to sleep I hung the ball tracker up. One thing that was important when I did this was making sure the electrical outlet wasn't covered up. It was simple enough, I just played with the vertical position until I was happy with it. I used the magnets again to check stud position before I sunk my first screw.
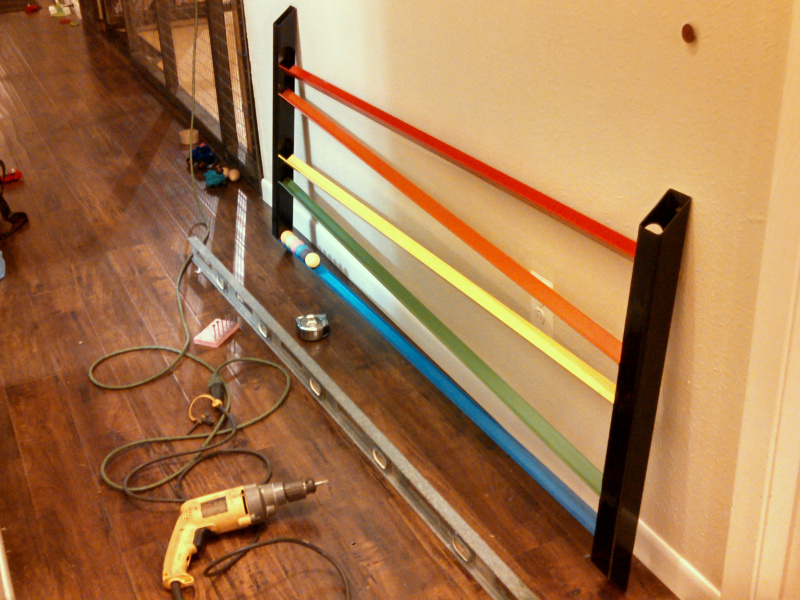
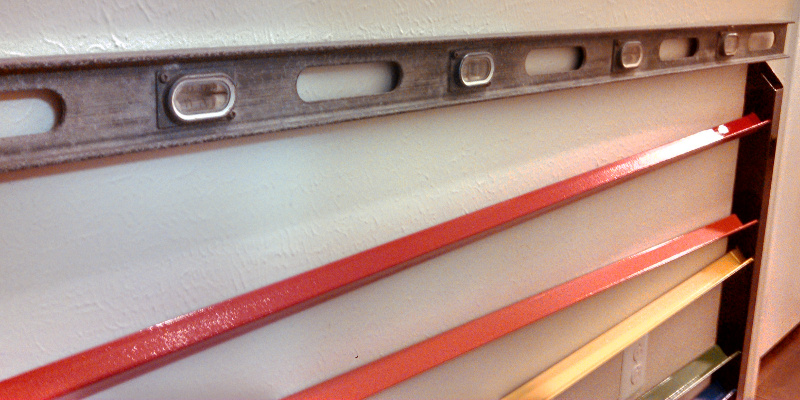
After I got the first on in I slapped my 6ft level on to make sure it was in the right place before I put one in on the other side and tightened everything up.
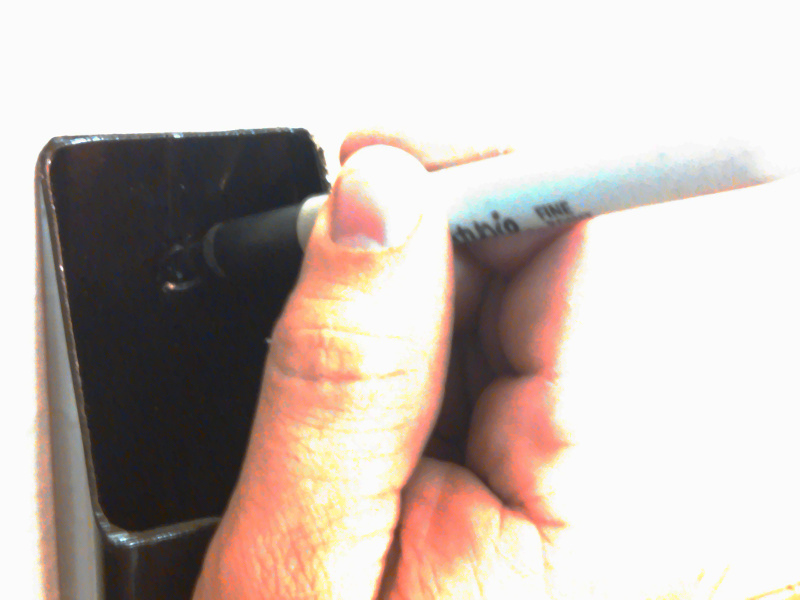
Now driving screws in always messes up the paint so for black the easy fix is to break out the sharpie and give it a dab, works a treat.
Now it still isn't finished. I played it a little too slow with the ramps. They are a perfect speed and a golf ball rolls all the way down every time but occasionally ping balls and especially the practice whiffle golf balls get stuck when they drop down. I'll have to go back and add something that kicks the balls out when they fall instead of letting them just drop. For now that is probably a feature as far as the kids are concerned, they don't let the balls go down all the way. They like to grab them before they finish or help them roll along faster.
I'll take a finished picture when I get around to fixing that.