


Re-converting the garage room
December 2012 - 2014ish
I wish I had more pictures of the house as I bought it. Whoever did all the work on it was horrible. The one car built in garage which was original to the house when first built is a great example of this. At some point in this garage got "converted" to a 3rd bedroom. Tax records show that permits were pulled and therefore things would have been inspected but it was a disaster and I don't see how it made it past any step of inspections. Just goes to show you how much that system is worth. It doesn't protect any consumers, just makes getting work done a pain in the ass.
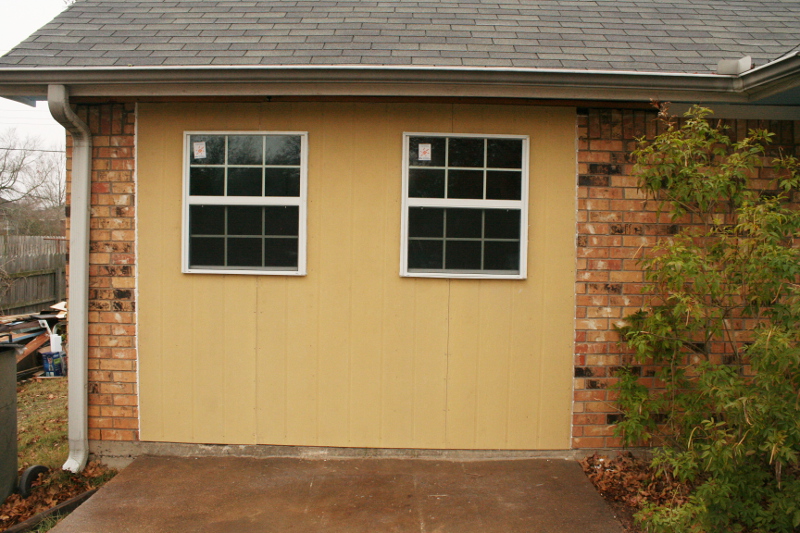
Here is one picture of what the room was like before I touched it.
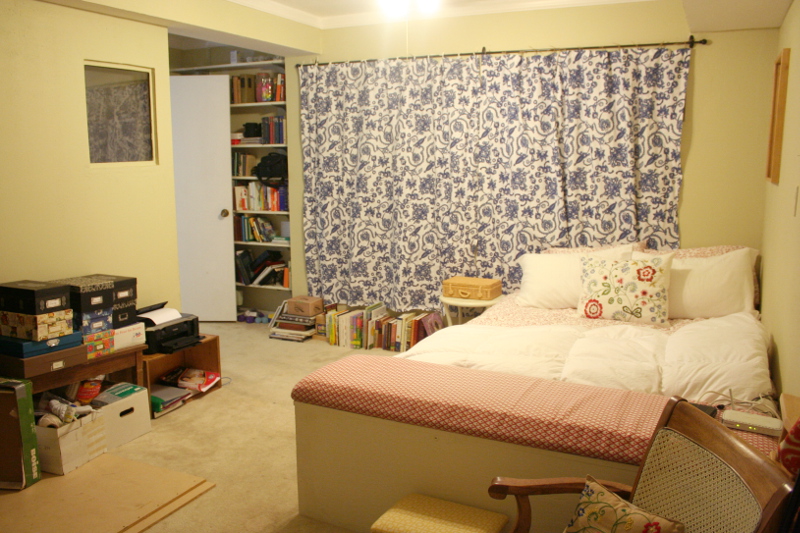
This was dressed up as nice as possible to try and show off our house since we had just purchased it but you can still some of what is wrong with this room. First of all there is the window on the closet in the left of the picture. It seems the closet was some kind of half-ass sound recording room. The "window" was two pieces of glass with an air gap between and the interior of the closet was covered with seemingly random pieces of foam glued to the walls and door.
This was weird (we called it the scary closet) but the really big issue with the room was the original garage door. Whenever this room got enclosed they left the garage door as the exterior wall. The boxes in the top of the frame on each side are drywall put in to cover up the garage door rails. Why someone would go through that much work instead of just taking a couple of hours to remove the rails and patch the screw holes I have no idea. But then again, why would anyone use the door as an exterior wall? Behind the curtain was a real beauty. The garage door was a wooden panel affair with a row of windows in the top panel. To create "windows" when they drywalled over the door they included two glass panes (not windows, literally glass panes) incorporated directly into the drywall. These kind of matched up with the existing door windows. Because these weren't window though and the space between them and the garage door wasn't sealed up it trapped all kinds of roaches and other dead bugs. Then when the door rotted out (because the original builder got the concrete grade wrong under the door which trapped water) someone nailed some bad siding boards over the rotten door. They didn't leave any windows or anything and in fact hit the door windows with the nails. So now there were glass panels on the inside staring at the back of OSB siding and a cavity full of broken glass and dead bugs.
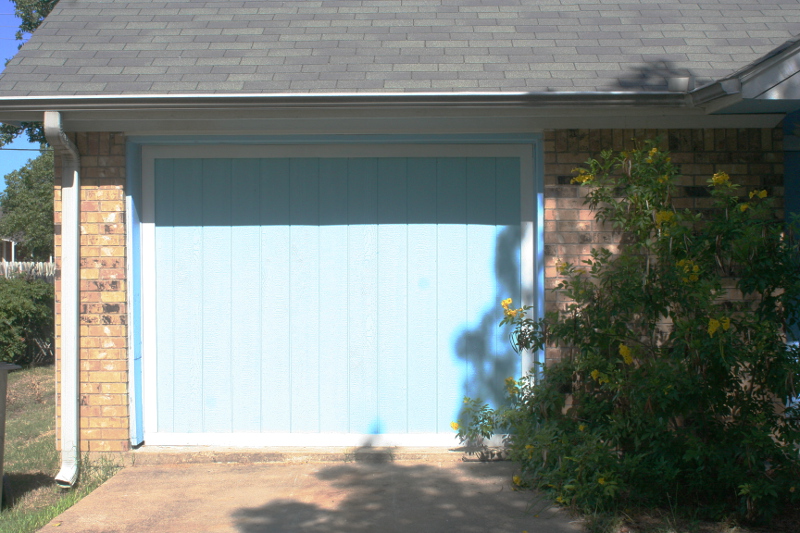
There is the siding that was nailed over the door. Even worse than covering up the windows and breaking the glass they didn't fix the concrete grade issue when they put this siding up so water still landed on the ledge and ran back into the wall where it kept rotting things away.
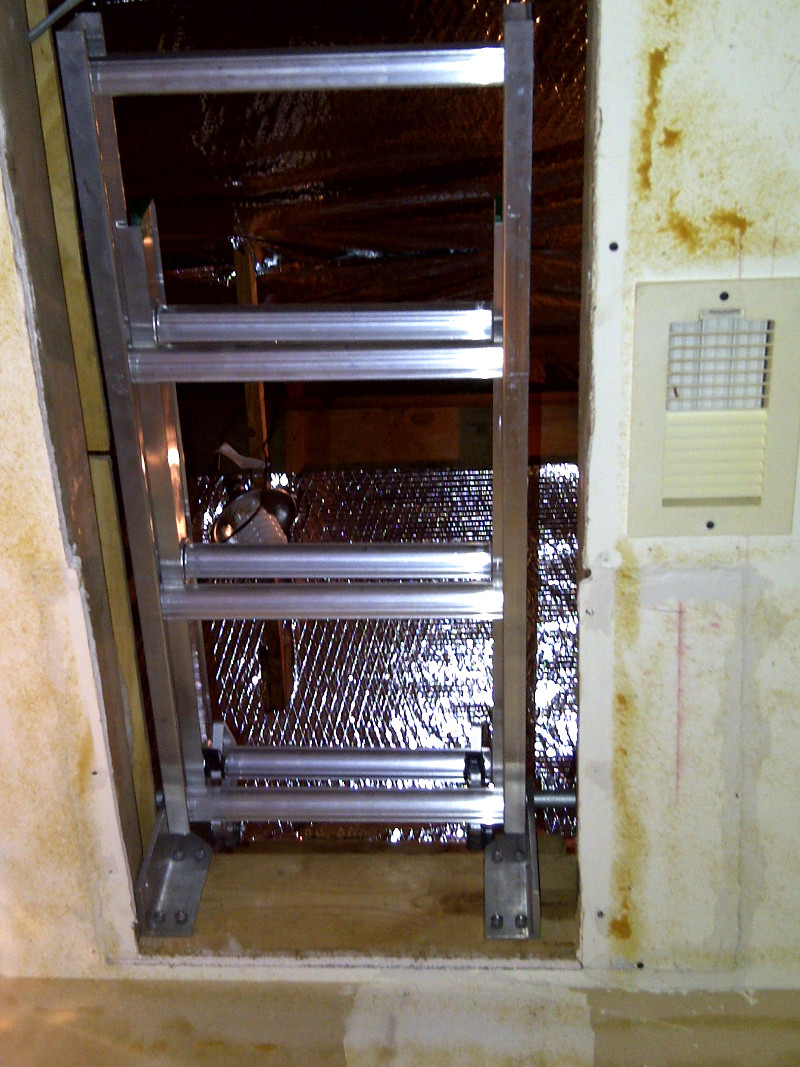
Back to the scary closet though. When the garage conversion was done for some reason they moved the attic access into the newly created closet. Because there wasn't any forward planning though there wasn't room for a standard folding ladder type of hatch. So they took on and cut it up adding extra hinges and stuff to make it fold out without hitting the closet door header. It was rickety as all getout so I decided I would whipe something up that fit and wouldn't kill me one day when I went up there. I cut down an aluminum extension ladder and fabricated some mounts for it to permanently attach it. It was sturdy and looked like it would work well (though ultimately I ended up using it as a ladder for the kids climbing fort).
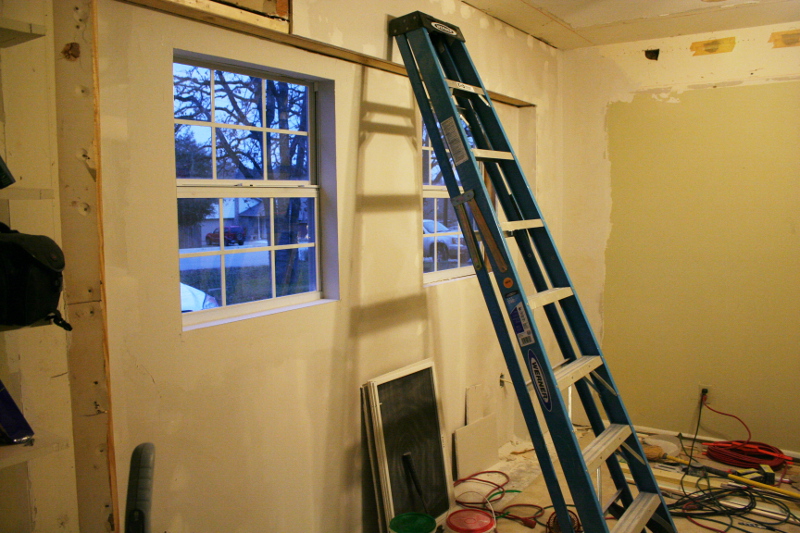
Before I finished up the access ladder I wanted to remove the scary window and redo the drywall inside the closet.
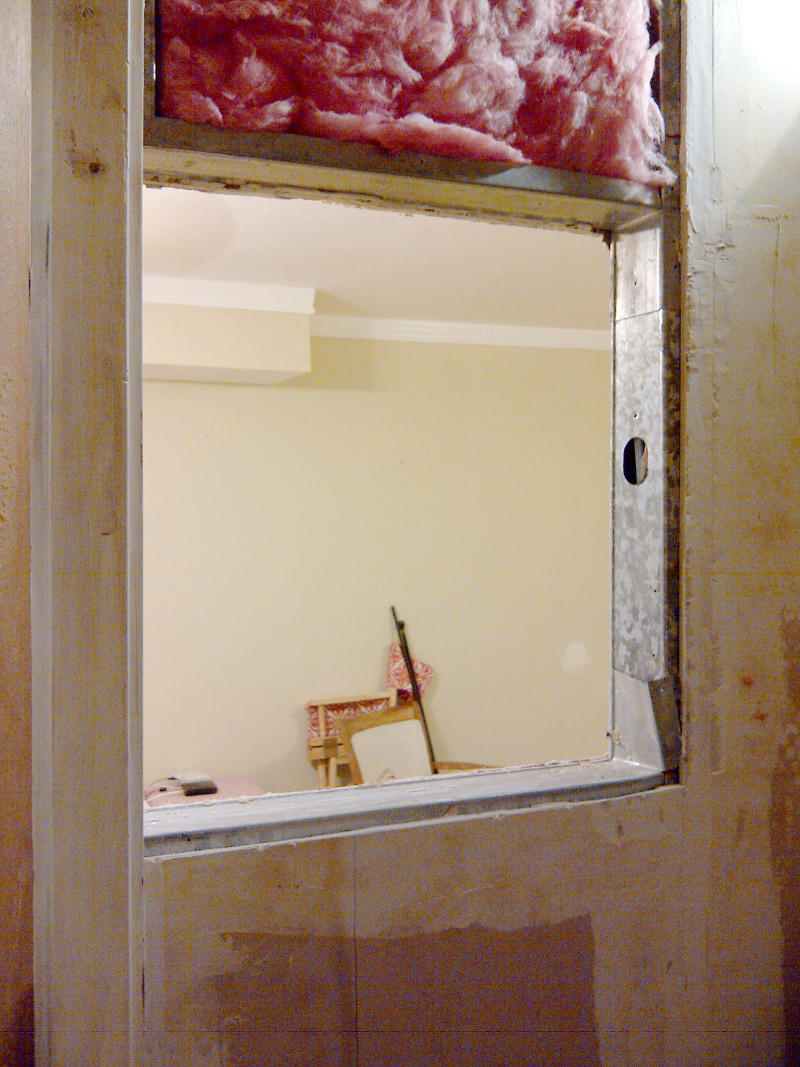
So I ripped out the window and started on some drywall
As I got further into the closet though and ripped out all the drywall I found a bunch of horrible framing with the cheapest imaginable steel studs which were a pain in the ass to work with
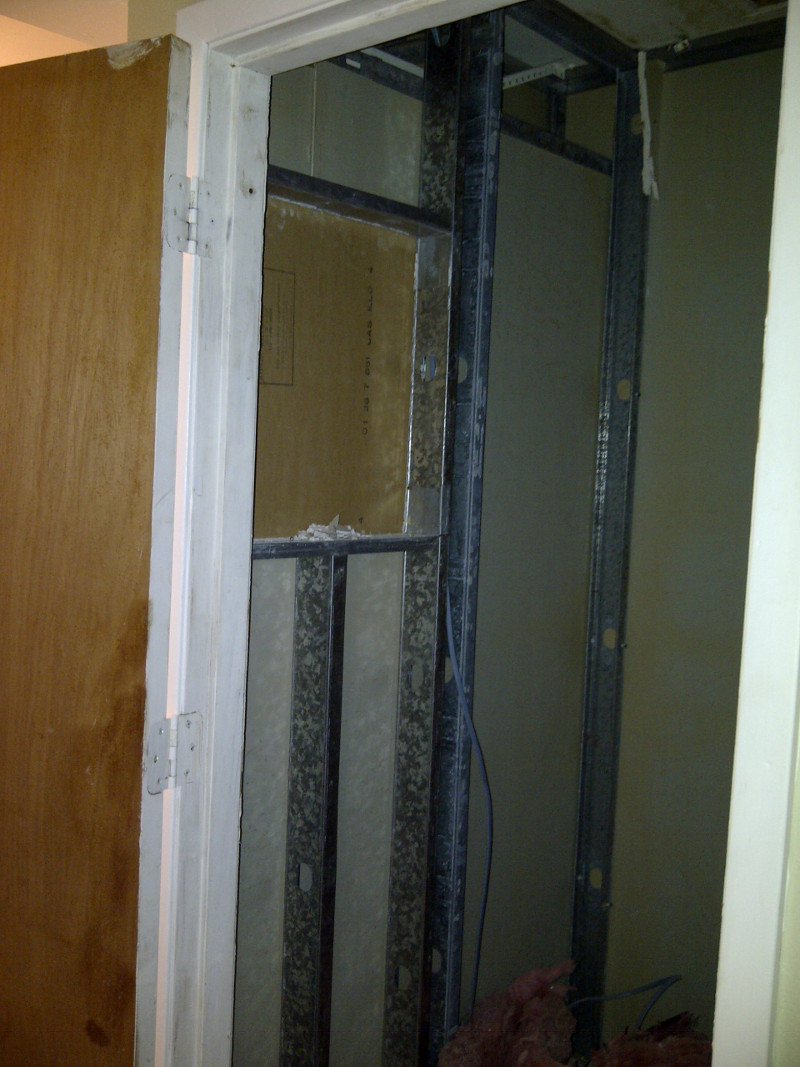
So I thought about it and did something that might be considered a little rash.
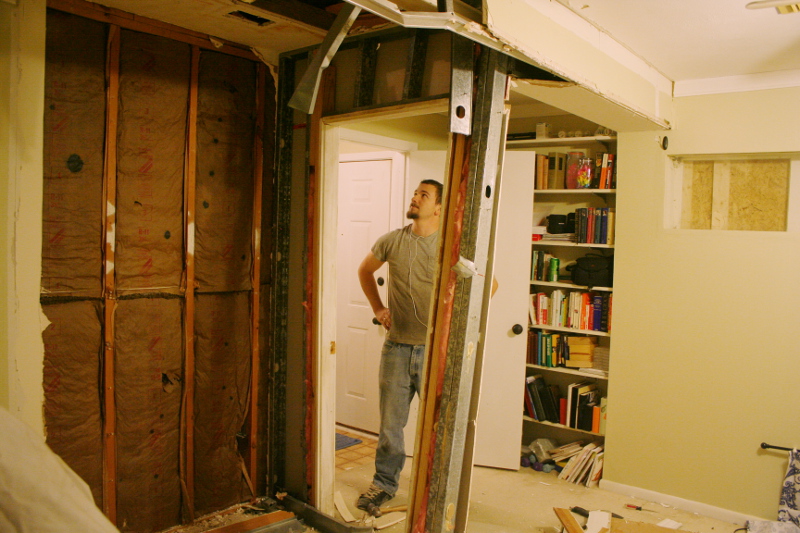
I started ripping shit out left and right. I was in the middle of taking a few days vacation for Christmas/New Years and decided to demo the whole closet.
That demo expanded in scope and nothing was safe.
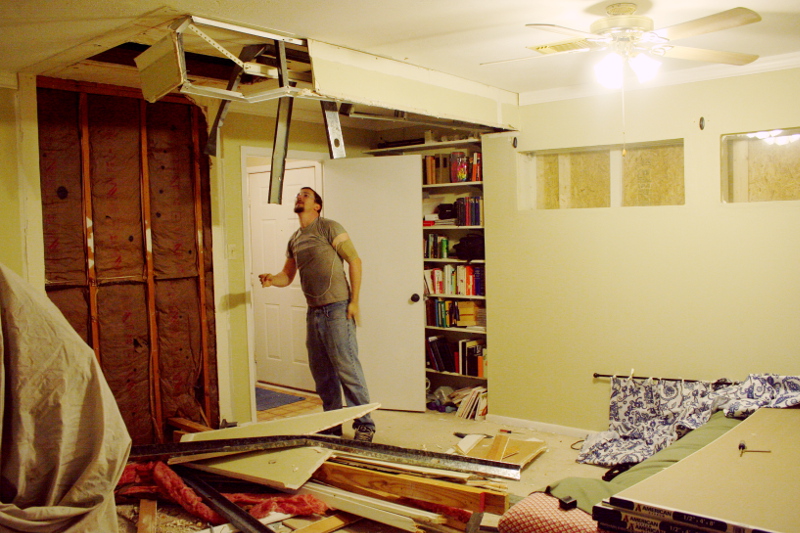
Look back at that last picture, on the right you can see the "windows" I mentioned earlier and the back of the particle board siding which was put on top of the garage door.
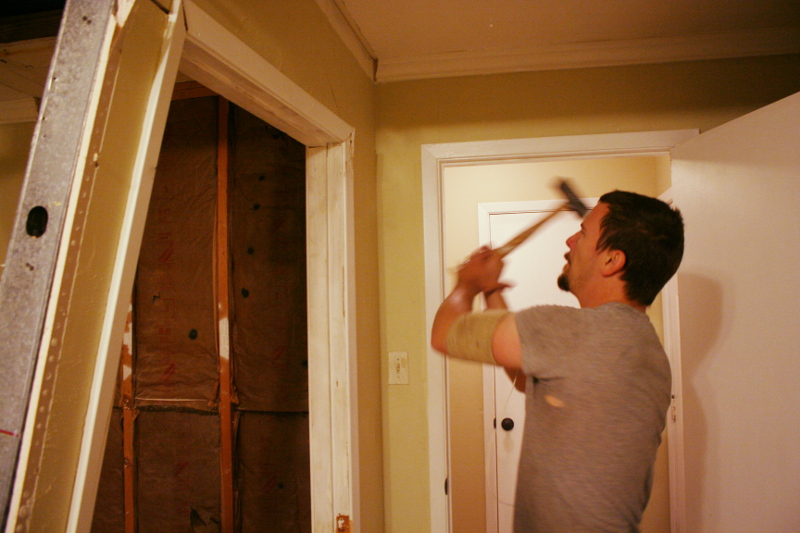
I ended up ripping it all out including the "exterior wall" the next morning. I was committed now, one big giant hole in my house exposed to the outside while we were in the middle of freezing weather!
I had to rush and get the house sort of buttoned up before nightfall. I don't have any particular pictures but the first thing was to correct the concrete that had caused the water to flow inside and pool under the door. I formed up the depression where the door had sat and poured a few inches of concrete in place to bring the floor level out all the way to the edge of the house. I didn't have time to wait for that to fully cure though. I drilled holes through the new concrete and down into the existing concrete to install some expanding anchor bolts and secured a sill plate right on top of the couple hours old concrete. Then I framed up the wall.
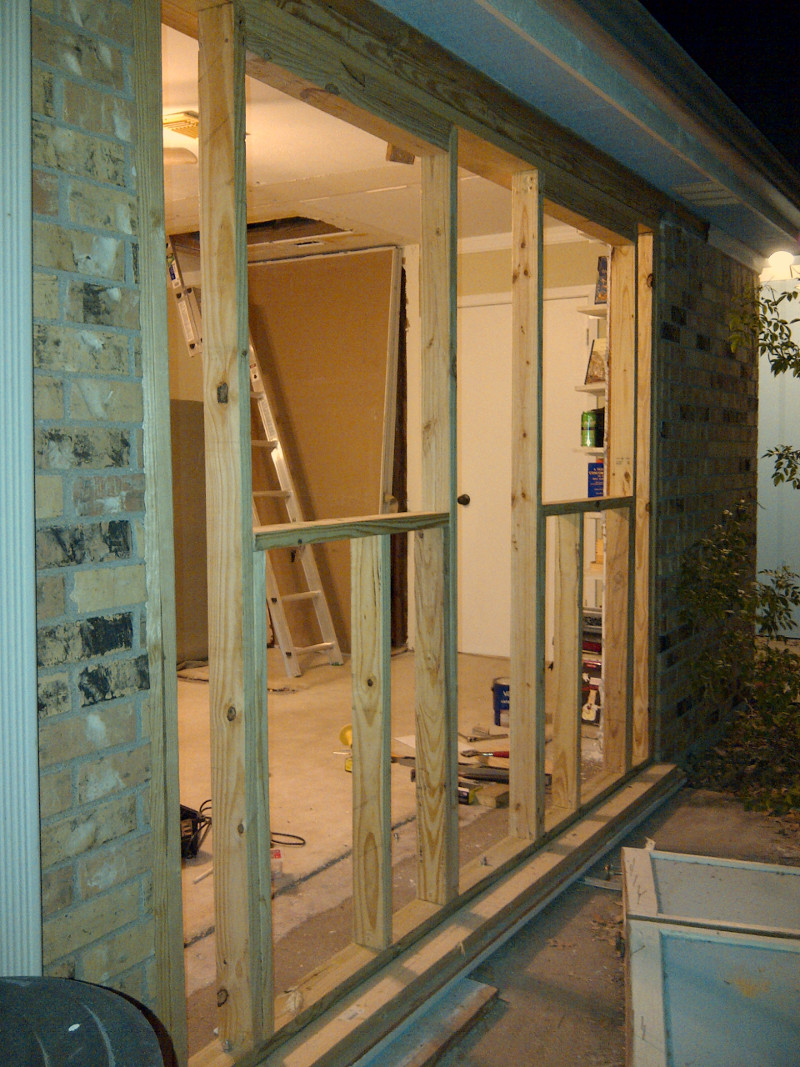
Things were getting pretty late by this point but I wasn't finished. I wanted the house to at least not have a big hole in it overnight so I pressed on and nailed up some tar fiber board underlayment like the rest of the house has.
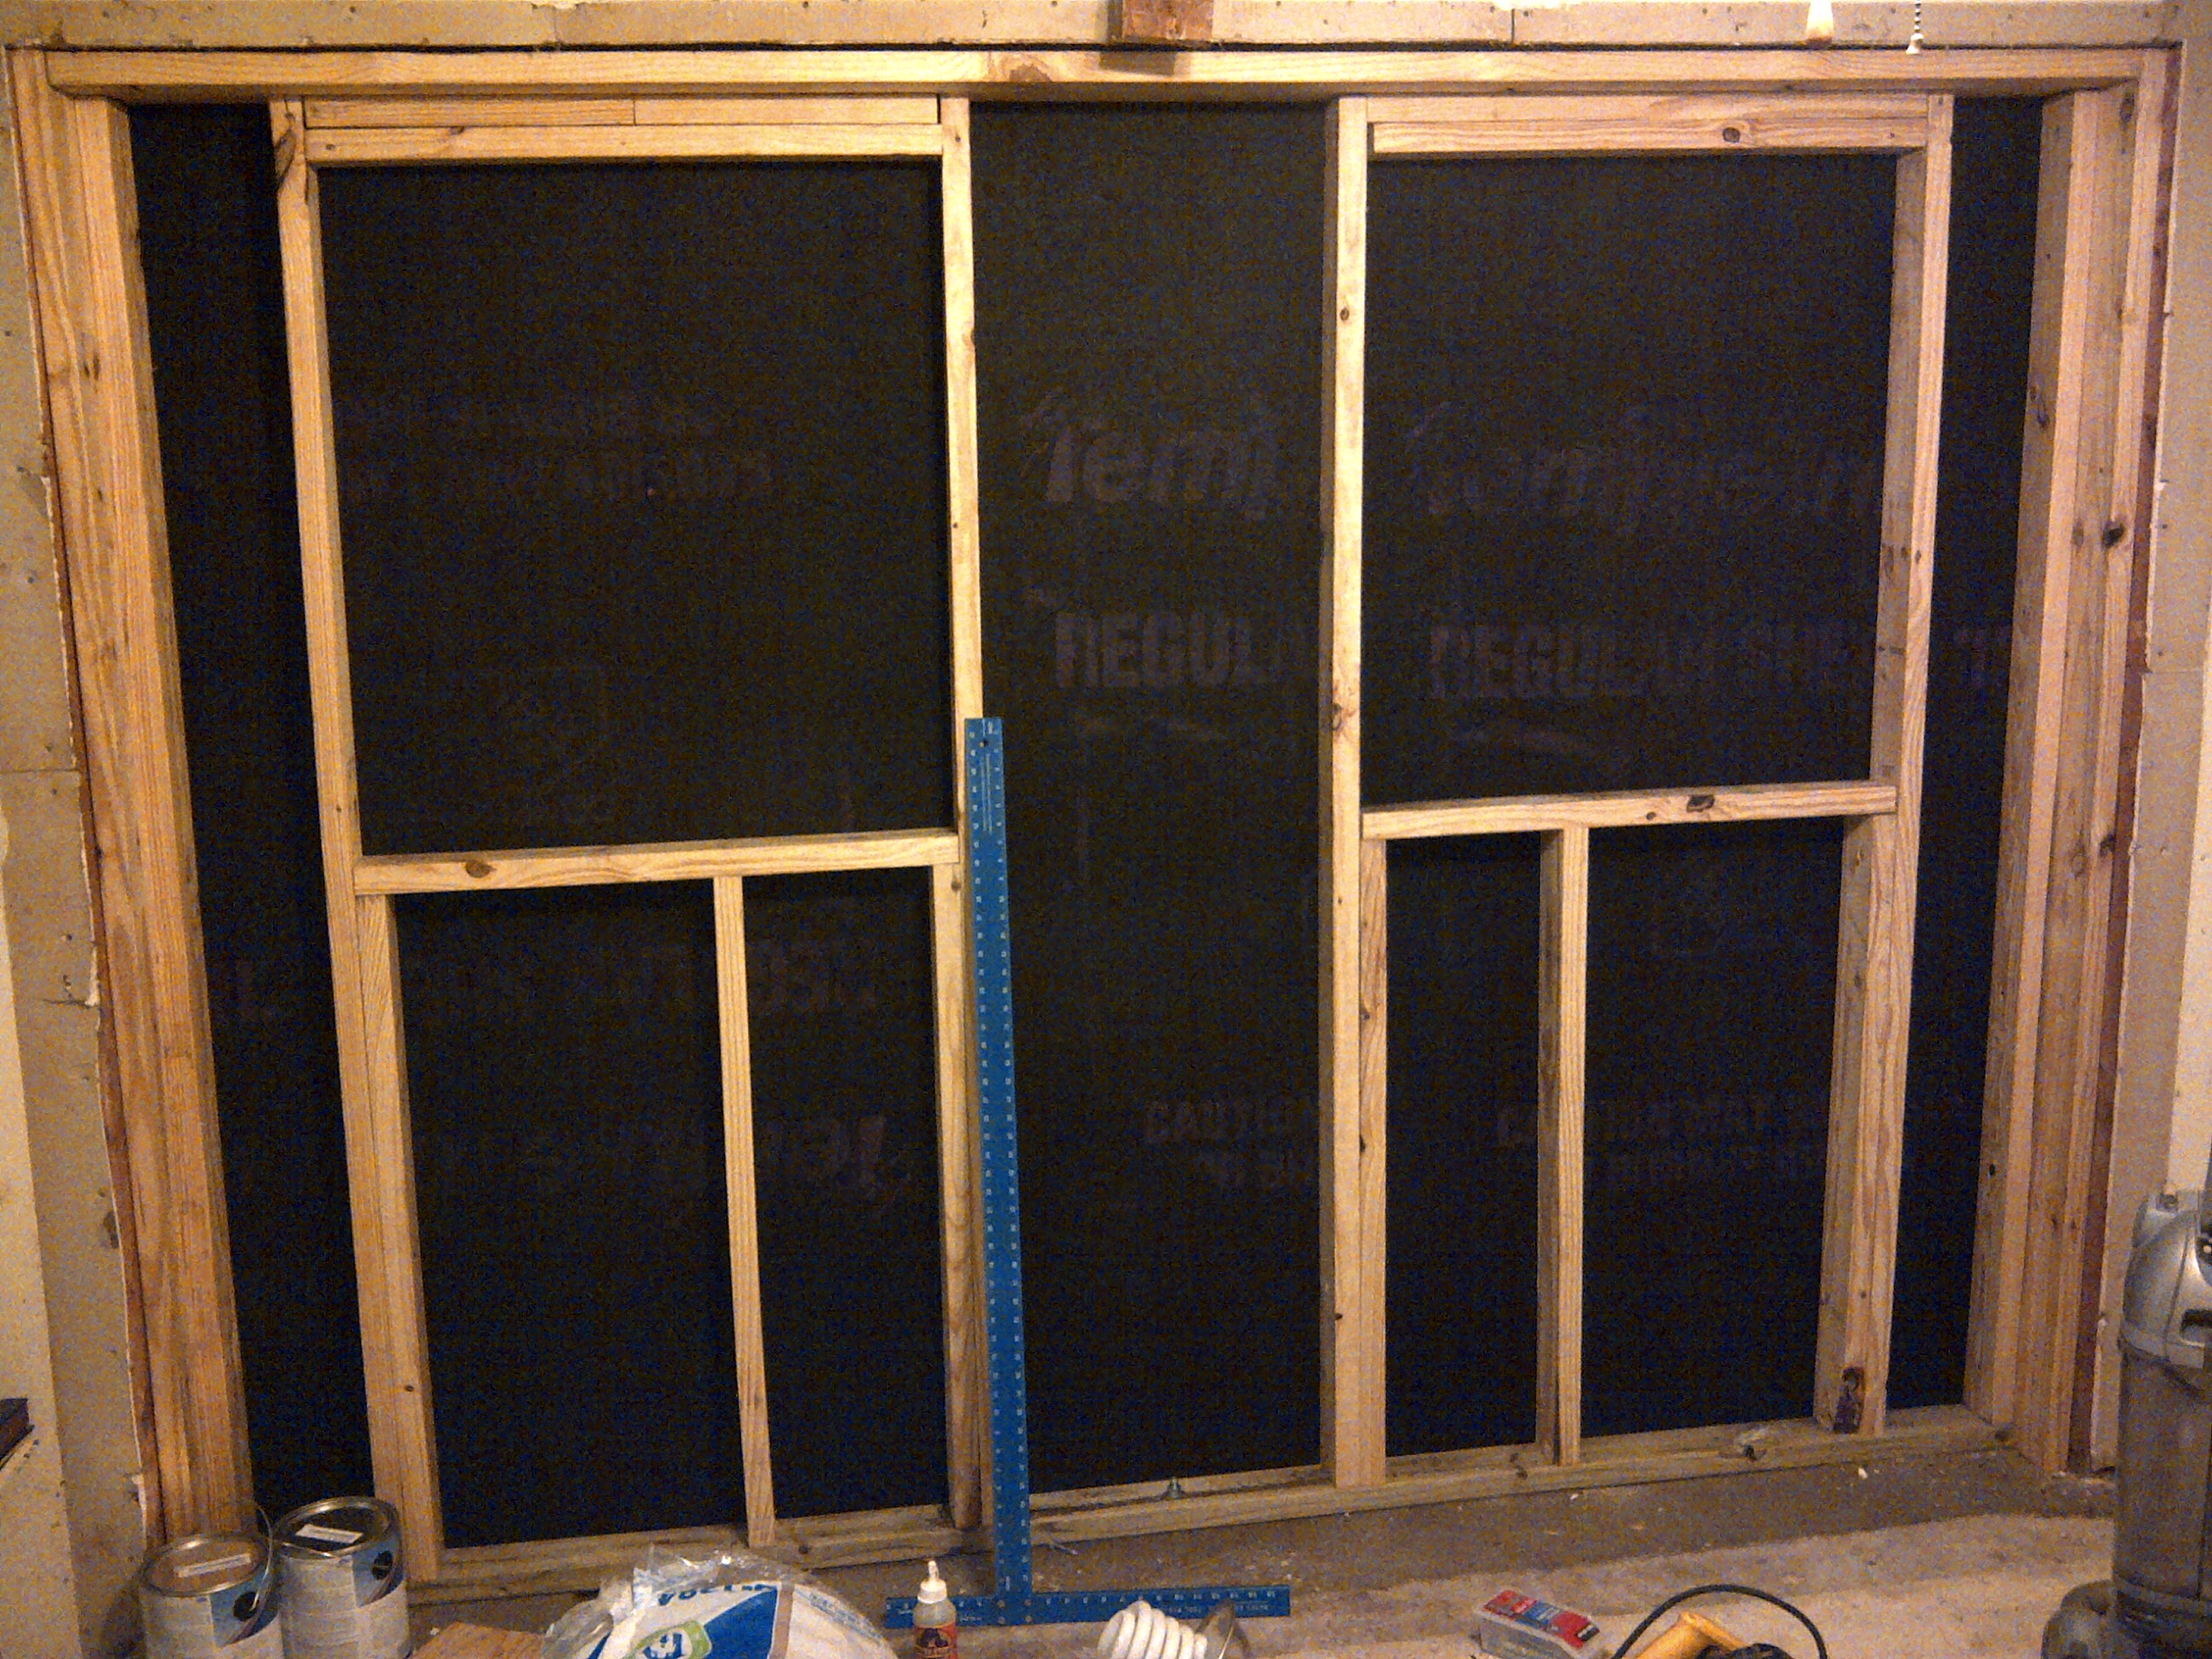
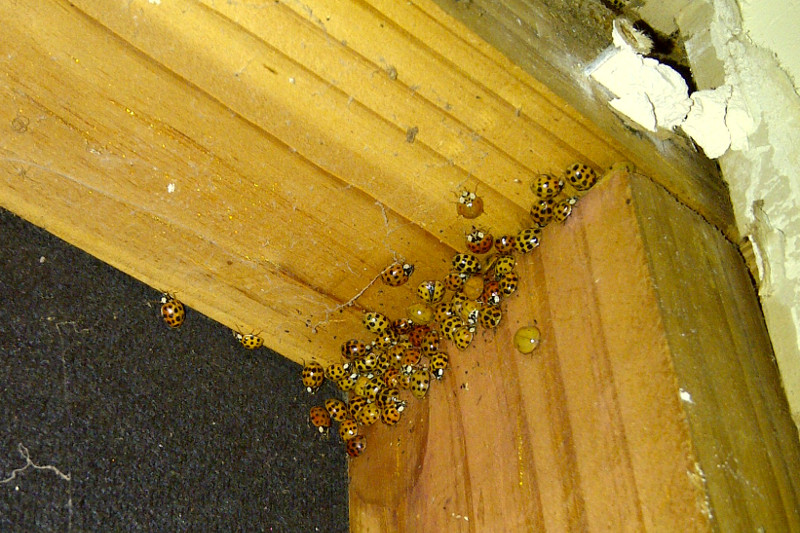
When I demoed the wall out there were a ton of ladybugs hiding in the wall. They all stayed inside while I tore it out and then flocked into the corners of the new wall when I put it up.
Anyway, windows are the next step in a wall before putting up the siding so I did just that and placed my two windows into the wall

Then to make the house weatherproof again I installed the siding boards. This house has that horrible particle board siding that rots and falls apart so as I rip into it I am going back with Hardie board. I don't like doing things twice and I want a covering that lasts.
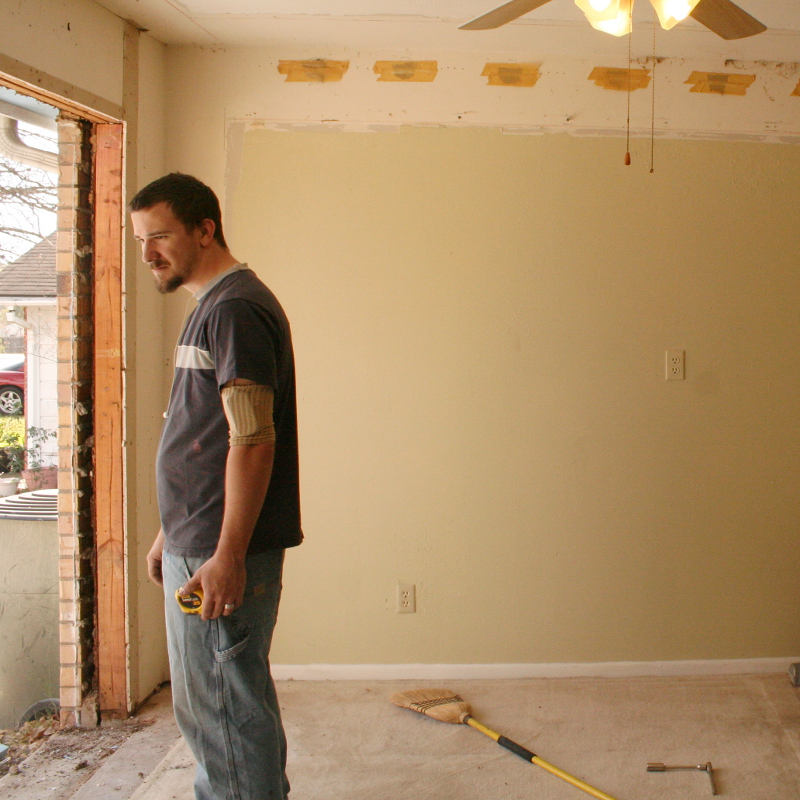
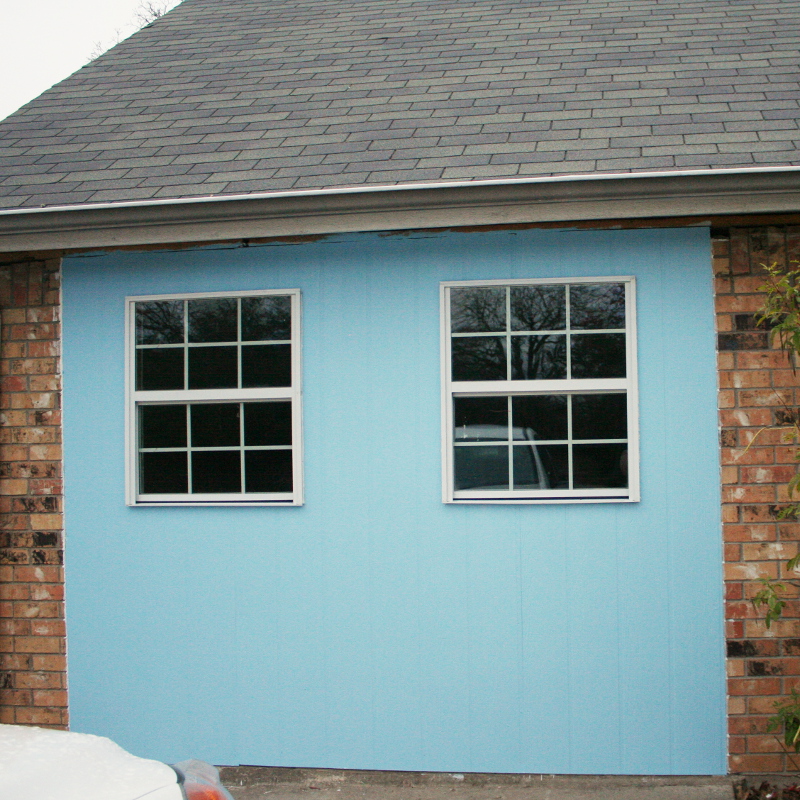
The Hardie is weatherproof without paint so I waited until I had a good weather weekend to paint it the same color as the rest of the house.
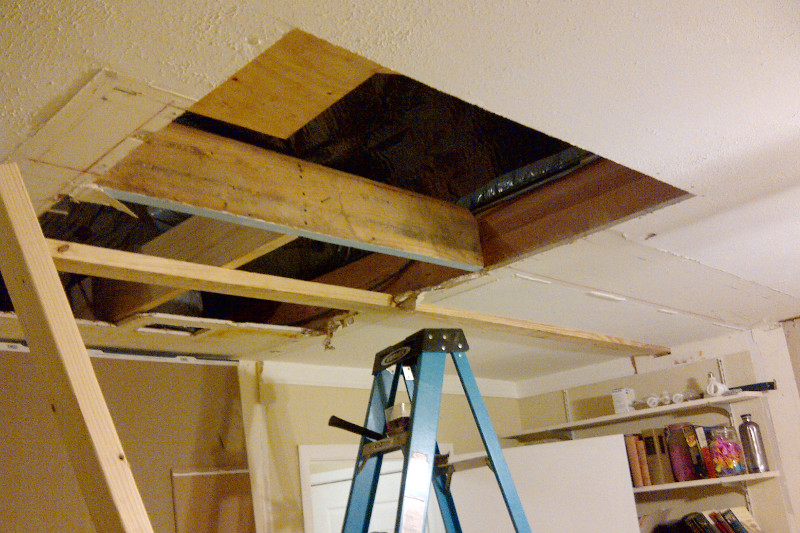
While waiting for a good weather window for the exterior painting I made some progress on the interior. The attic access hatch inside the now removed closet wasn't where I wanted it so I popped in a new hole where I wanted to put it. Did I mention earlier that when the previous owner moved the access hatch they cut a ceiling joist which turned the closet wall into a load bearing wall? Yeah, so you can't really see it in this picture but I had to do some bracing and sistering of ceiling joist boards to keep the ceiling from falling down. While I was at it I ran the upper sill plate for the new closets I was going to create.
Then I hopped over to the exterior wall, ran my electricity, installed some insulation and sheet-rocked over it. Because I moved the exterior wall out to be flush with the existing brick instead of staying where the garage door had been there is a roughly 6 inch recess. This will one day be filled up with built in bookshelves.
Before doing more drywall I had to get back to the closet and start framing that out
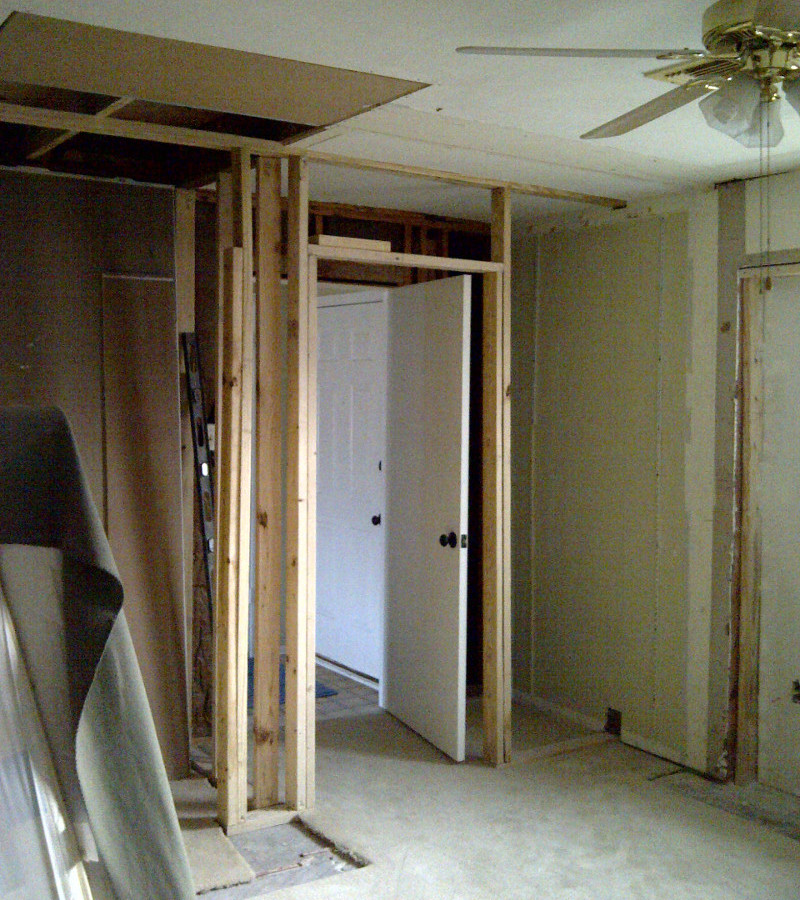
Once you have it all figured out framing goes nice and quick, probably the most satisfying part of a project for me. Just cut the boards and bop,bop with the nail gun you have a wall.
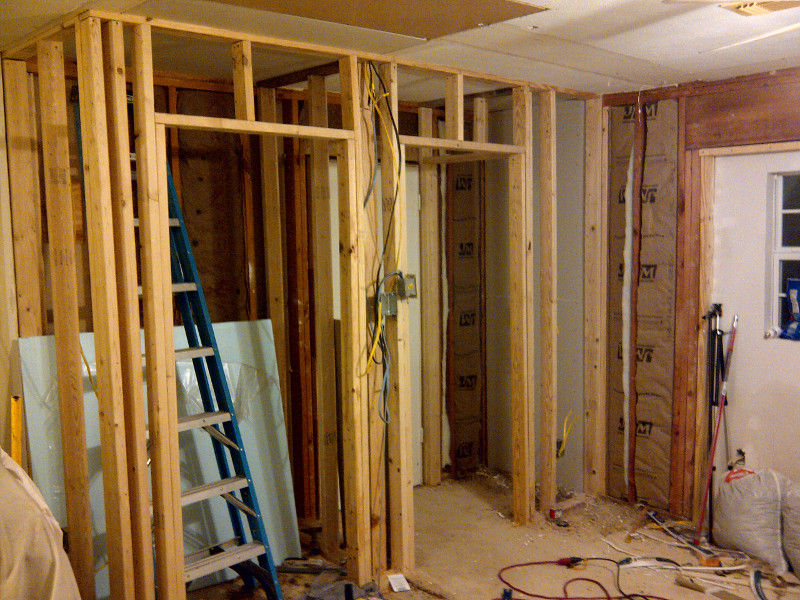
Hanging sheetrock makes a big visual difference and goes pretty quick too. I got the closets covered and a first coat of mud on the screw holes applied.

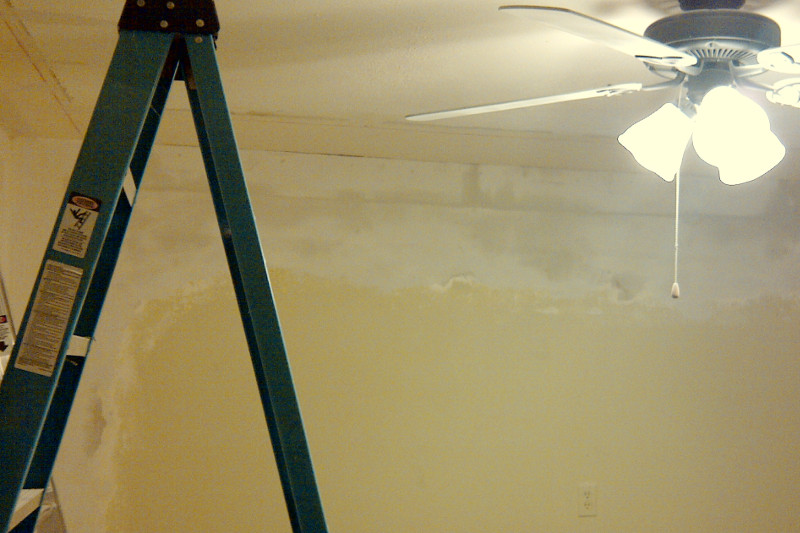
You can see in the corner that I did a little magic on the fan too around this time. They don't make much that I like these days and my wallet can't afford any antiques so I spruced up the existing fixture by changing the glass and painting it all black.
So all the sheetrock is done now right? I only have taping and floting left you say. Well, take a look at what I had to deal with along the top of one entire wall:
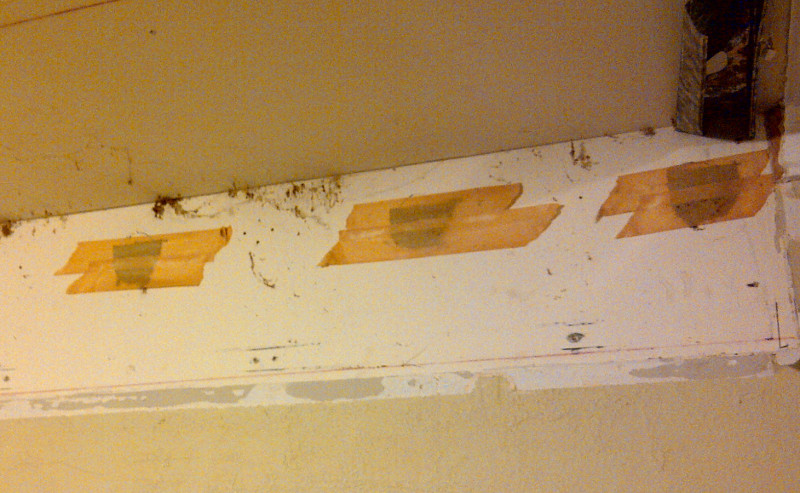
Yep, that is what it looks like, masking tape covering ragged random shappped holes in the drywall. When this room was converted they blew insulation into the walls with the holes in the top. They didn't make nice holes or properly patch it, they just covered the holes with masking tape and where it wasn't covered by the boxes for the door rails they just textures and painted directly on top of it (with predictable disastrous results).
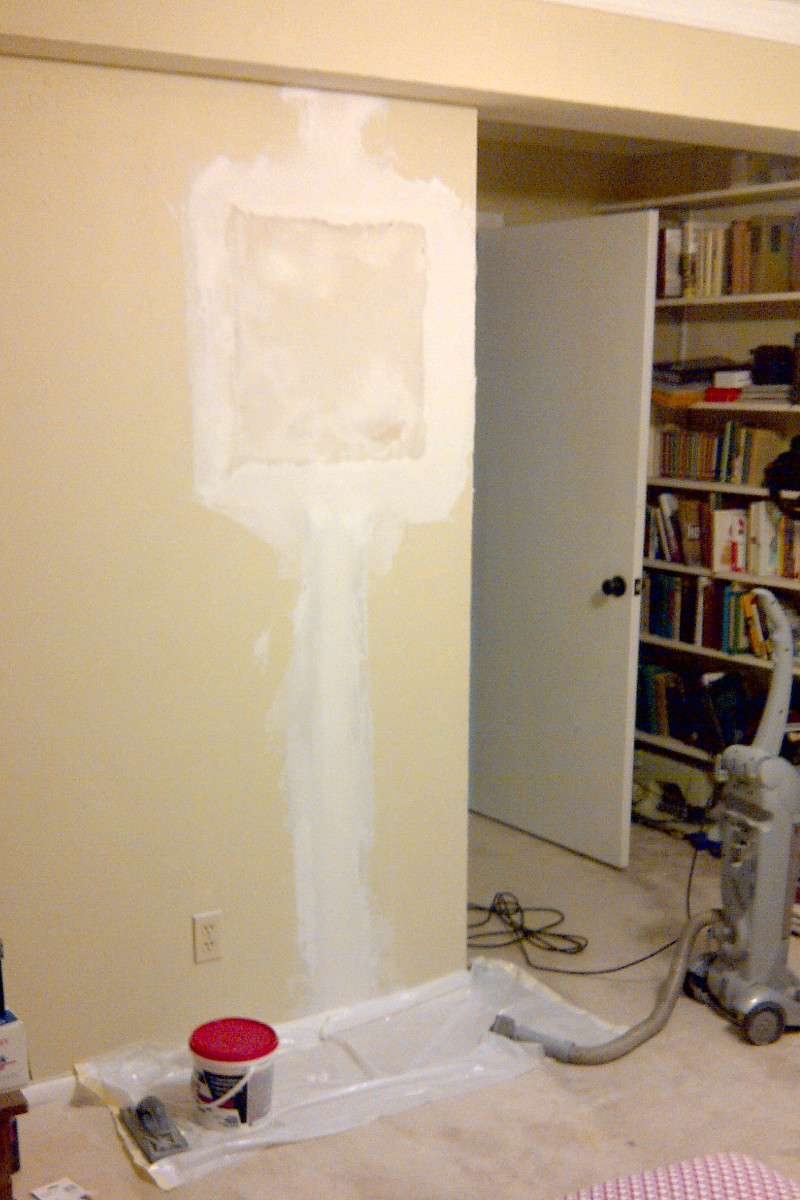
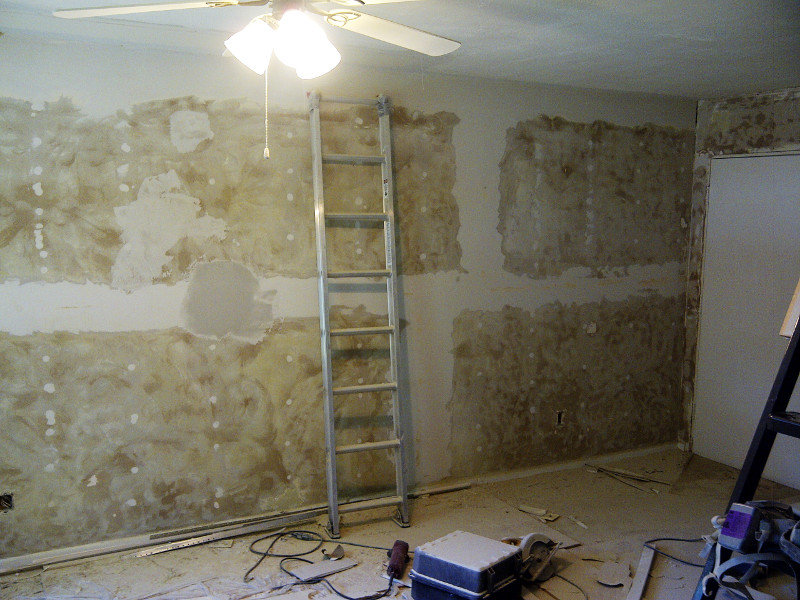
So instead of trying to deal with each individual hole I cut out a strip along the top of the wall and replaced the sheetrock.
I started to blend the new drywall into the old stuff and make a smooth transition to the existing texture so it would be easy to cover up with texture after painting. This is where I went wrong the room. I just didn't like the texture! It was poorly done, didn't match the rest of the house and worst of all the ceiling had popcorn (I can't stand that stuff). So what did I do? I took an angle grinder with a sanding pad and carefully stripped it all off every surface. That was a stupid, stupid, stupid idea. It was incredibly dirty and slow and still didn't yield a great result. I made it work but next time I am just going to fully demo everything. Rip out all drywall and start from scratch. It would been so much easier and when you factor my time in much cheaper to just strip it all and start fresh.
And that is all for now. The room is finished now but I don't have any good pictures of the result accessible to me right now.