


Garden
January, 2017
First of all, don't trust anything I say related to gardens. My mother is a botanist and always had one while I was growing up but I'm not really interested, know almost nothing about growing stuff and would personally prefer to live in the desert where I don't have to deal with plants much.
There, now that the disclaimer is out of the way lets talk about the garden I made!
You might have guessed I didn't just decided I wanted a vegetable garden in the yard. My sister lives on the same street as us and her daughter (plus my children) appear to like messing with her garden so my wife wanted me to make one in our yard.
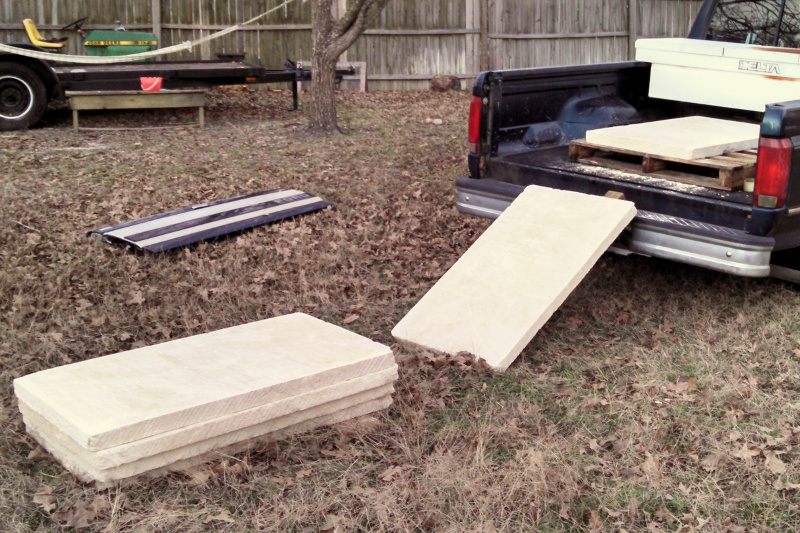
A lot of raised beds are made out of timber and my sister made hers out of masonry blocks but I decided to go a different way. I knew that a local stone yard had 2" thick 2ftx4ft limestone slabs for a pretty decent price ($40 each) so I decided to use those. Definitely more expensive than cinder-block or wood but they won't ever rot and look a lot better than masonry blocks.
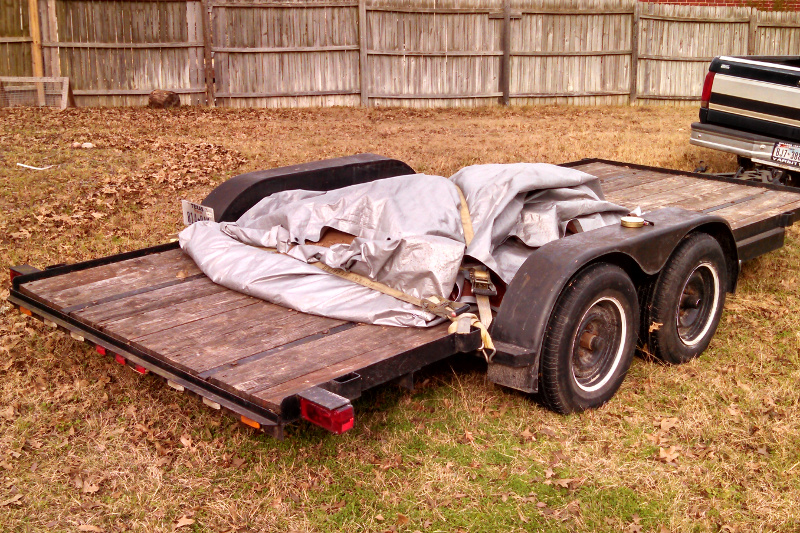
So I picked some up on the way home from work today. Six slabs was definitely pushing the limits of my 1/2 ton truck (estimate 1200-1300lb) but it handled it fine and I dragged them home. It isn't moving a big machine around but manhandling ~200lb rocks out of the truck requires a little care and some grunting.
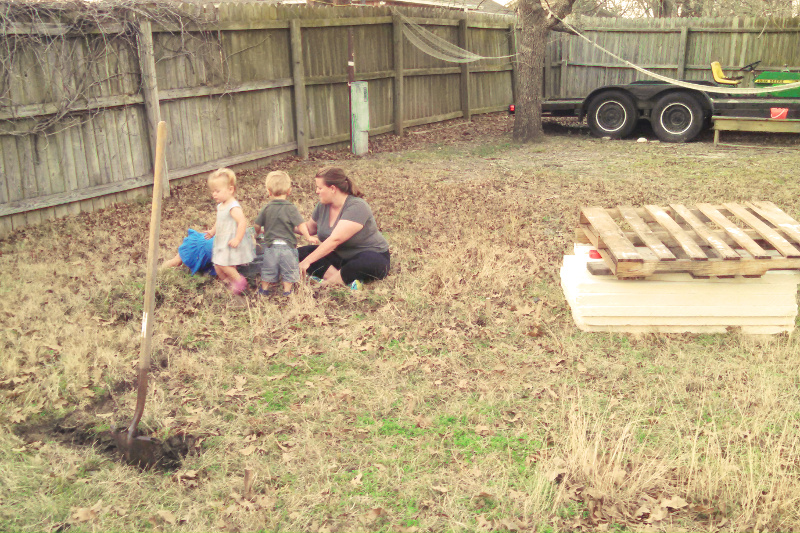
I had material on hand now so one evening I came home from work a little earlier than usual and laid out where I would put it. The kids came out too to help me dig and had a lot fun moving dirt clods around, then climbing around on the new dirt piles and in the hole with me.
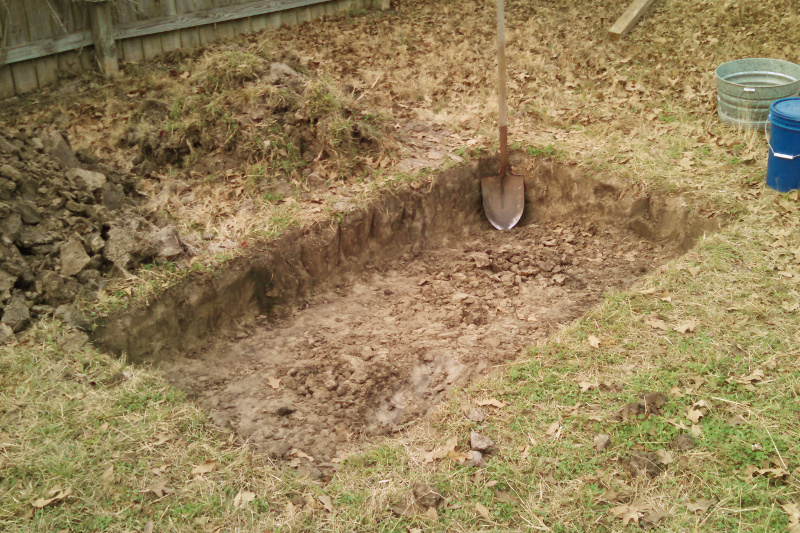
I got it pretty much all dug out in 2 evenings and had a hole ready to start moving stone into when the weekend rolled around. Notice that there are two piles of dirt. I kept the upper 6 inches or so in a separate pile to throw back in the bottom of the hole later (so seeds and existing grass would be buried so deep they couldn't come up as weeds).
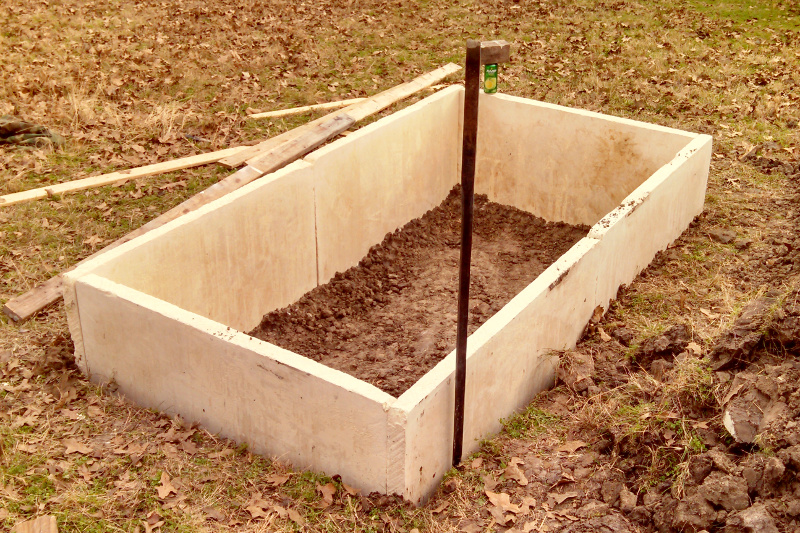
So Saturday I started putting the stones in place. I used a square and a level to check that everything stayed flat and square while I put them in. I had done a pretty good job of getting the hole bottom flat with the level while digging but there was one impediment. There was a single stone that had come out of a different batch and instead of being 25.5inches wide it was 27 inches wide so I had to dig out a little more to bury it at a level that would be even with the others.
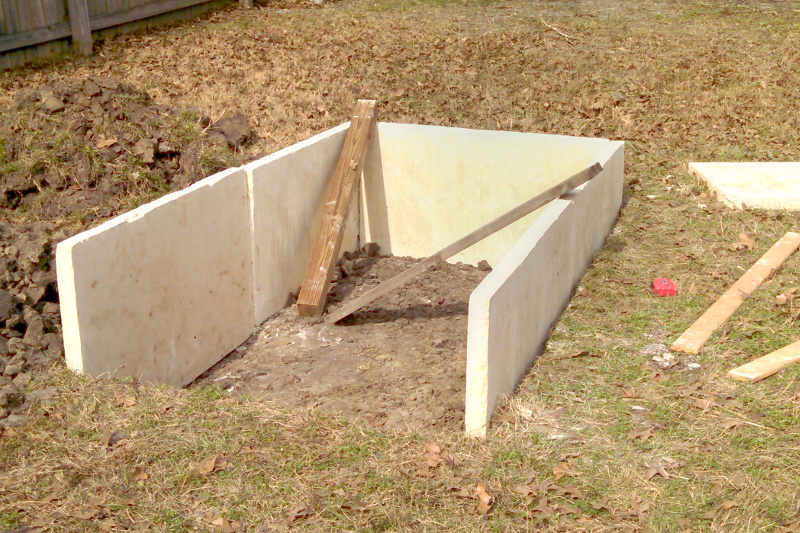
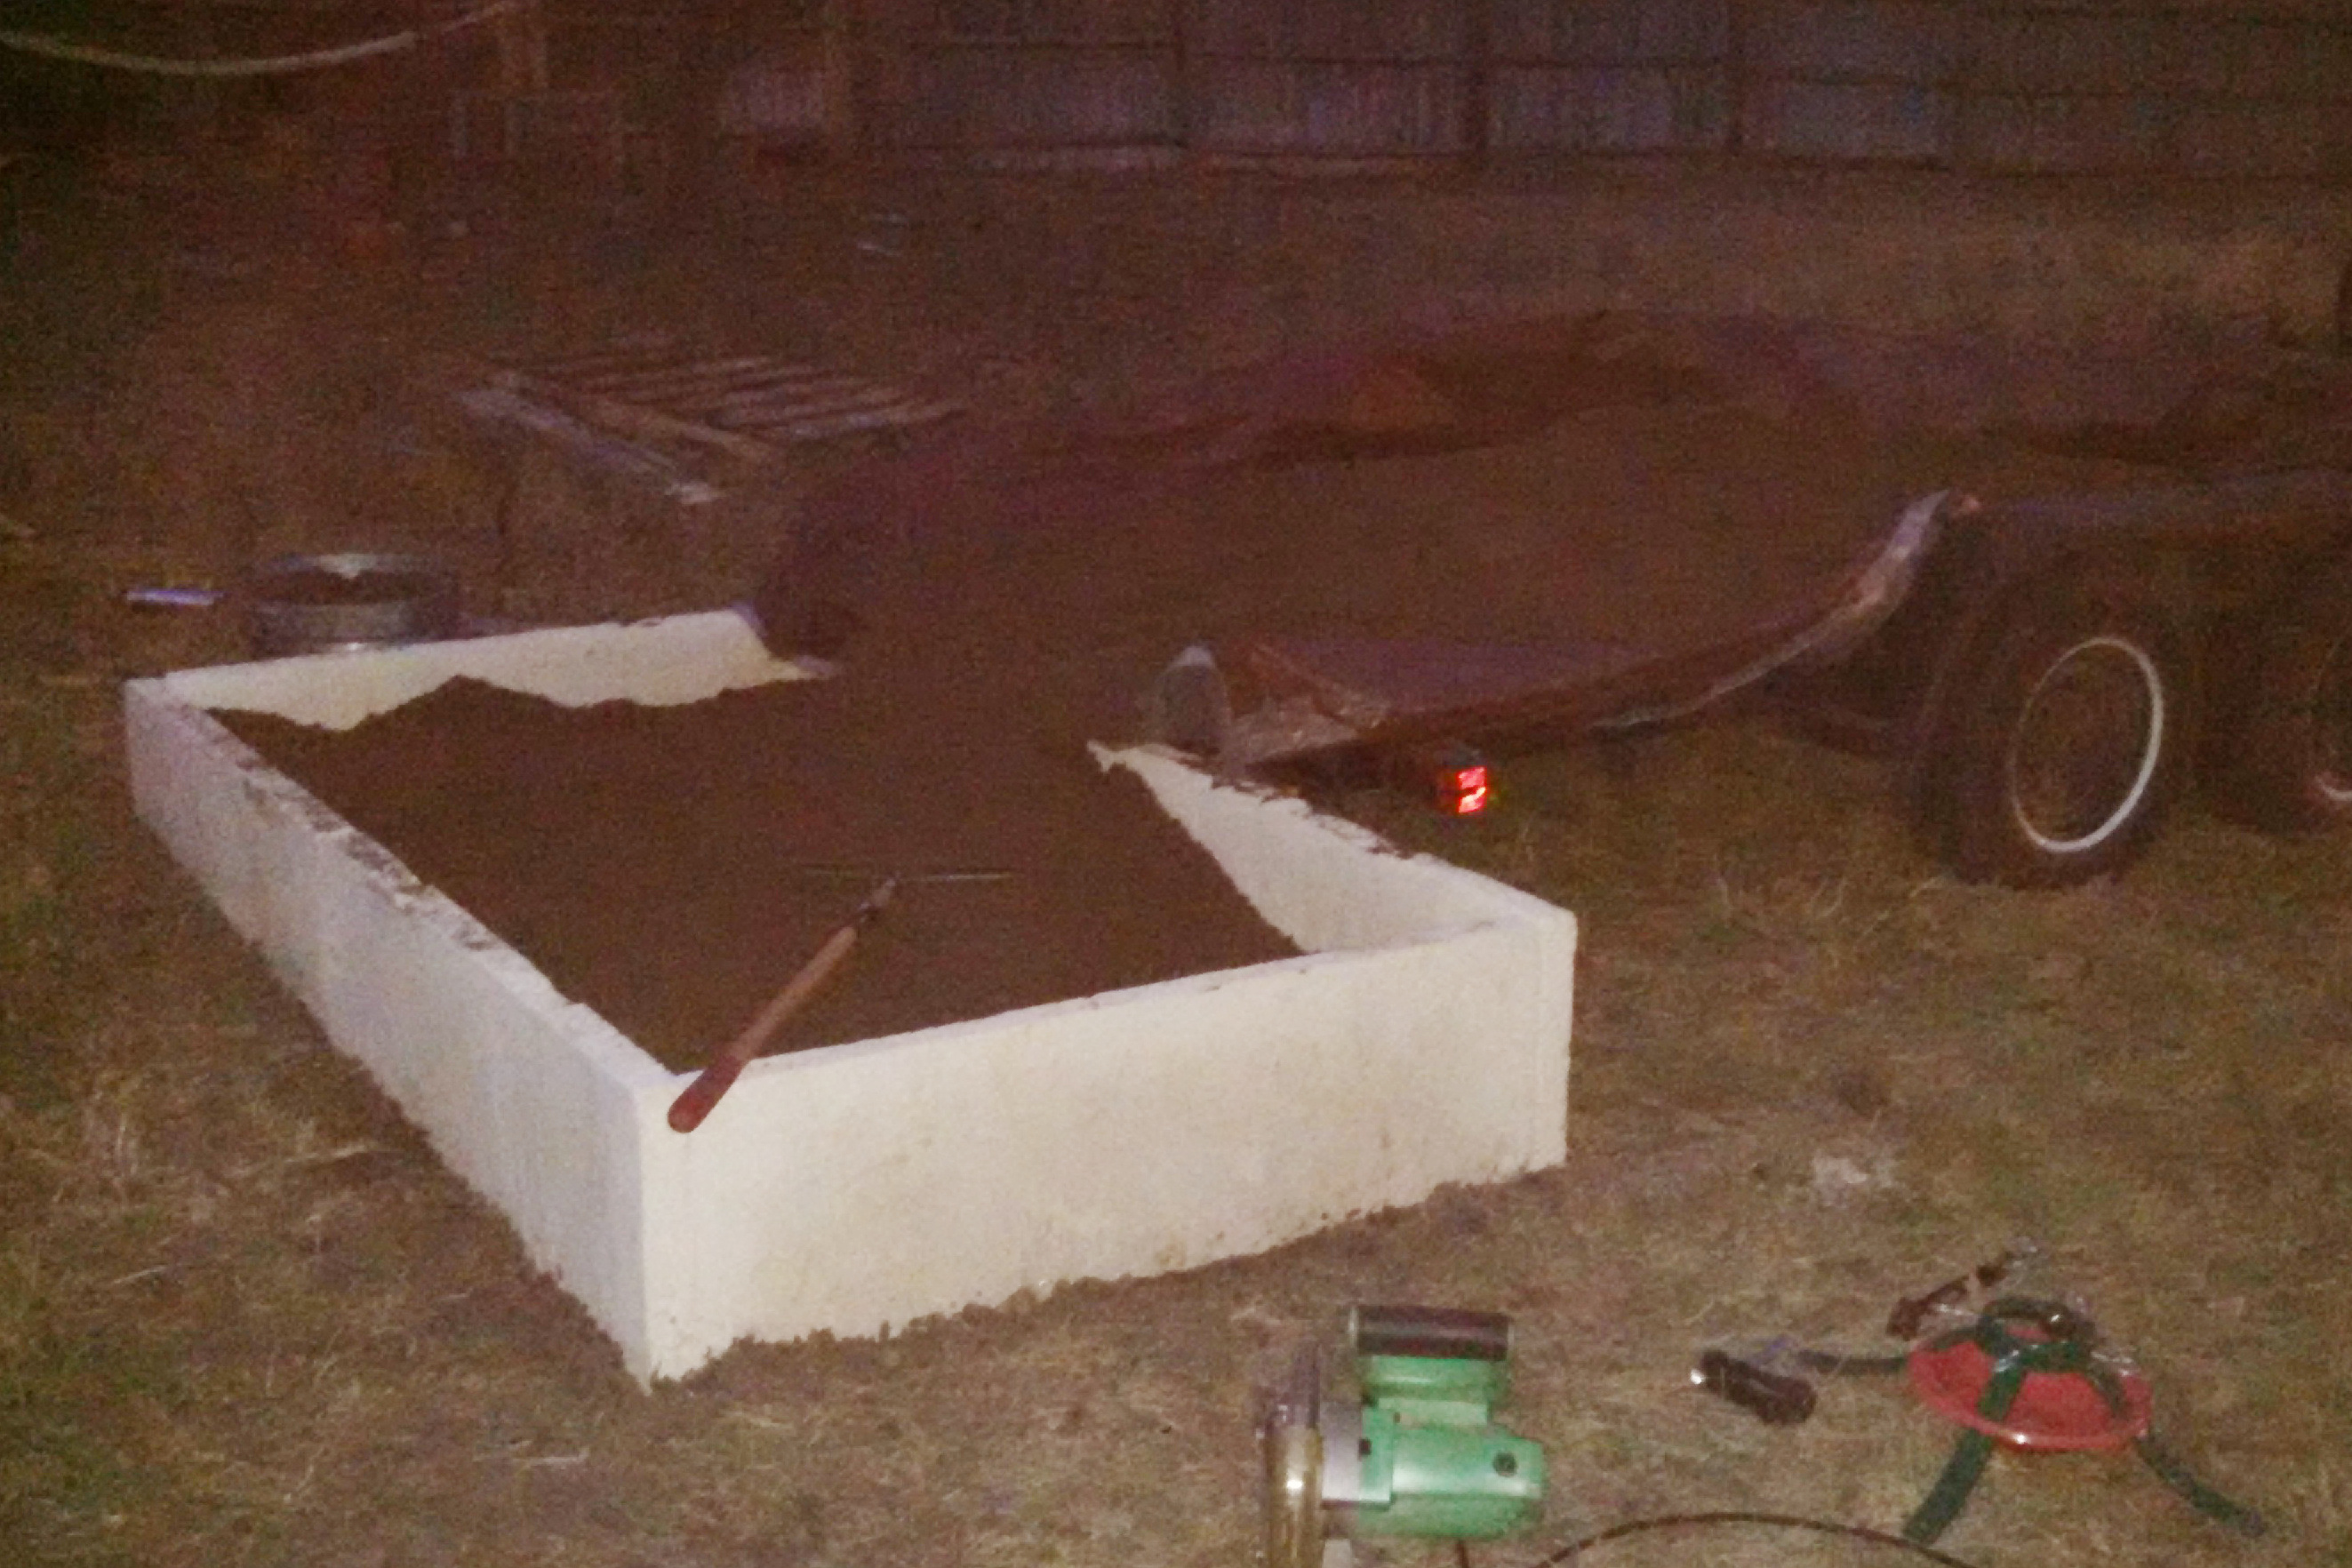
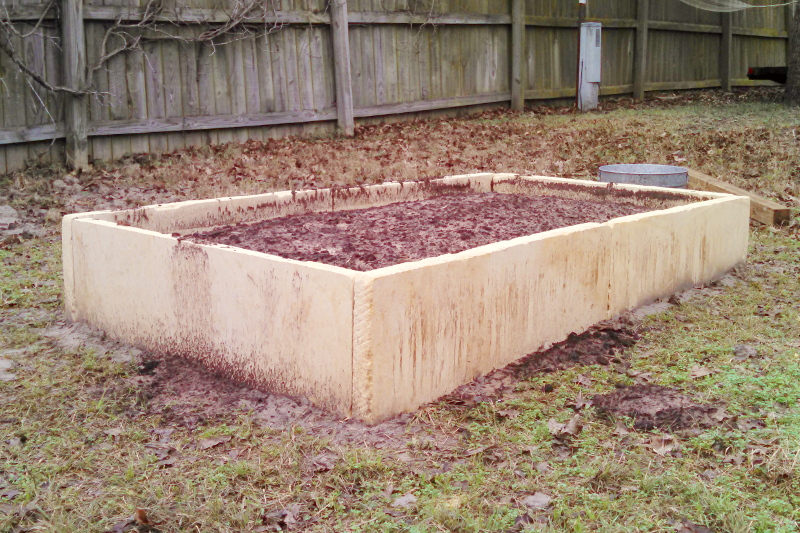
Now the concept is that the slabs will be roughly half buried in soil with roughly half of the stone sticking up out of the ground holding the raised bed in. Before I start filling the thing up with soil inside I wanted to get the stones really set in thereso they wouldn't move at all. First step was to really pack in all the voids underneath each stone and add a few inches on the inside of the box around the edges so I could ram it in and kind of lock the bottom of the stones in on that side.
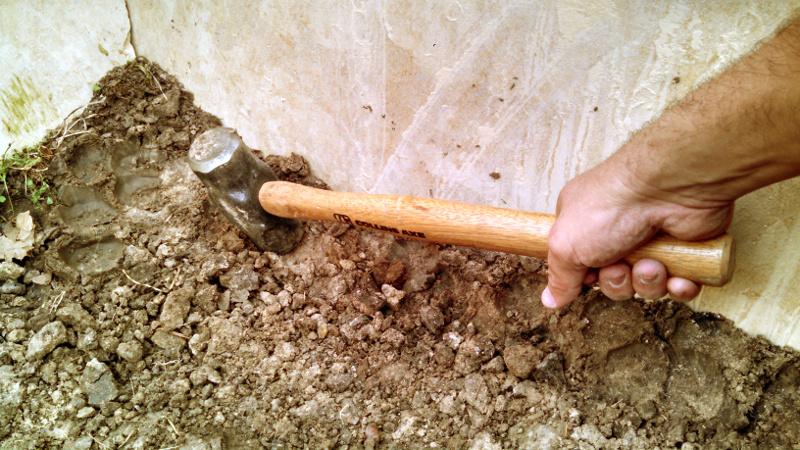
With the inside rammed up nice and solid I went to town on the outside. Put an inch or two of soil into the crack then tamp it down. Repeat until everything is packed and full.
At this point I didn't have any soil inside so the order of operations was important. I fully rammed up the stones on the long sides so that they would lean in and push hard on the end slabs and keep them from being pushed in while I filled the gap on the outside. That worked pretty well and nothing moved that much before I finished.
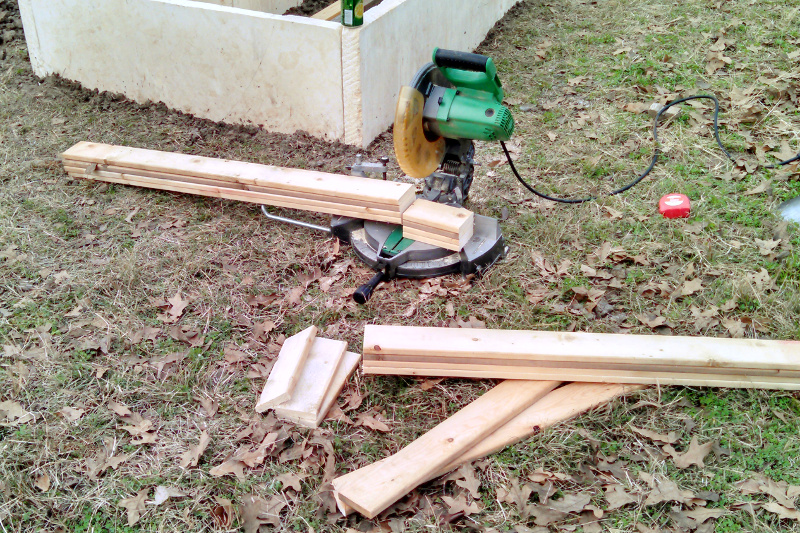
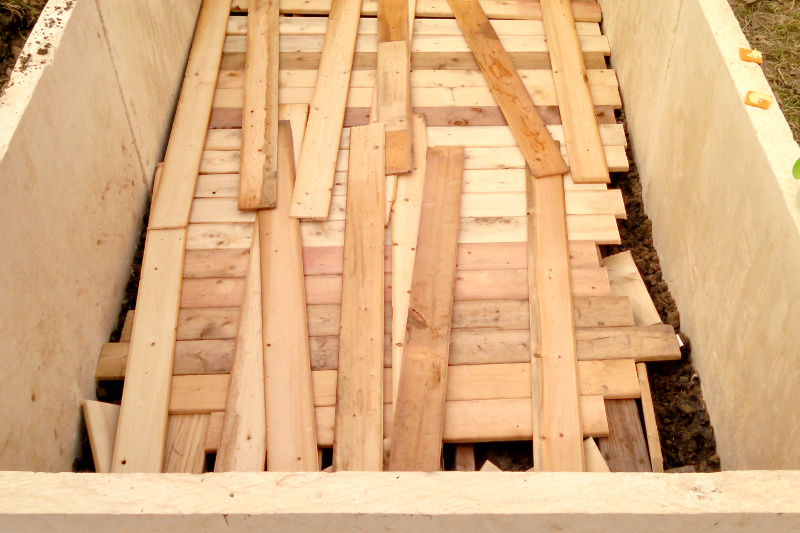
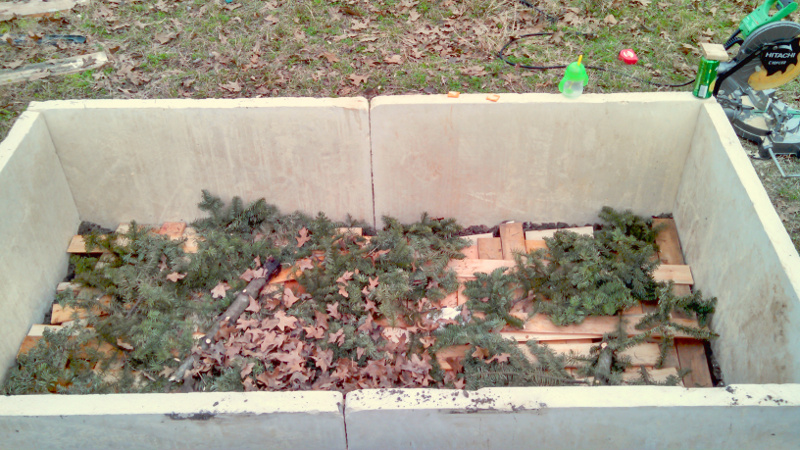
With the stone pretty much in place and complete it was time to fill the garden back up. I had some advice from my mother to put sticks or something in the bottom to aid in drainage but I didn't have any sticks lying around. I did have an assortment of furring strips and bits of wood that I really didn't want taking up space in my lumber rack though so I sacrificed them to criss-cross and make an air gap at the bottom.
I said I didn't have any sticks on hand. I did have some:
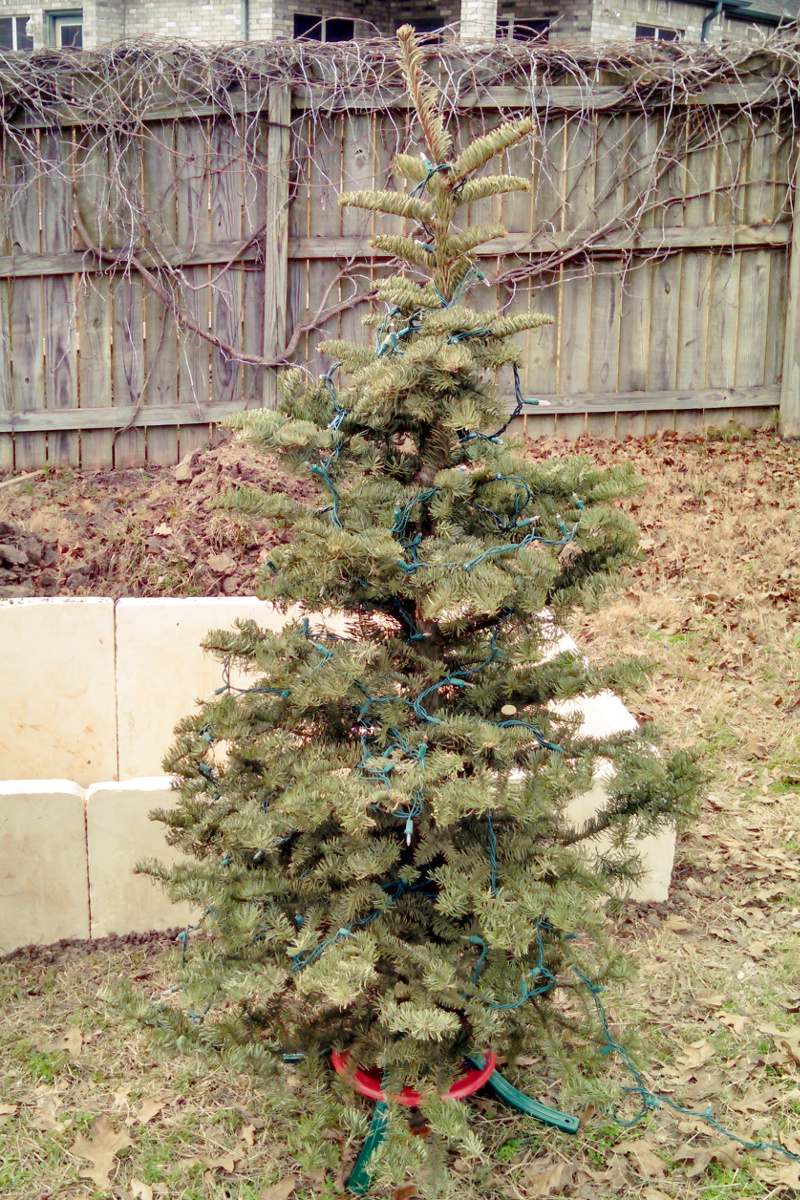
Yep, our old Christmas tree was in need of disposal so I broke it up and threw it in the bottom of the hole as well.
Now this is a little out of order but earlier in the day I drove over to the landscape supply (because they are only open in the morning on Saturday) and picked up a yard of "bedding soil" to make the top layer.
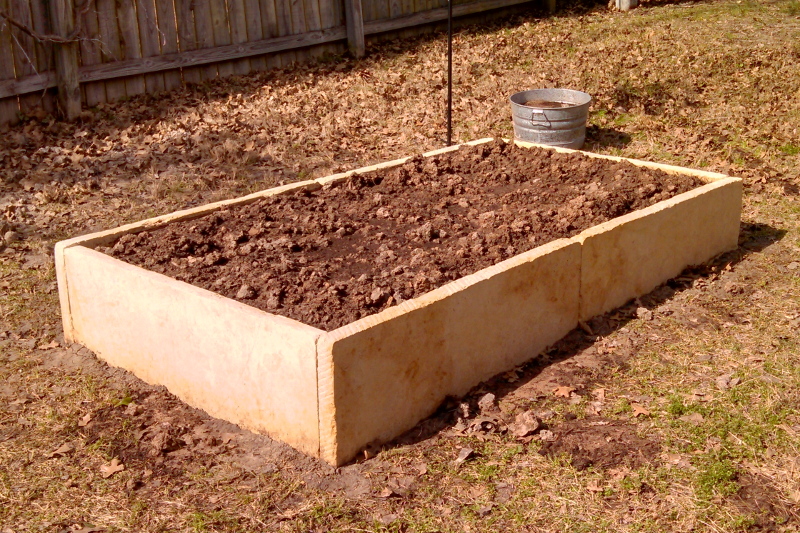
I purposely didn't get enough to fill the whole garden though. I wanted to fit back at least some of the soil from digging the hole. I threw in all the top soil with grass I had dug up then on top of that plain dirt that came from deeper down. When I estimated I had 9 inches left before the bed was full I switched over to the bedding soil and put it all in. By that time it was pretty late and everyone else was inside. I sort of judged it right and had a little bit of a mound when I was done.
As soon as I finished though I knew I should have put in more of the original dirt. That slight mound was going to sink down quickly. Well, we had some heavy sustained rain not that long afterward and it did indeed sink down. Even a little more than I had anticipated happening that quickly
So I threw in the remainder of my natural soil and mixed it in. That is it. I am done with the garden and shall not touch it again. I'm not weeding or doing anything else, my part is done.
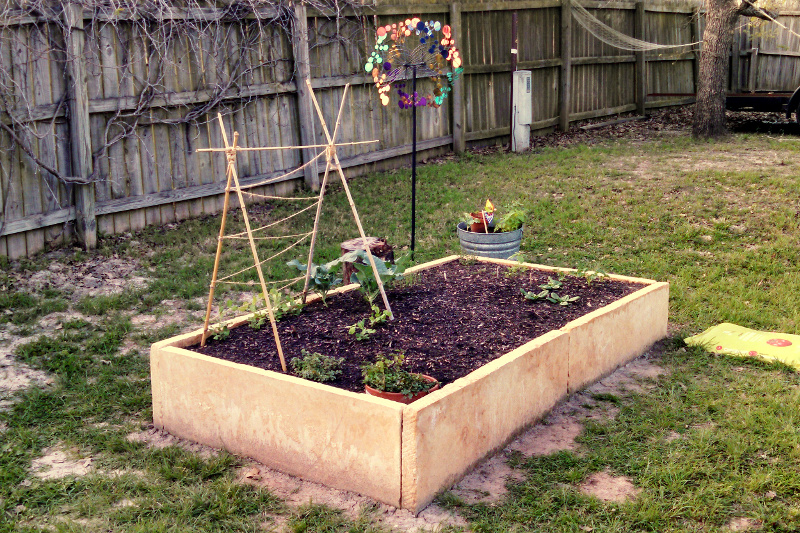
Like I said, I'm done with it but I do have an update on the results. First of all, my mother said I shouldn't have thrown any of my natural clay back in with the bedding soil so Elizabeth picked as many of the clots as she could back out. Also apparently the bedding soil does not have enough organic matter in it and additional compost and fertilizer were needed. After those modifications things appear to be growing well.
And even though I am not touching this garden again, about a year later I had need to make another similar one. Here is that garden.