


Master Bedroom Fan
March 2018
So the ceiling fan in the master bedroom decided to eat a bearing. I had heard the bearings running dry but never got around to lubricating them since it is a little bit of a hassle. This is the only fan in the house that I hadn't touched yet because I haven't wanted to start working on the room (except for the floors).
Now by "touched the fans" I mean I've taken them apart and painted them black or white as well as changed the glass, changed the light fixture kits and in the case of the children's room, added another switch circuit to make the fan and light separate.
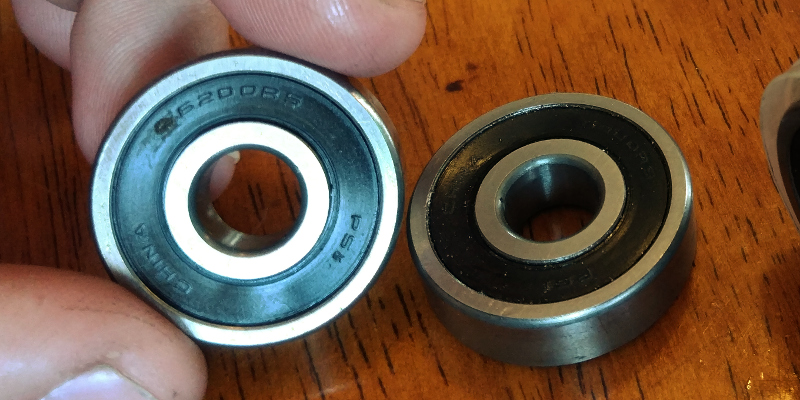
So the fan is broke and we are headed into the time of year when it becomes necessary so I needed to look into it. First I contemplated just seeing if I could get new bearings so I took it down and started tearing it apart to determine what kind of bearing was needed (no pictures though, at first this was going to be so short it wouldn't deserve mention on the website). They turned out to be common shielded deep groove ball bearings (6202Z) so initially things looked good. I thought I had some cheap ones sitting around so this was going to be easy! Unfortunately I was thinking about some 6200RS instead and while the sealed bearing would have been alright with me a different size just wouldn't fit so I was out of luck.
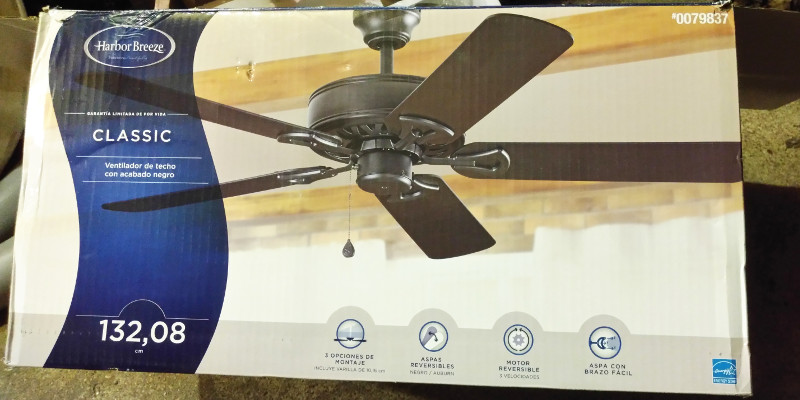
Since I was planning to be home much of the week for the foundation pour on my shop I had a window of time that was a good fit for getting this knocked out and I didn't want to wait for a set of cheap bearings in the mail. I checked the local Grainger and Motion Industries websites to see if they had cheap ones in town and the answer was no, just name brand stuff that would cost almost as much as a new fan (basic fans are pretty cheap). So I headed off to Lowe's and picked up a standard, cheap, black fan with no light kit.
This is where our wonderful federal government and some (pun intended) dimwits comes into play. Thanks to our valiant heroes in the war against letting us have appliances and house furnishings that work as intended instead of letting us vote with our pocketbook when technologies make sense there are some onerous clauses in 42 U.S.C. 6295 that have eliminated the standard light bulb socket from the modern ceiling fan. The only choice now is candelabra bases despite the fact that we have a standard that has worked well for a long time now and incidentally still has the largest selection of energy efficient lighting! So, if you like light and only stocking one light bulb you can't buy a new fan.
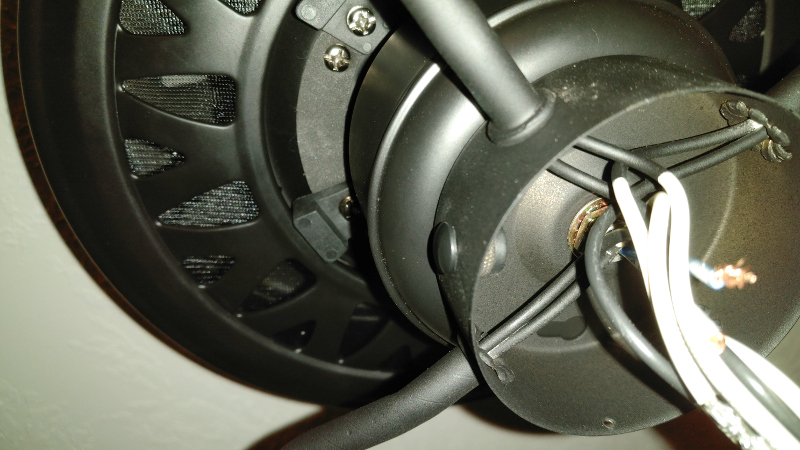
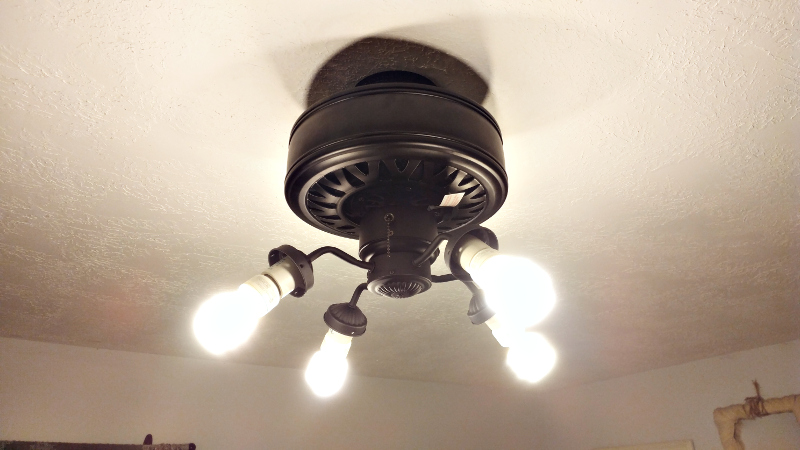
Now this has been a sore point for me ever since I found out about it originally and I knew this going into the store. That is why I bought a fan without a light kit. Fortunately for those of us who have no desire to follow along with the new lunacy, fans and fan kits have up until recently been largely universal so you can mix and match parts. Sometimes the housings don't fit together but they almost all have this common threaded tube:

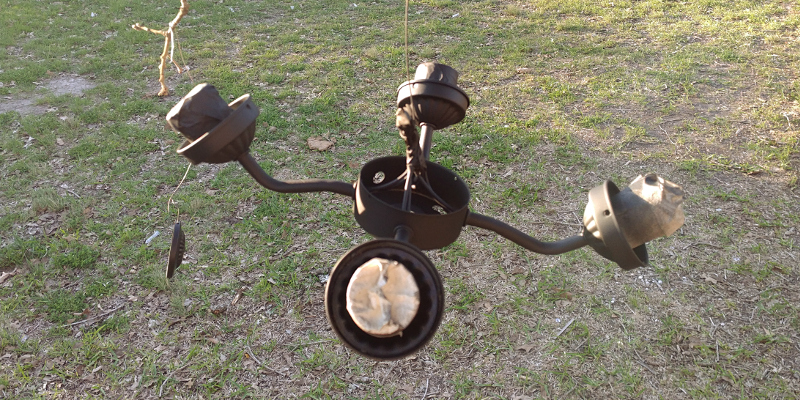
So I planned to take the light kit from the old fan and just put it on the new one. Since the old one was that horrible brass finished stuff I needed to paint it and started stripping everything down as far as I could.
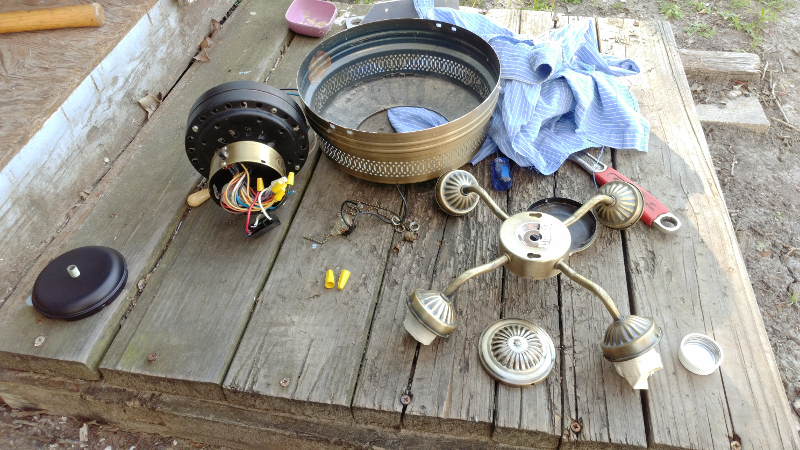
Then I wire brushed and acetone cleaned the needed parts so I could spray on a coat of flat black enamel that would match the new black fan close enough
While those parts were drying I assessed the situation inside. Here we find a fantastic example of why most people should not perform even simple projects on their house. Painting should be something that everyone can do, every commercial by a big box hardware store shows people painting and come on it isn't hard is? Nope, I think every place I have lived in has been painted at least one time by someone who couldn't be bothered to remove the switch and outlet cover plates or other bits like that. Instead people paint around things and miss or almost worse, spend a lot of time using masking tape to cover it up instead of breaking out the screwdriver and taking out one screw! Paint isn't just grabbing a brush and going at it, it is about prep people!
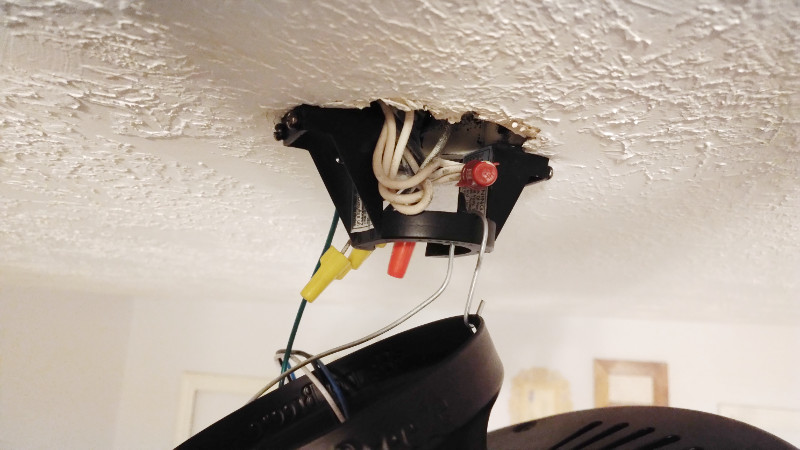
This brings us to todays example, instead of removing a decorative cover that would have taken 4 screws and zero effort when this ceiling was painted last time someone decided to make their life more difficult and paint around it.
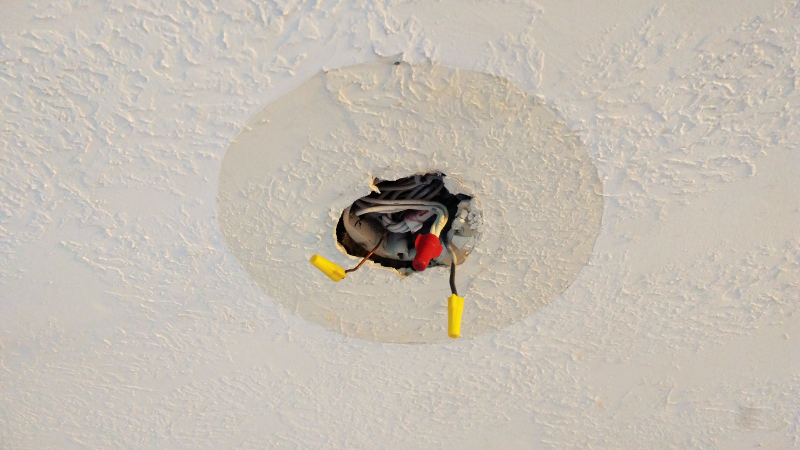
I am glad I'm not a painter, it must be incredibly annoying for everyone to think they can do what you do and then commit DIY sins all over the place while proclaiming how much money they saved instead of having you do it for a fair price.
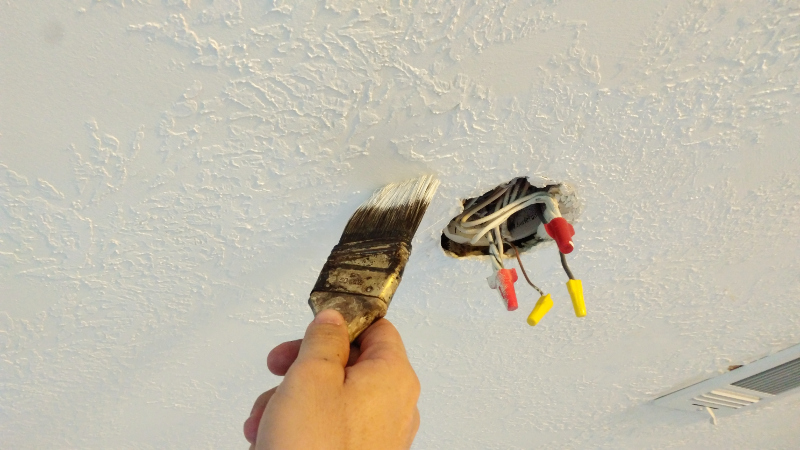
Back to my ceiling, since this will be mostly hidden by the fan perfectly matching the paint fortunately isn't critical. I had a gallon of flat white I have been using for my ceilings sitting around and after wiping the area down with a wet cloth I brushed on enough to cover the problem and feathered the edges out so it wouldn't catch the eye. One day I'll fix the drywall problems in the rest of the room and give the entire ceiling a fresh coat but honestly this won't be noticeable until then.
This room only has one switch to control the light and fan so part of my hesitation to rip into this fan a long time ago was the thought of crawling around in the fiberglass above to run a second circuit and provide independent fan/light switches). I wish I had though, while testing the wires for voltage before disconnecting the fan I found that a second live wire already ran through that box. So while not as nice as having two switches for fan/light I could have had a switch for the light and used an always on pull for the fan.
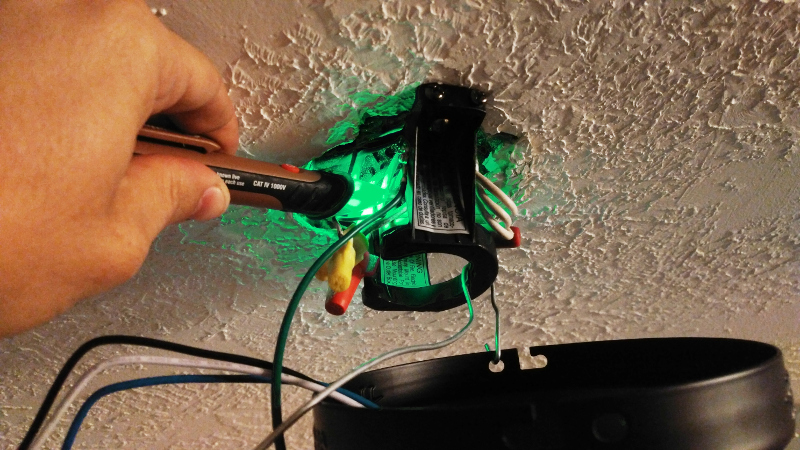
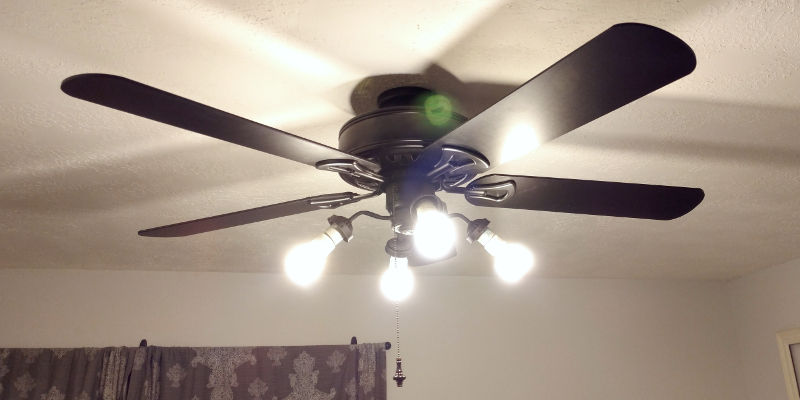
In case you were wondering, that picture had a green light because all the circuits were off and is actually from install of the new fan. I had already mounted the new bracket and if we zoom out you can see that I have the new fan hanging from it.
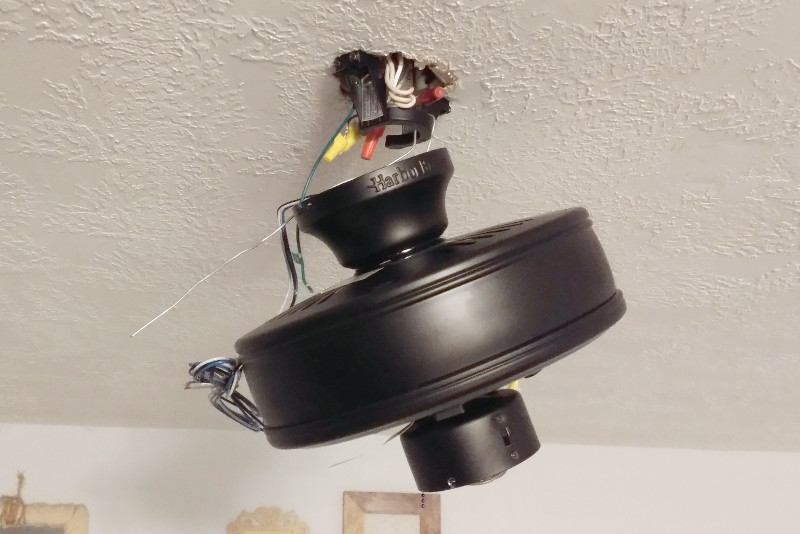
If you haven't mounted or removed a fan before you might find yourself in a position where you need more hands. You need to hold the fan while you are checking for voltage or messing with wire nuts but that means you don't have any hands to do the work. Take a piece of thick wire bent into a two ended hook up the ladder with you so you can hang the fan from the mounting bracket when you do. It makes life a lot easier.
So I got the fan in place and started on the light kit that the spray paint just finished drying on. It is simple, just screw the parts together with the threaded cylinder and put the bottom of the fan back on. The hot and neutral wire for the fan come through the barrel and it is ready for two wire nuts to put it all together.
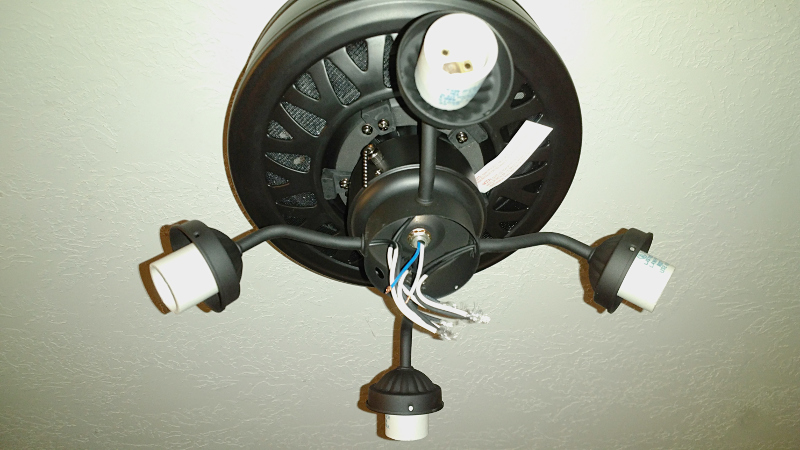
You might have noticed that there is an empty hole for a pull switch in the light kit. I don't want to put a pull in there since the lights will be operated from the wall switch now so I needed something to fill that hole. Conveniently the plug that was originally where the connecting tube goes on the fan fit perfectly and the cover nut for the pull I was no longer using looked like it would screw onto it.
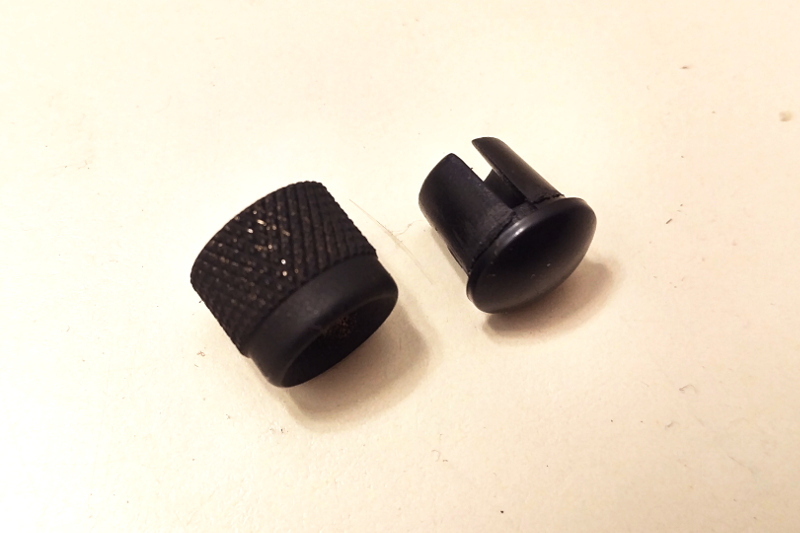
It did and plugged up that hole nicely!
After plugging the hole and connecting the light wires I flipped the breaker back on and checked that the lights worked with the switch as desired.
No problems there so I installed the fan blades and tested the motor with the pull switch. That worked great so no wiring issues.
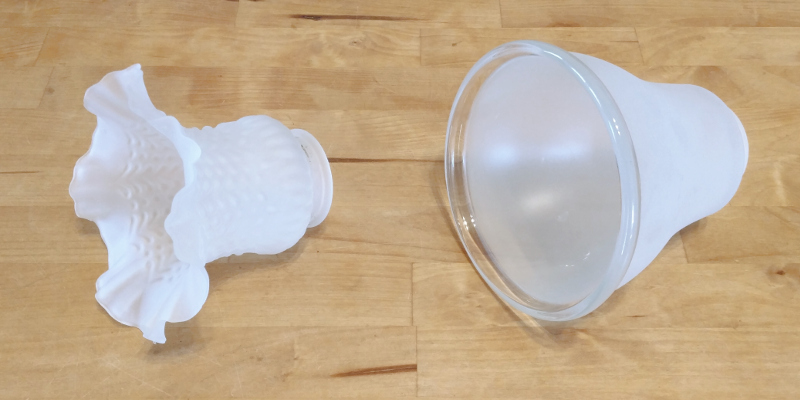
Not quite finished though, I really dislike the flower shaped glass shades that the old fan and ran out to get the same shades I have used in the rest of the house, much better looking in my opinion.
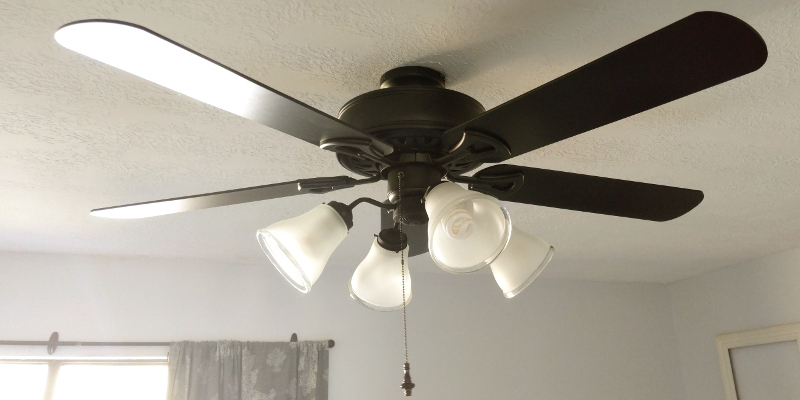
Putting the new shades in takes all of 5 minutes and here is the finished product.
Still not a large task but a good example of how much extra work people can make you do by passing bad laws or doing something shoddily. Prep properly when painting and save those old light kits!