


The Baby Wall
We wanted to make the living room area a safe place for kids that they could play in without close supervision. While it is a good thing most of the time our kitchen is open to the living room and separating it requires spanning a 11-1/2ft gap with a fence of some kind. There aren't exactly any commercially available solutions that would do that reliably in a way that would actually be useful. Either it would be a giant pain in the ass for adults to get in and out or it wouldn't hold the children at bay.
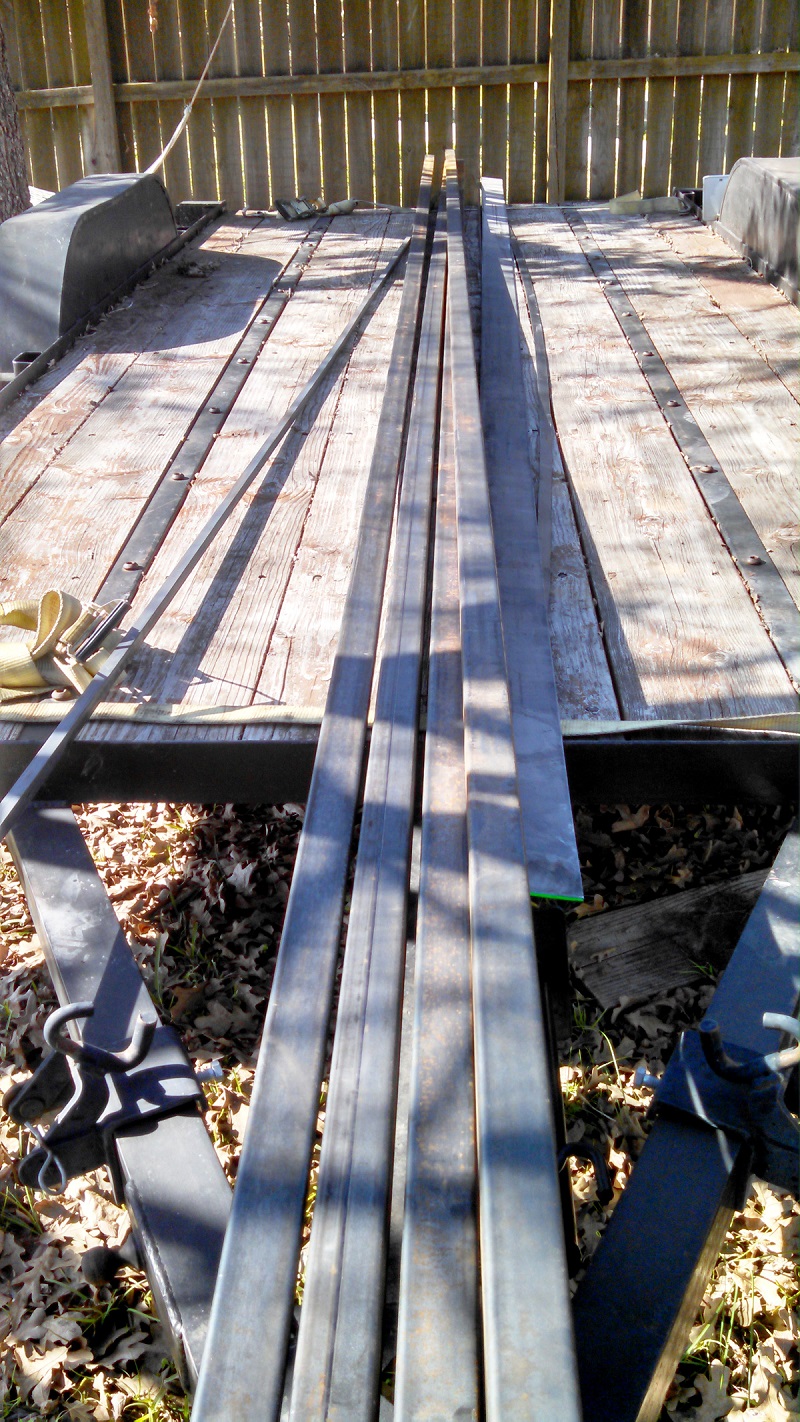
Fortunately I have the ability to solve this problem myself (though I would pay someone else to do so if I couldn't). I set forth to create a nice sturdy baby wall. Off to Bryan Iron and Metal for some steel!
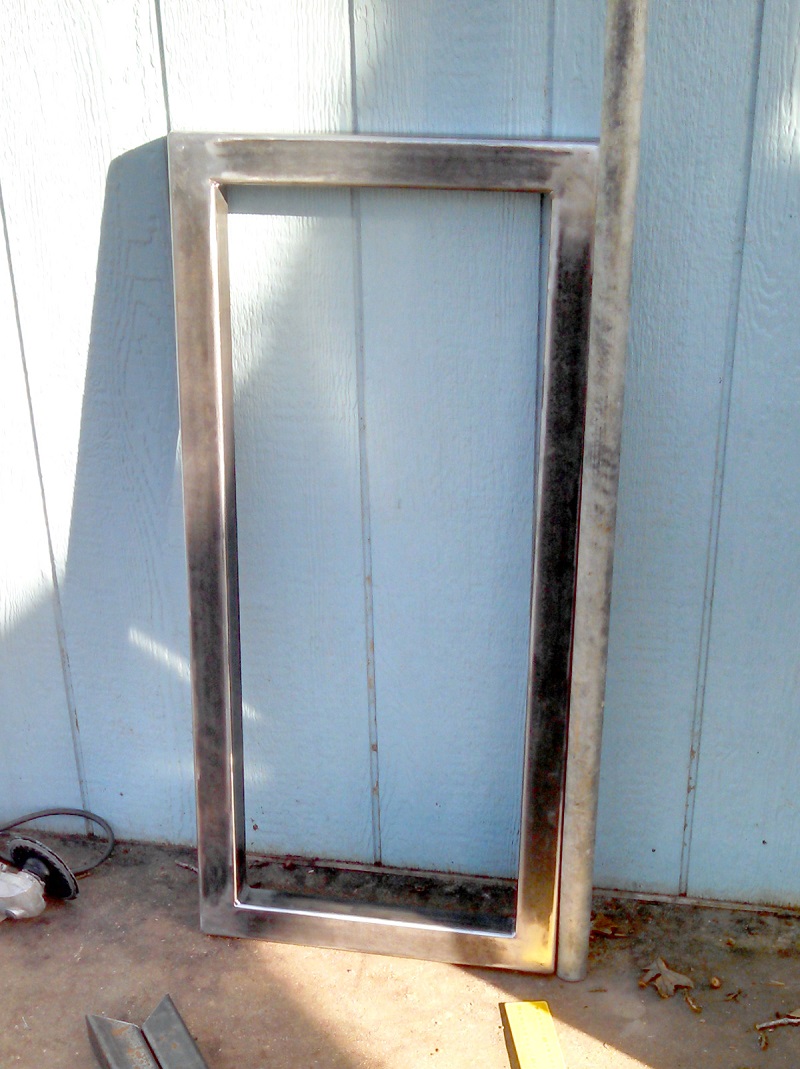
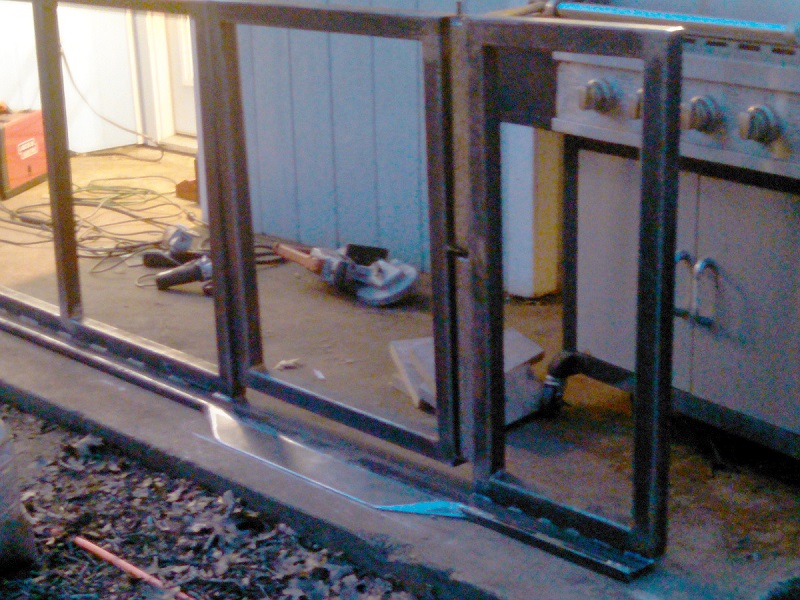
I didn't take any pictures of my plan but I figured out where the door would be in the span and started by making the element it would attach to first. Notice the pipe I have leaned up next to it. After this picture I welded that on. The purpose was to make the door pivot around something that wouldn't have a place to catch their fingers and pinch them. It would slide around the round pipe and knock any hands out of the way (it worked, no one has got their fingers in there).
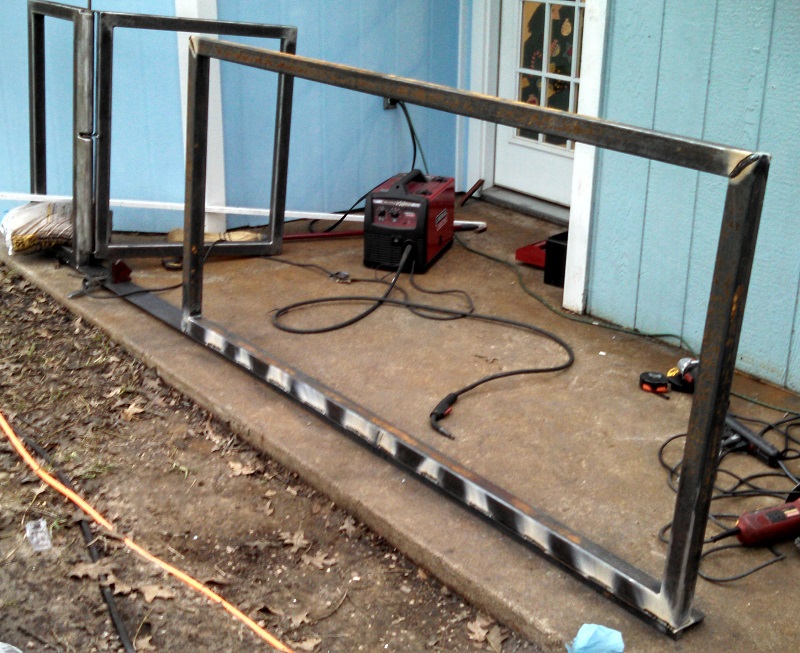
Then I made the gate and started on the rest of the fence. I didn't get a picture that shows it but the bottom flat bar is more than a 4" x 1/4" strip of steel. It has a 3/4" square bar welded on underneath the kitchen side for added torsional stiffness and support along the span. This fits because the kitchen sits 3/4" lower than the transition strip that ends the flooring in the rest of the house.

I welded up the large box frame seperately then stitch welded it onto the bottom flat bar. while I kept everything tweaked in just the right way to make it straight when I was done.
A few more upright sections (really just for looks) and the frame is finished.
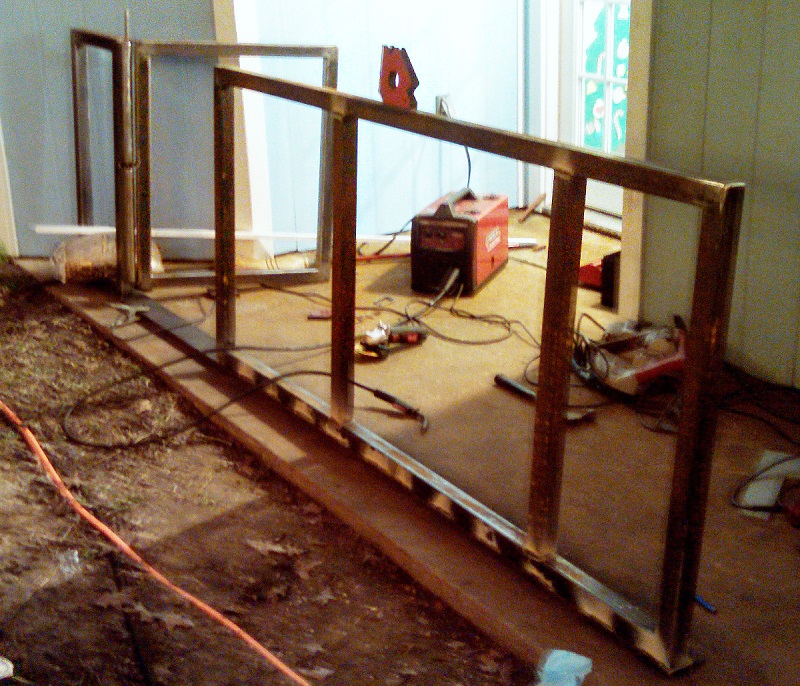
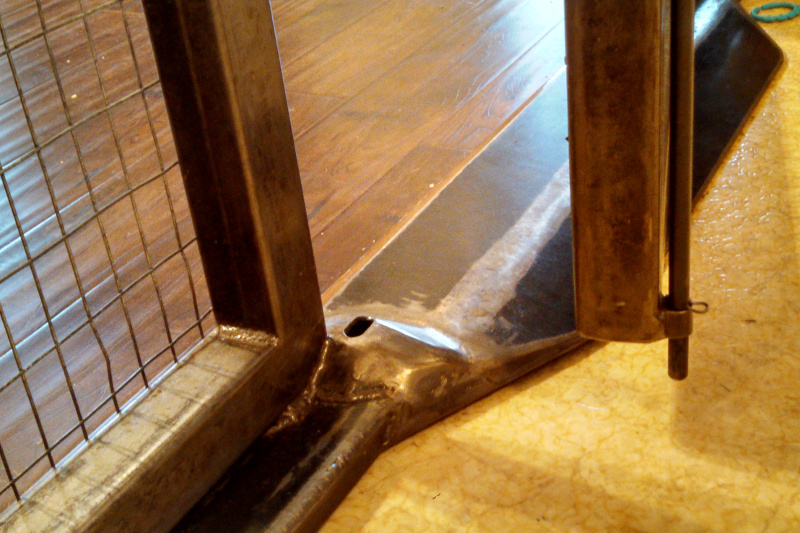
Finished except for the latch mechanism and the ramp that makes a smooth transition from the kitchen to the rest of the house. Here you can see that 3/4" square bar I mentioned earlier.
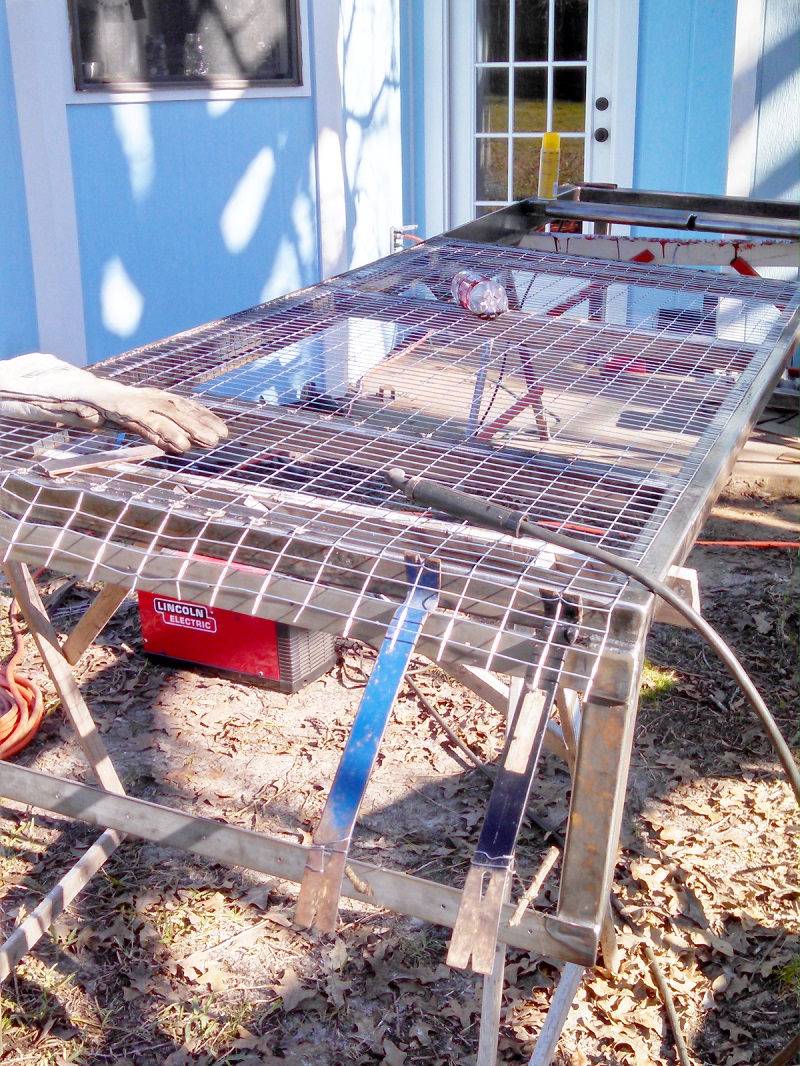
Once I finished the latch (which I haven't shown) I needed to turn the structure into a fence. I used the heaviest welded wire mesh I could find in town. I specifically chose the version with thin holes so the kids wouldn't be able to fit their feet inside the mesh and use it to climb up. 2 years later they can hang on with their toes but don't like to climb or hang on much because it hurts the toes.
Not shown is what I did for a protective covering. After I finished welding everything up I soaked it in phosphoric acid to remove rust and etch the surface. Then I washed it thoroughly and applied a couple coats of shellac. I chose shellac because it is very kid friendly and it is super easy to patch or touch up any time. It is also very fast drying.
Finally here it is in place. It is just screwed into the wall on each side with a hole pattern that matches the studs so whenever it is time to take it out I just have to back out the screws and patch the little holes they will have left behind.
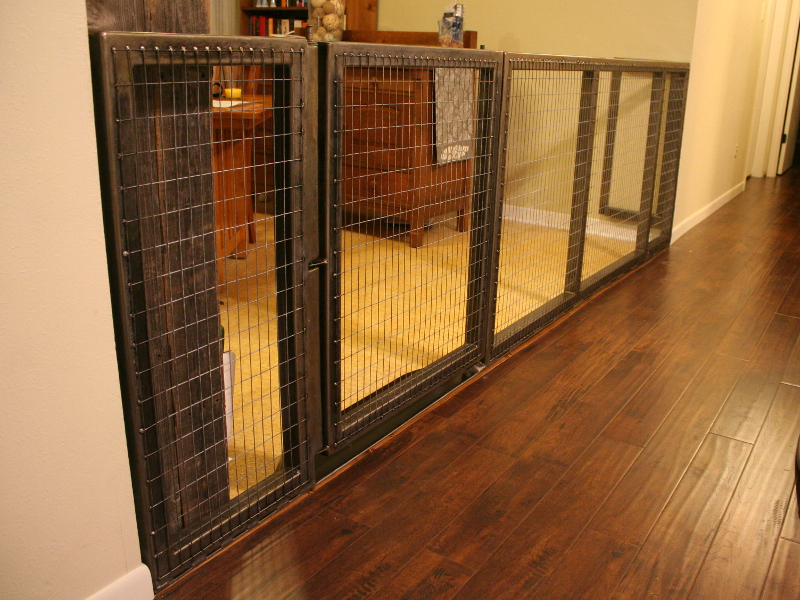
I don't know when we'll actually remove it though. It has been incredibly nice to keep them out of the kitchen whenever there is a mess or you are working on something that they can't be allowed to mess up. Since it really doesn't impede traffic in and out of the kitchen we will probably leave it until they manage to open it themselves from the outside and render it useless.
Quick update with a picture of the latch mechanism. It is simply a rod retained on the door that gets pushed up by a ramped area on each side and then falls down into a hole. It is a little loud but works pretty good. I meant to make it nicer with a handle and everything but my "temporary" rod and cotter pins to retain it works great and it hasn't bugged me enough to finish things properly. At this point it just isn't ever happening unless it is still installed when I sell the house and someone wants it left up.
Update - 2 years later
So like I thought on the latch mechanism and "temporary" rod I never ended up getting around to finishing it. When the kids reached 2.5 years old and I built the new kids table we started discussing removing the door or taking it down soon. Well, the discussion turned into a do it now verdict because of our fridge actually.
A few days before I was scheduled to fly out for a job in Canada our fridge quit on me. I did some quick troubleshooting and determined that it was in fact the compressor that had gone out, not a relay or anything like that. A quick check around showed I couldn't get one in town immediately. If I knew I was going to be home for a week I would have ordered the part and fixed it (even though that is practically a wash in terms of cost and my time vs buying a new one). Anyway, I wasn't so we had to go pick up a new fridge and that is what made me take the gate down. The old fridge fit through the gate and the new fridge did also, however just barely and without any of the protective packaging that would keep me from scratching it. I decided taking out the babywall was better than risking a big scratch down the side of the brand new fridge.
Since I still don't have my garage yet and realistically the odds of someone wanting it enough to make it worth holding onto until I eventually sell the house are pretty low I decided to just throw it out in the back yard as another feature for the kids to play with until we get tired of it.
There is one problem with that though, the gate was designed so they couldn't open it from the outside! Easy enough solution, I bent up a piece of 1/4" rod and welded it onto the latch rod for a handle that could be manipulated on the outside.

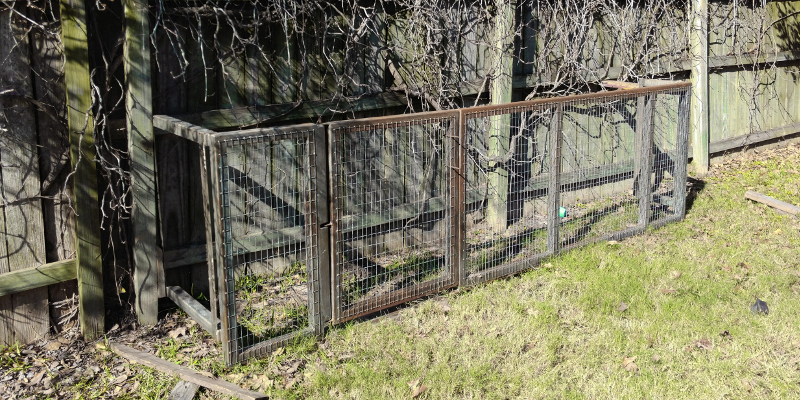
So there it is, secured to the back fence so it makes a little pen that can go in and out of. If it is still around in the spring I'll probably add some kind of lattice or mesh in a lean-to fashion to encourage some vines to grow over it and make a little shelter.
And the handle as seen upright and from the outside.
