


Re-tiling the guest bathroom
February 2013
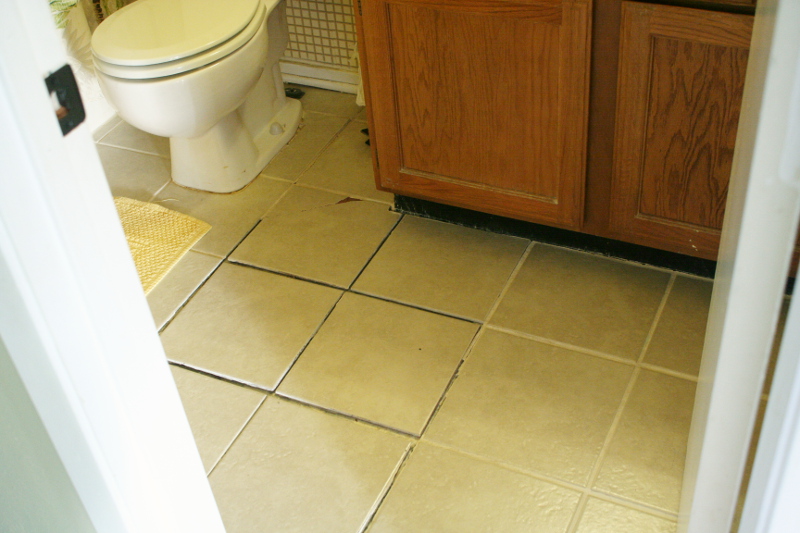
I didn't like the tile put in the bathrooms by the previous owner (largely because they did a horrible job of it) but it was mostly functional and low on my priority list. That is until we had the foundation fixed. The tile had been laid after the bedroom sank so when the master bedroom was jacked back up the guest bathroom tile pushed up and created a 2inch hump or tent in the middle of the room. That booted it up the priority list pretty good.
I wasn't able to take care of it immediately so I busted out the grout on a few tiles and we lived with some loose tiles for a couple of months with it like this.
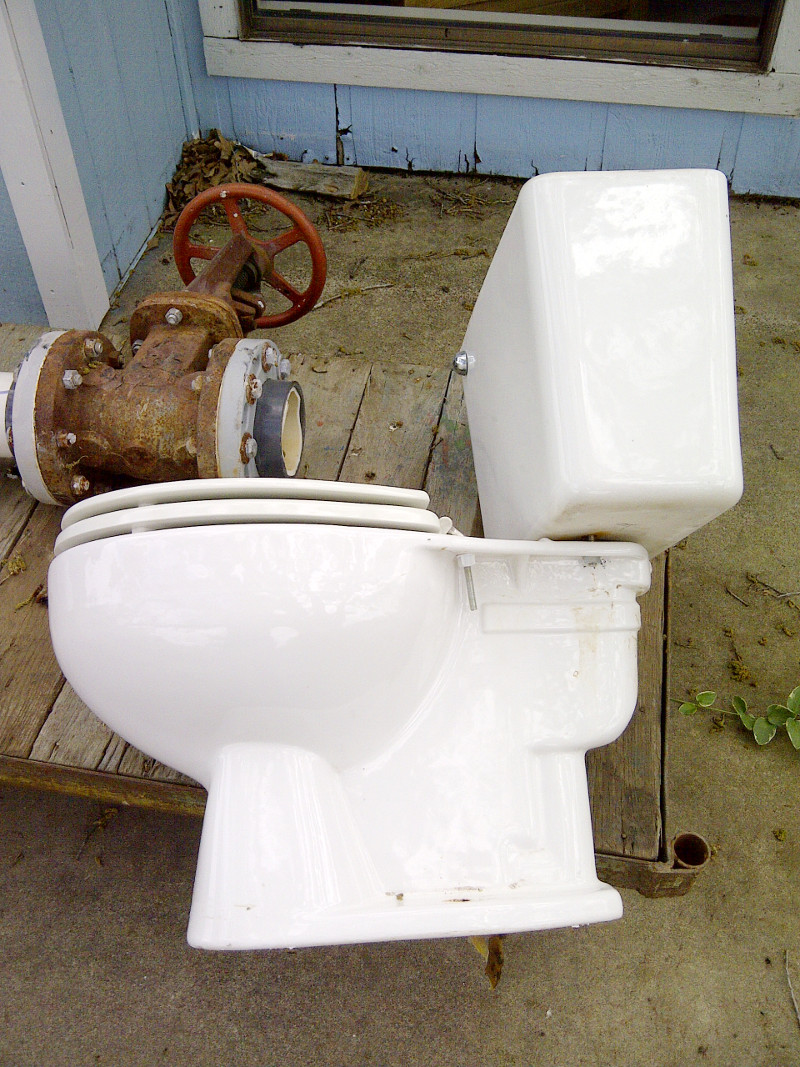
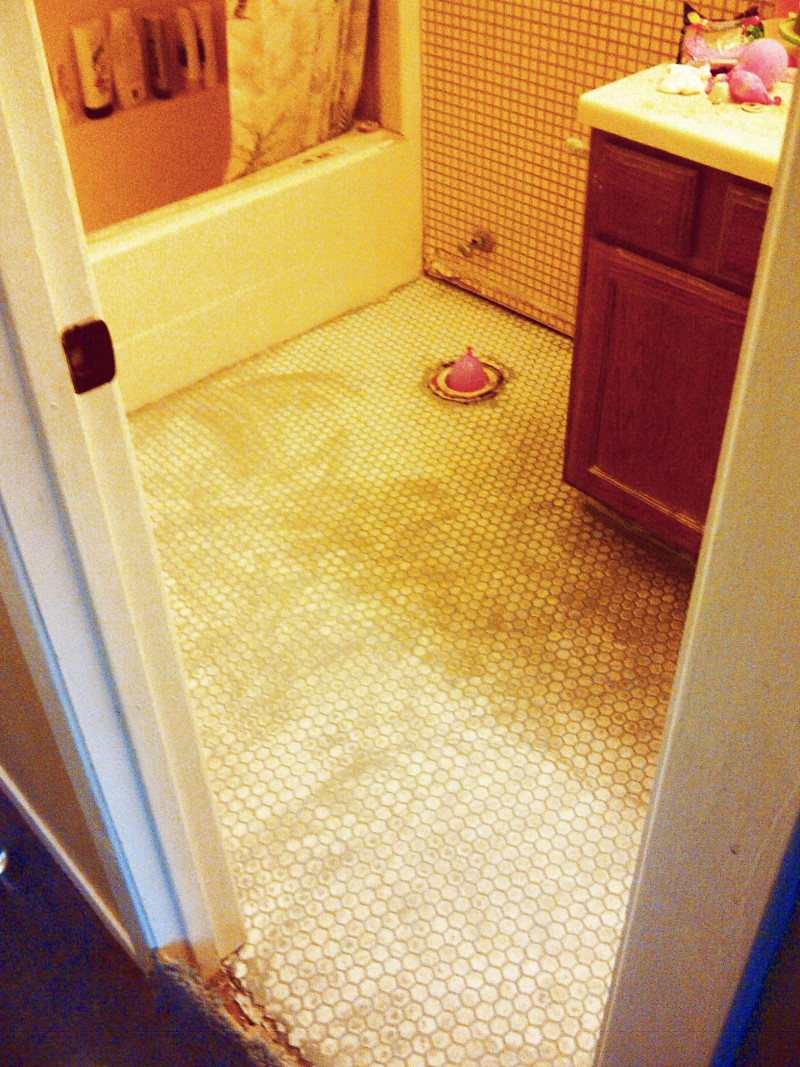
Then I finally got freed up to do something about it. First step is always to take out the toilet and install some kind of plug to keep the sewer gas out of the house (I used a balloon that you'll notice later). In this case the toilet had some cracks so it was so-long forever on that puppy.
I didn't get any pictures unfortunately but my next step after popping up the tile was to patch some holes in the concrete and grind down any high spots on the slab. It wasn't perfect when it was first poured and there is a crack that runs through the bathroom so just laying the tile on without addressing the slab would have produced a wavy floor.
Even though the master bedroom was raised and is now supported by piers and stabilized sand there still might be some movement of the slab so laying tile directly on top of the crack didn't seem like a good idea. I didn't snap a picture but I used the orange schluter (sp?) grid material to space the tile up and hopefully accommodate some slight movement of the slab below.
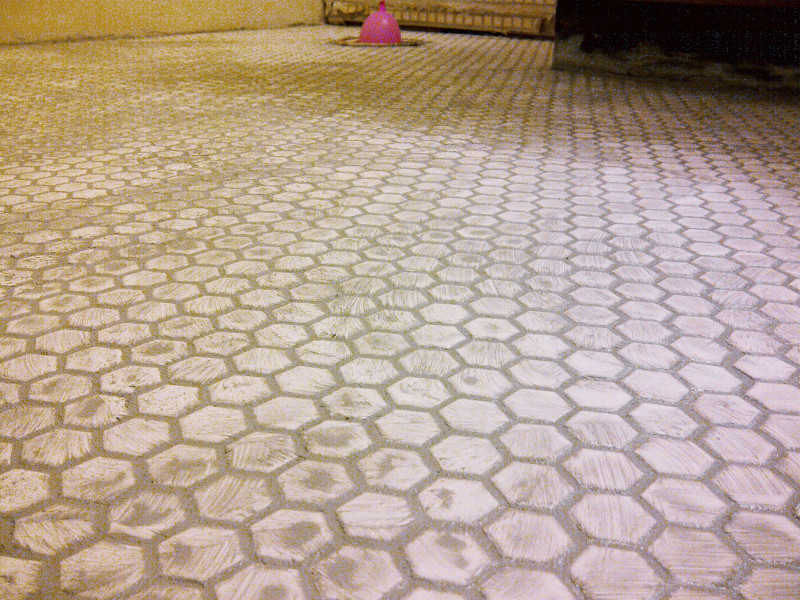
Another thing that will help if the slab does move is the tile we selected. I don't like big tile and Elizabeth doesn't either so we went with a small hexagonal ceramic tile.
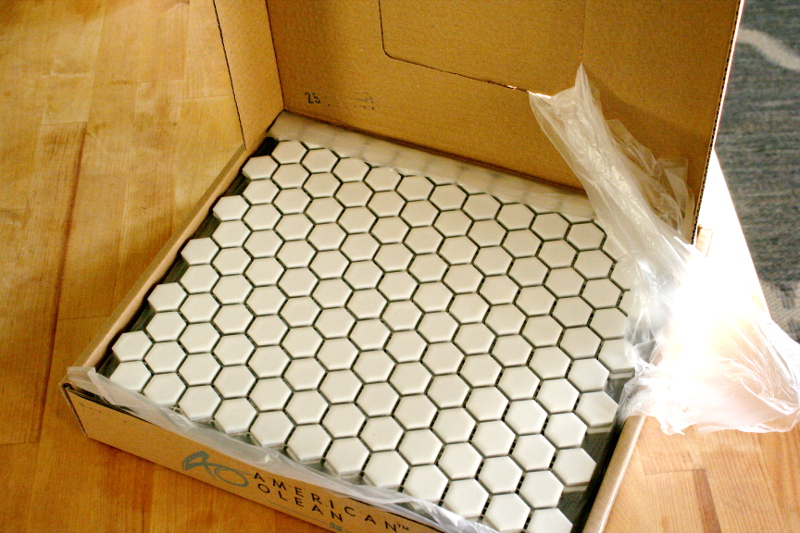
As you can see it comes in mats with a bunch of them held together by a fiberglass mesh on the back. I can only imagine how much of a pain it would be to set each one individually if it wasn't done that way.
I laid the whole room out with the tile and pre-cut everything that needed to be cut. Then I took it all out and stacked it in a way that I would know where everything went.
To install I mixed up some mortar, troweled it over a few square feet then placed my mats and moved to the next few foot area.
I used a piece of plywood to distribute my weight across the tile I had already laid as I worked and pretty soon it was all done. After letting it sit for a couple of days it was time to grout.
We chose a grey grout that seemed like it wouldn't get dirty easily yet wasn't too much of a contrast with the tiles.
Man, that grout was a lot of work. I mixed it up and then squeezed it into the joints with a foam rubber trowel. To get the right joints thickness everywhere I swirled around a damp sponge while trying to maintain the same pressure everywhere. As you can see I left too much grout on top of the tiles and I also waited too long before I tried to rub it all off of the tiles and it got really hard. I don't have a picture but when I was done it looked horrible and my grout lines weren't even. So I scraped most of the grout out and did it again. It wasn't perfect but I was happy enough with it this time.
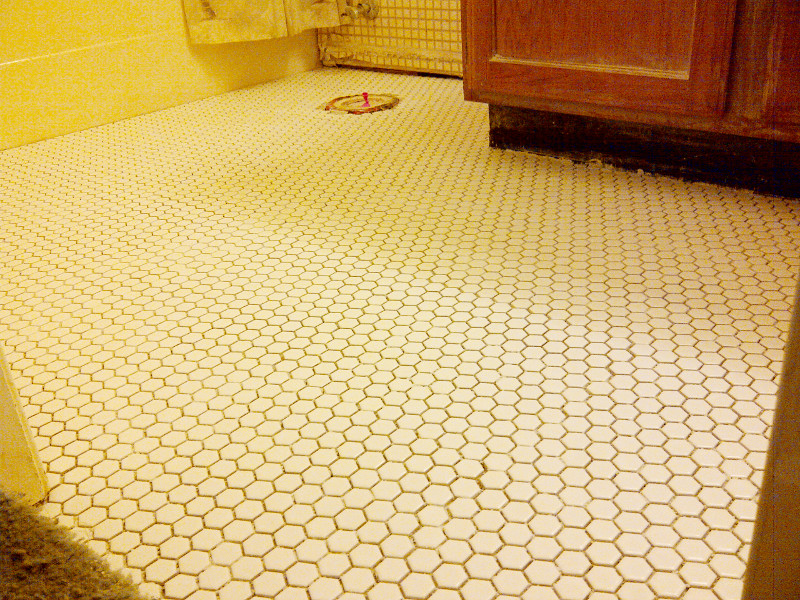
I didn't take anymore pictures but after I had buffed all the haze off the second time I still had a lot of work to do. I had to replace the baseboard, install the new toilet, caulk all the edges, repaint the vanity kickboard and redo the carpet-tile transition. Eventually I got it done though and we had ourselves a much nicer looking bathroom.
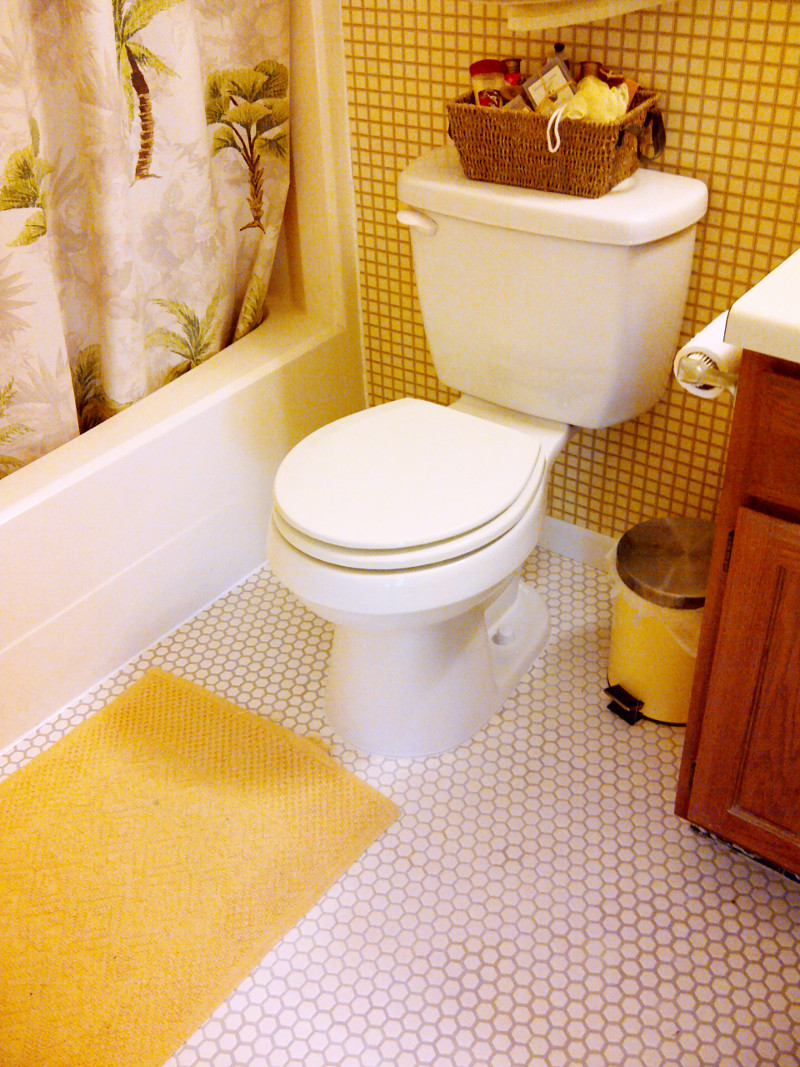
Ok, so the kickboard wasn't painted before we started using it and I took that picture. It is now.
Eventually I'll change the tile in the other bathroom but that might be awhile. It is currently serviceable and I have many, many more pressing projects.