


Climbing Structure for the Kids
October, 2016
The kids really like crawling around in the unfinished covered shelf that I was making to store my furnace and other things that sit outside. That won't do them much good when I finish it and fill it up with stuff though so I decided to make them something to climb around on. If I am honest though I didn't just want to make something for them to climb on because I thought they would enjoy it. I wanted a fast satisfying project, the kind which you just start working on and it goes together quick. No finishing touches that take forever and if it isn't perfect so what.
In the spirit of a quick slap together project only meant to last a couple of years till the kids outgrow it I decided to use 2x2 and 1x4 furring strips. As I said no plan so I just picked up the minimum quantities that got bulk pricing.
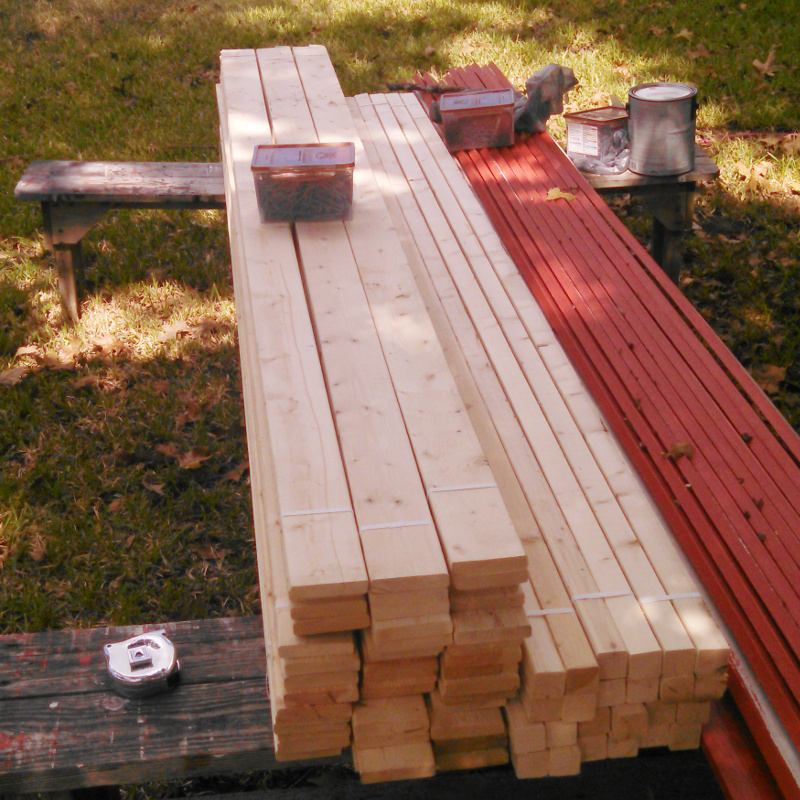
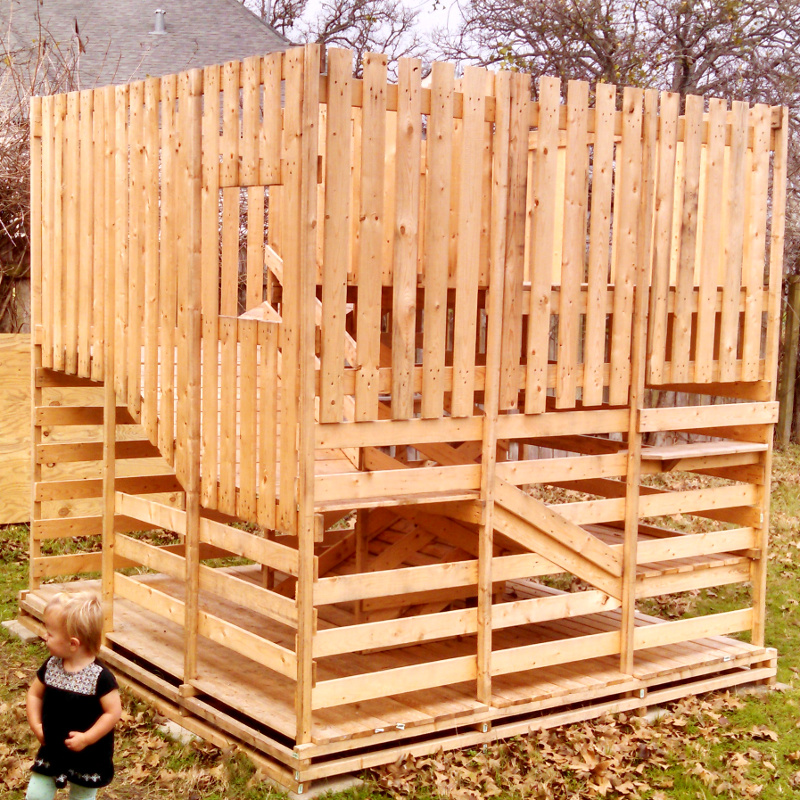
Maybe I should have planned a little more and used 2x4 for the base but I didn't. I laid out a 8ftx8ft square subdivided into 9 equal sections.

Then I screwed on some upright 2x2 posts at every corner.
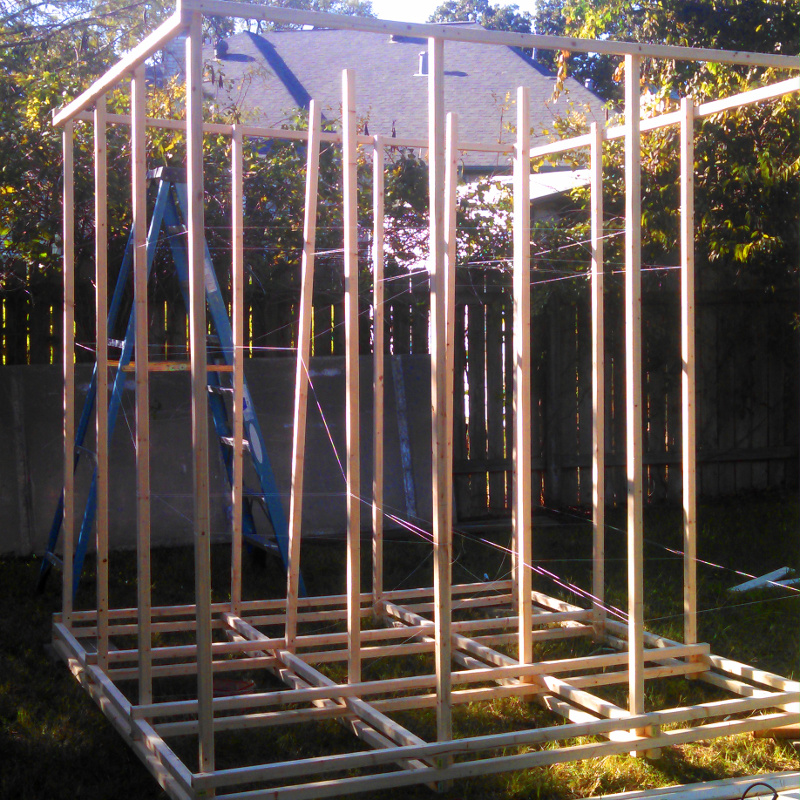
I still didn't know exactly what I was going to do at this point, I just had a rough idea that I wanted different levels and a way for the kiddos to get to the top of the structure. To figure out what I was going to do I started just tying the string you can barely see onto the upright. I kept going until it looked like something that would work then I took a few measurements and marked all the posts up where each platform would touch.
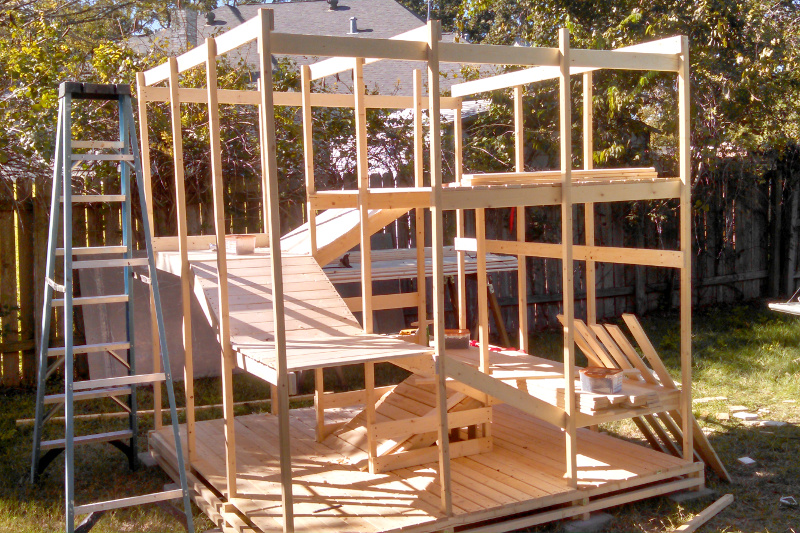
With that all figured out I planked the bottom of the structure then started on the platforms. Since I could see the process of finishing this was going to take a couple days I intentionally left out one of the lower ramps while I installed the upper platforms so that the kids couldn't climb up to something that was unfinished and dangerous until I was ready. I only put it in after all the floors and upper wall/railing was done.
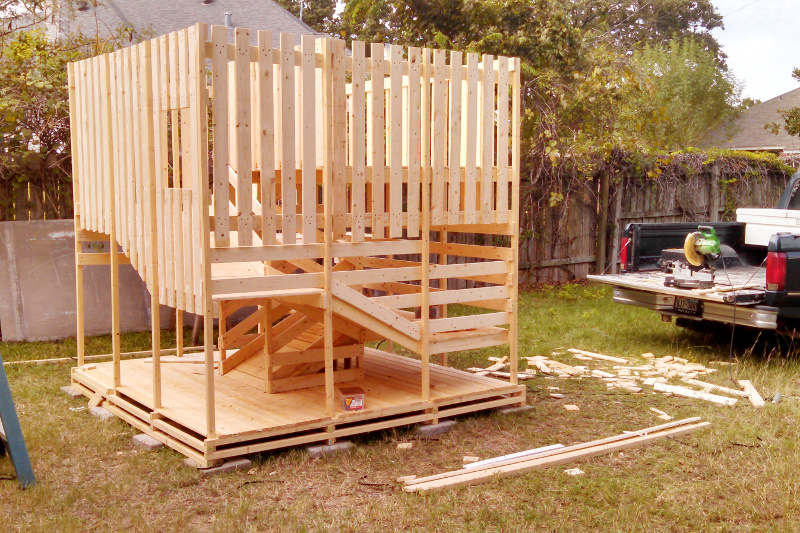
You might notice that the upper half of the structure has boards running vertically while the bottom has them running horizontal. I wanted to give them something that they could climb on like a ladder but I didn't want them to be able to climp over the top rail or get that high up climbing on the outside. I am glad I did it that way, they have already tried to climb over the top. The worst one is the little guy.
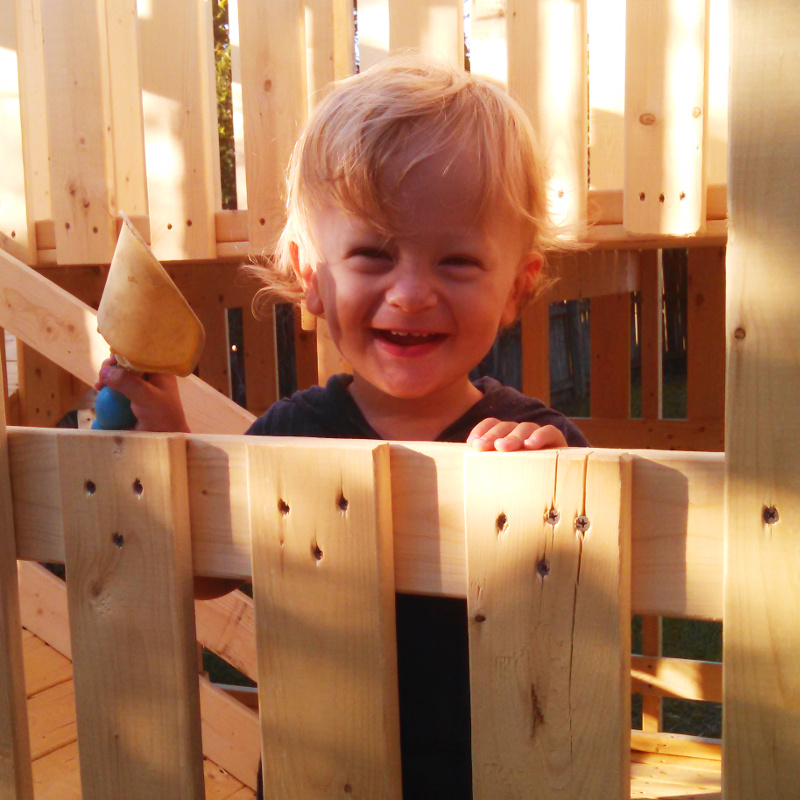
He has no sense sometimes and I had to board up the lower windows where the slats run horizontally because he tried to climb out of them and would have fallen straight out on his head if I hadn't been there watching how they played on it. Hopefully in a few months he will be either smarter or more capable and I can grant them their windows on the 2nd level again.
Ladder Update
So the climber is still rocking a year later. The kids actually play with it a little more now than they did at first but it is time for the first modification.
Joseph in particular has been obsessed with "yadders" recently and despite very stern reprimands any time they touch mine I still caught them all climbing on one. That ended up being a great teachable experience because they fell while getting down and there were bumps and tears. As long as it doesn't inflict any permanent damage getting hurt is the best kind of lesson and quickly teaches you your limitations and the consequences the world will hand out as a result.
That permanent damage part is kind of important though and since ladders are the most dangerous "tool" most people own I changed how I store mine and decided to give them one that is less risky. I patched together some ladder parts from the attic access in the garage room and after I rounded over the sharp edges permanently attached the result to their climber.
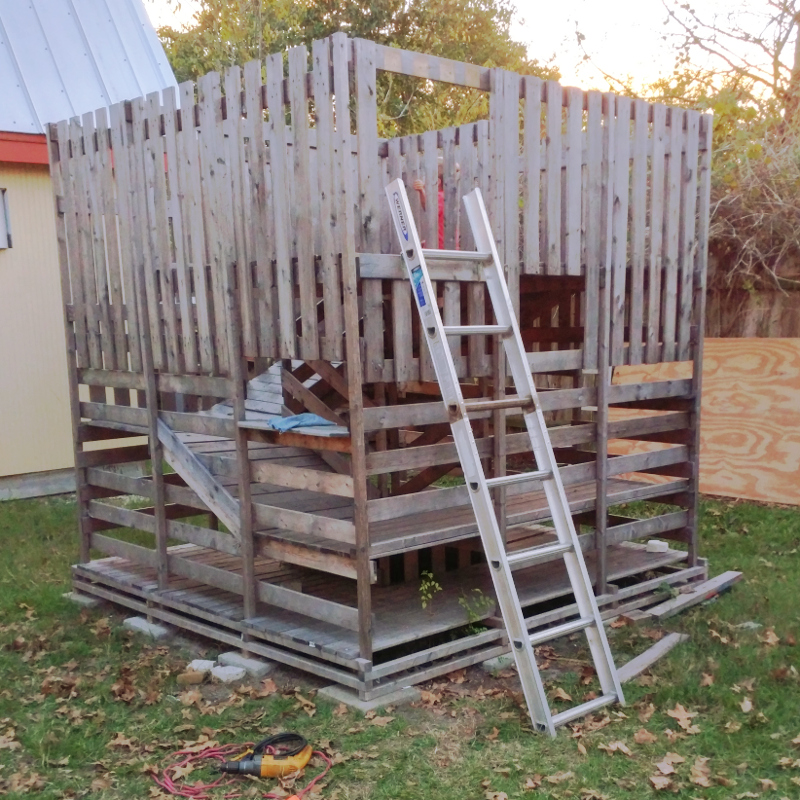
They can still fall off of it but not as high as my ladders go and most importantly it won't move on them. Safe enough!
This is an example of one of the good things about kind of slapped together stuff which I don't intend to last forever (not that common for me). No worries about just changing it up as needed. Just hack it up and roll.