Play Pump
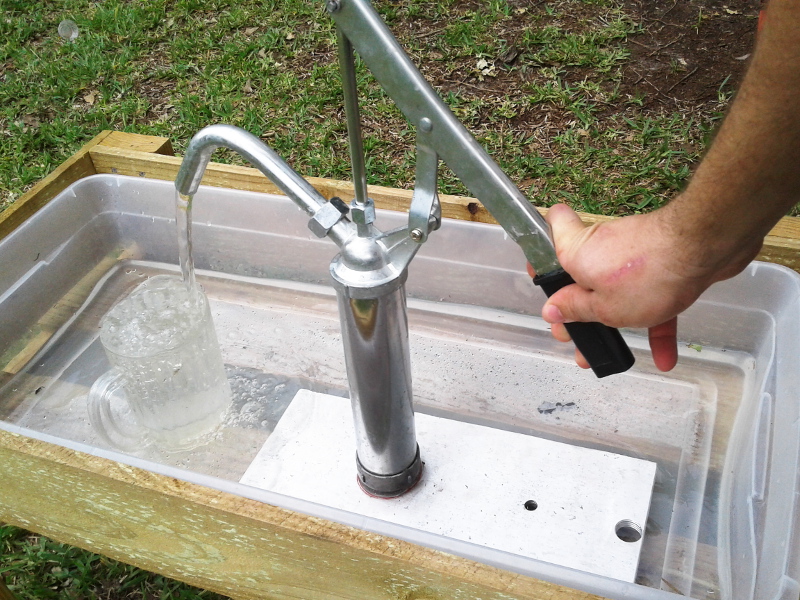
The kids absolutely love pouring water into things and catching flowing water. So we wanted a pump of some sort for them to use in their water table outside. I first started looking at cheap little electric ones, maybe battery powered or solar but Elizabeth thought it might be nicer to have a manually powered one.
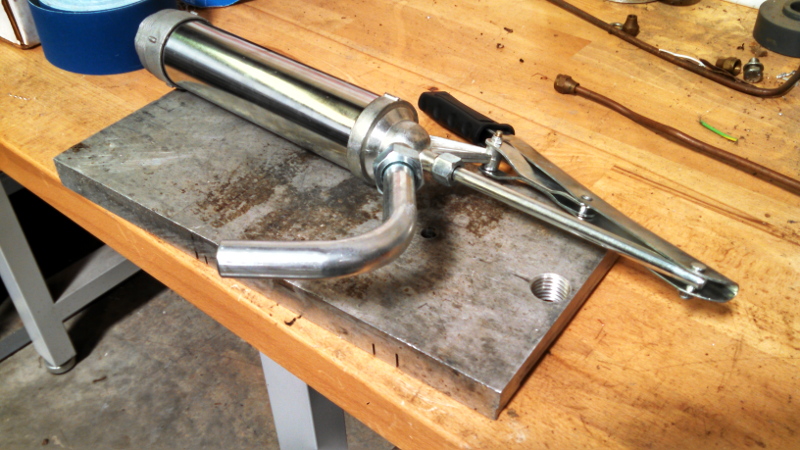
The cheapest "cast iron" ones like you might think of are like $60 so I didn't really feel like spending that much on a simple toy they may or may not use and certainly won't be of much interest for that long. Harbor Freight has cheap hand pumps to use with 55 gallon drums so I decided to part with $12 for one of those instead. I didn't know exactly how I was going to mount it that would let it be easily removed until I got home and started digging around in my stash. I decided to just attach it to a heavy hunk of aluminum that is pretty much useless for anything else because it is full of drill holes from a test I ran in college.
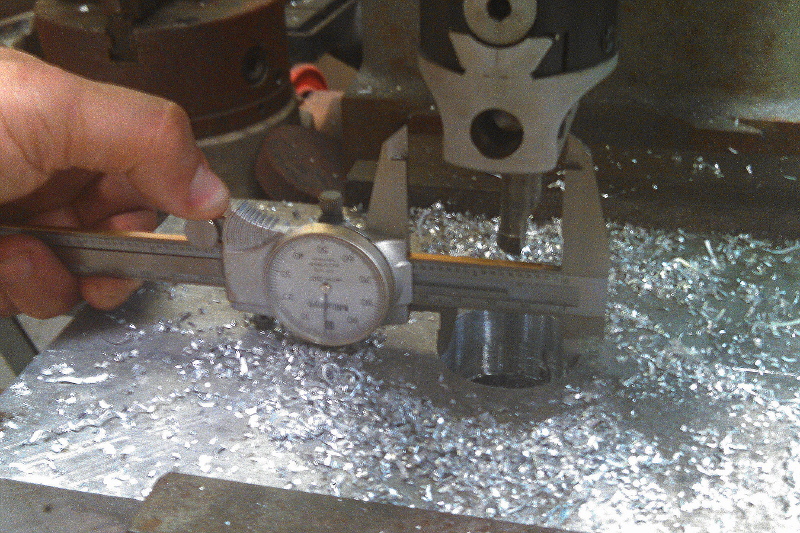
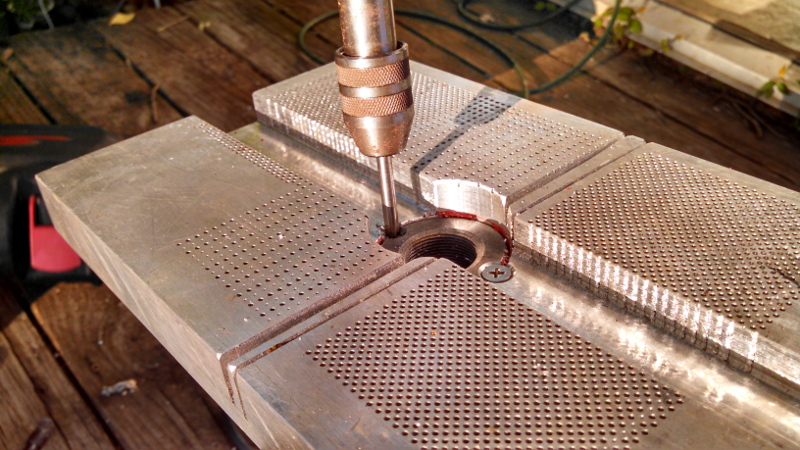
First step in mounting the pump was to pop a hole at a convenient location in the plate. I centered it from side to side but purposely went off center in the long axis. I had a 1-5/8in annular cutter on hand which was conveniently undersize for the 1.775" holes I wanted to make.

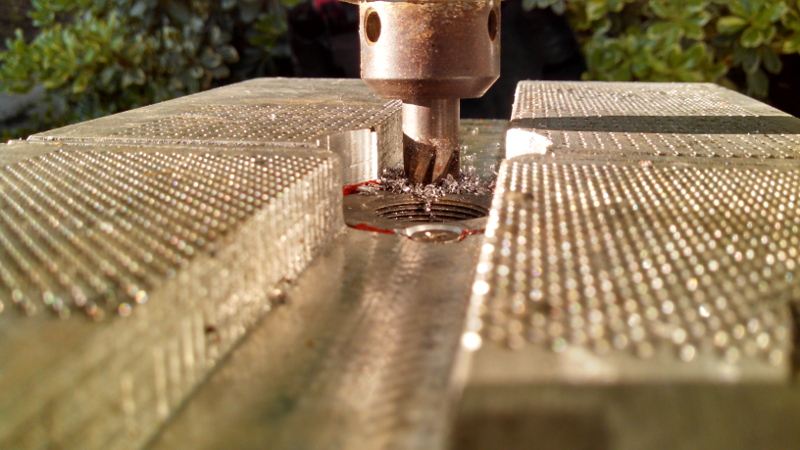
A few passes with the boring head taking about 0.040in off diameter each time quickly got me in rannge of my final size.
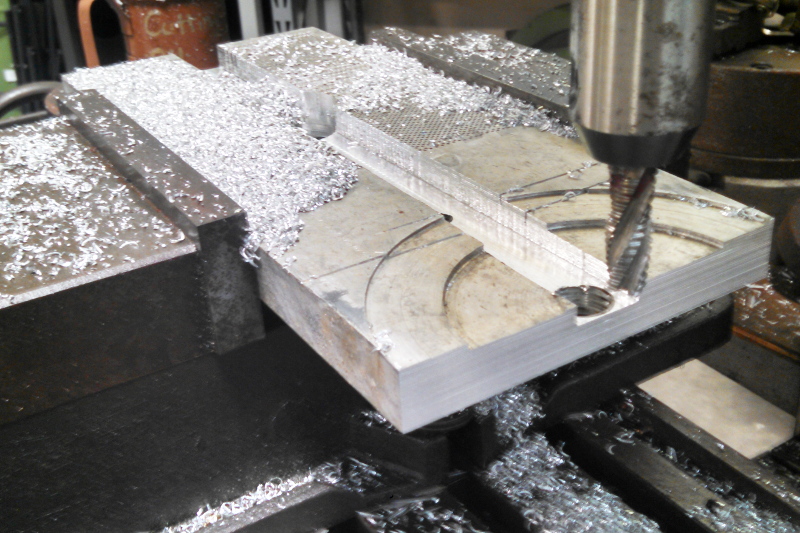
The water is drawn into the bottom of the pump. To allow free flow to the inlet I milled a groove on the ugly side of the plate, roughly 1 inch wide and 1/2 inch deep. Nothing fancy, just 4 passes with a roughing endmill.
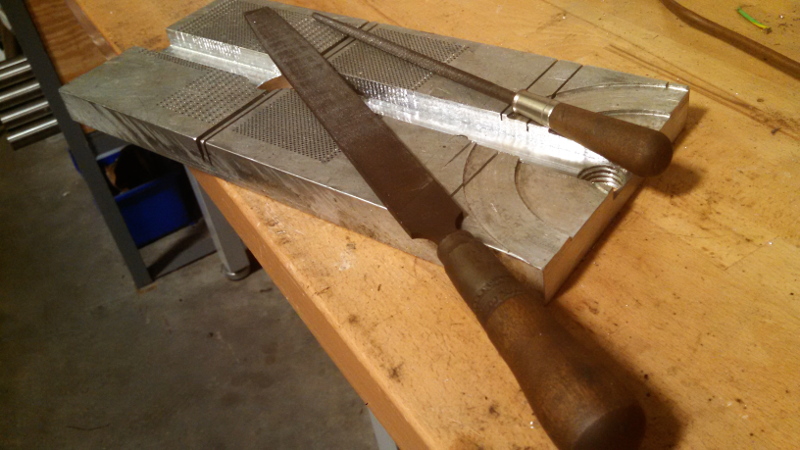
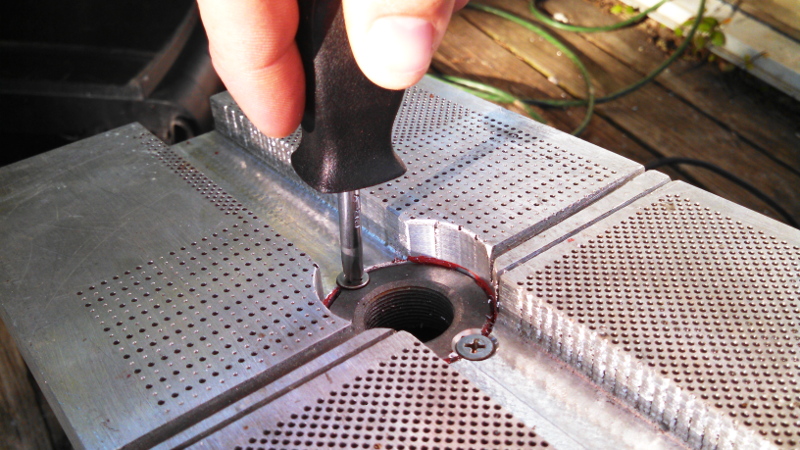
After milling I cleaned up the rough edges and rounded the corners with hand files to make sure there won't be any cuts for the kiddos.
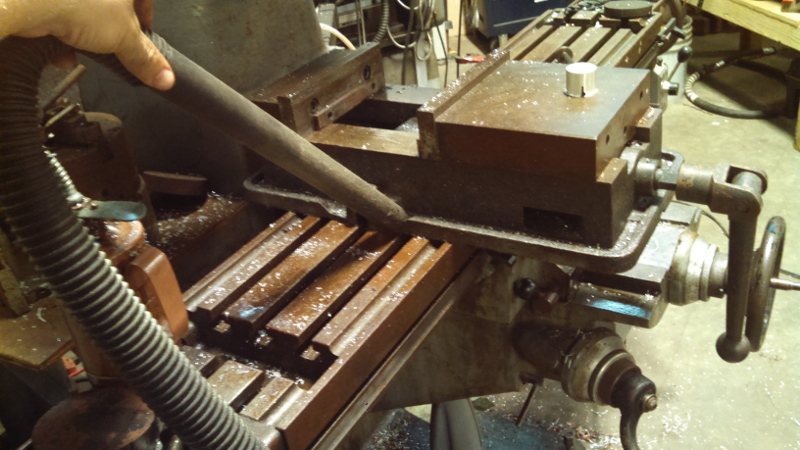
And I almost never take a picture but it is part of the process and almost as long as the machining itself on something like this. Gotta clean up the machine so it is ready to go next time. I like to use a shop vac to remove the majority of the chips before I wipe the remainder off with a shop rag and apply some fresh way oil.
To pretty things up a little I touched up all six sides with the belt sander, I think maybe a 220grit belt. I didn't go for perfect, just take off the grimmy, oxidized and stained surface.

The bottom of the pump was a tight fit in the aluminum plate but I don't think it is good enough to hold forever by friction. I thought I had some epoxy sticks at home to bond the parts together but I must have thrown it out because it was old so I made an unconventional choice of adhesive, RTV silicone. I don't think it is a particularly good choice but it was all I had on hand at that moment which seemed like it would take forever sitting in hot water baked by the sun.
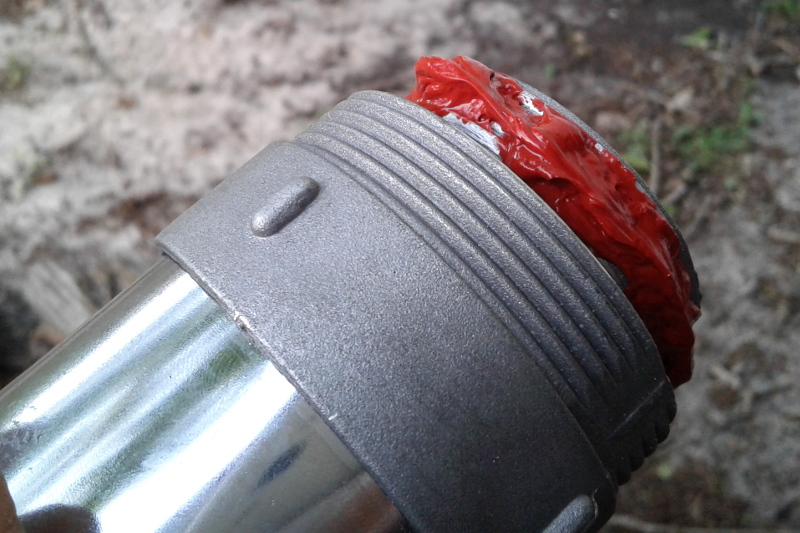
I forced it into the hole and wiped up the excess silicone then put it away i nthe shed to sit for 24 hrs before I let the kids have at it.
I'll update at some point with news of its success / failure and maybe a picture in use at some point.
The update is success and failure!!! The kids love it and can do it apparently but the RTV that I had doubts about did fail. So I will correct it mechanically like I should have in the first place. Drill and tap some holes at the intersection of the pump and the aluminum plate on the underside.
Countersink for the 10-32 flat head screws that I am using (first stainless fastener that came to hand in my stash).
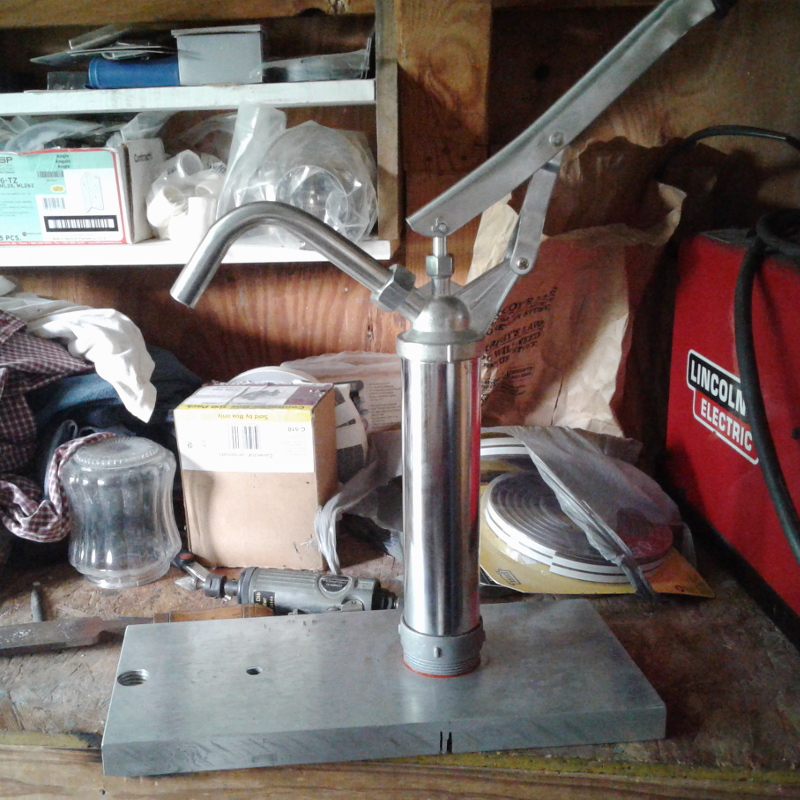
Screw the second one in and there she is, locked in and ready for play.
And here it is with me playing.