Sheldon Lathe Apron Gear Repair
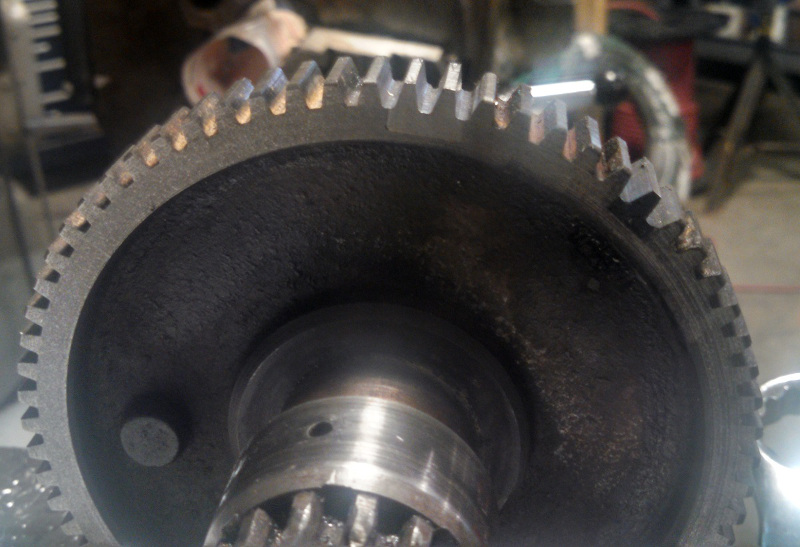
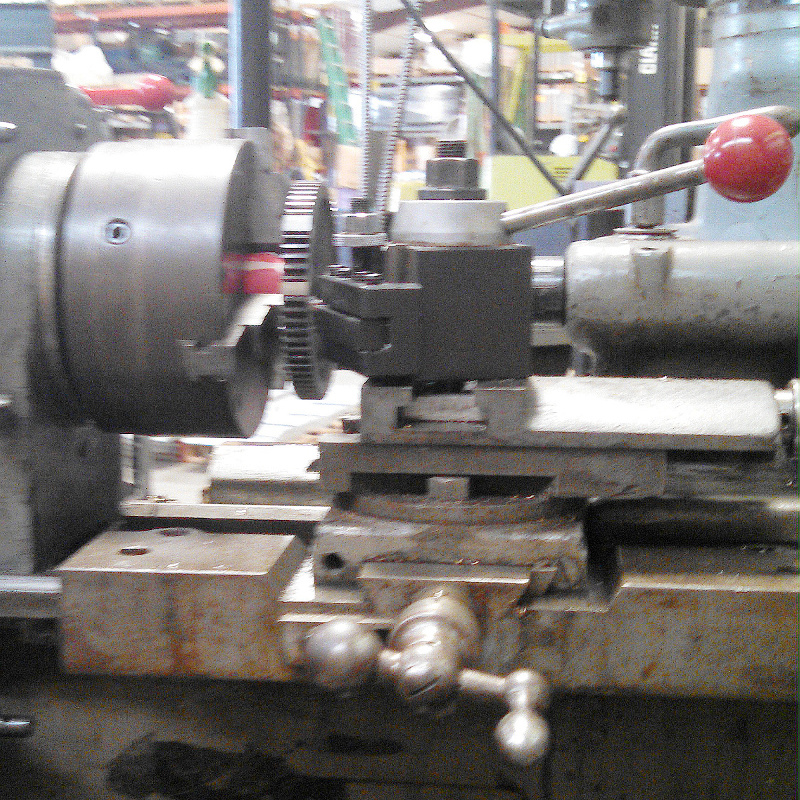
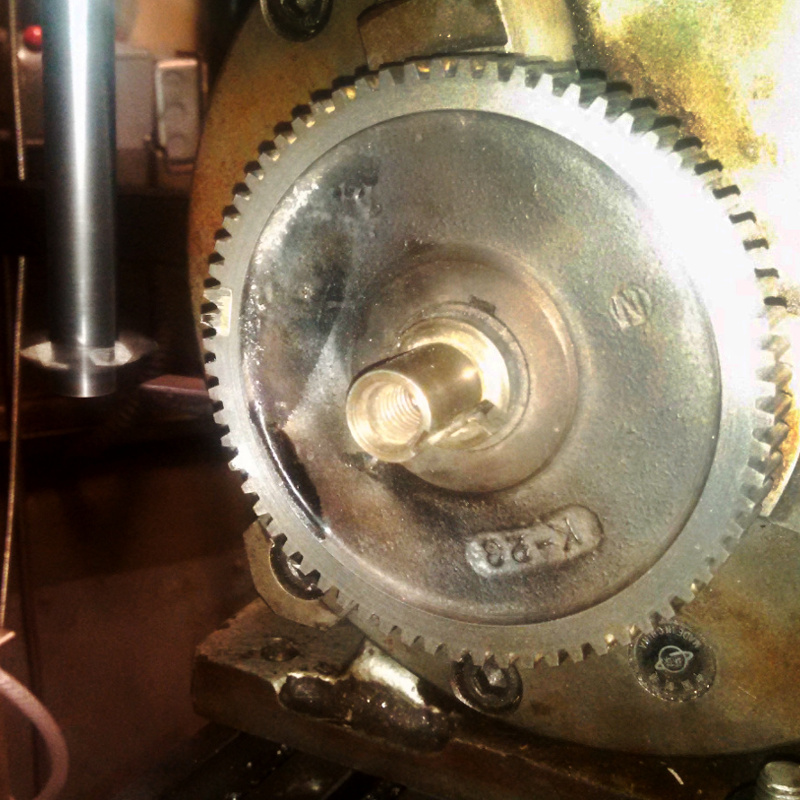
People anywhere can break something. I was making a part at work on the sheldon lathe and noticed that I had a hard time moving the carriage side to side. A week or two before the power feed had been locked up by someone turning the clutch knob as hard as they could the wrong way so I was pretty sure there was a problem in the carriage gear train somewhere and since I could see the rack in that area didn't have any broken teeth I knew that was ok. Well I took the gearbox off the carriage and this is what I found, three missing teeth.
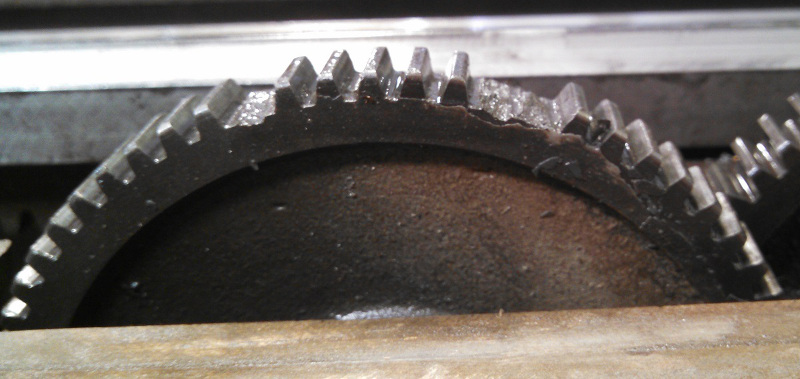
Well, on an extremely low speed gear which shouldn't normally have huge forces acting on three missing teeth isn't that big of a deal to repair so I decided to fix the gear instead of ordering another and modifying it to fit the apron. First step was to cut out slots where the missing teeth were so I could have a good seat to braze in a couple of bits of keystock.
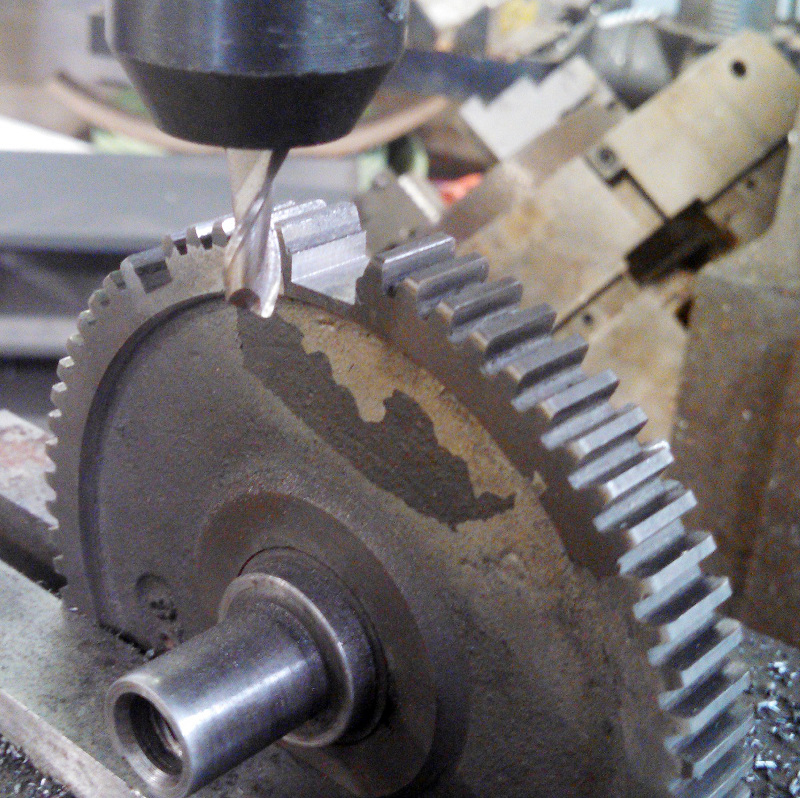
I silver soldered the keystock in and then clamped the gear back in the mill so I could trim off most of the excess.
Then to clean up the faces and turn the new gear teeth down to the proper diameter I had the stick the gear in the lathe. But, the apron was off so I couldn't move the carriage! Not a problem though. I just locked the carriage down and used the compound and/or crossslide for all three cuts.
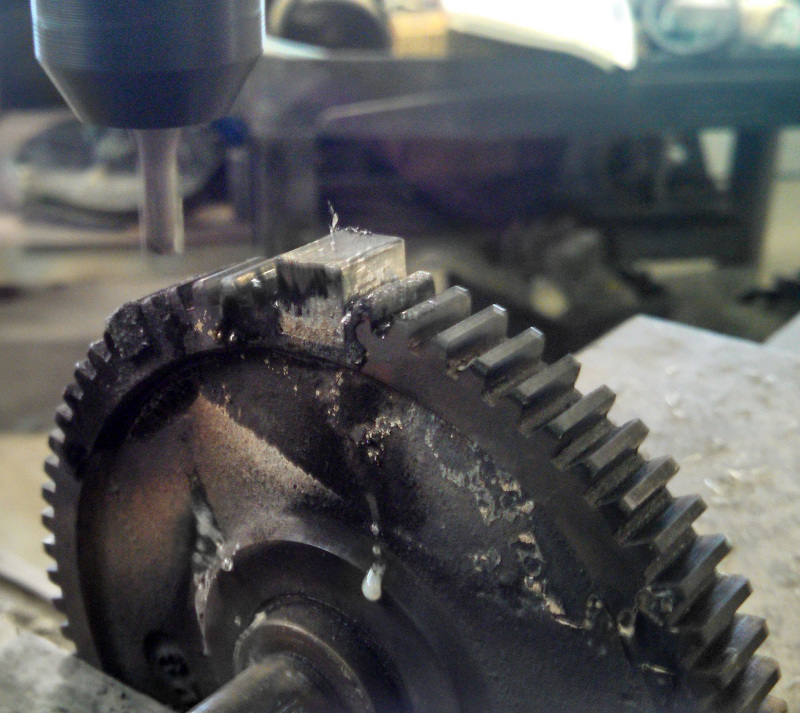
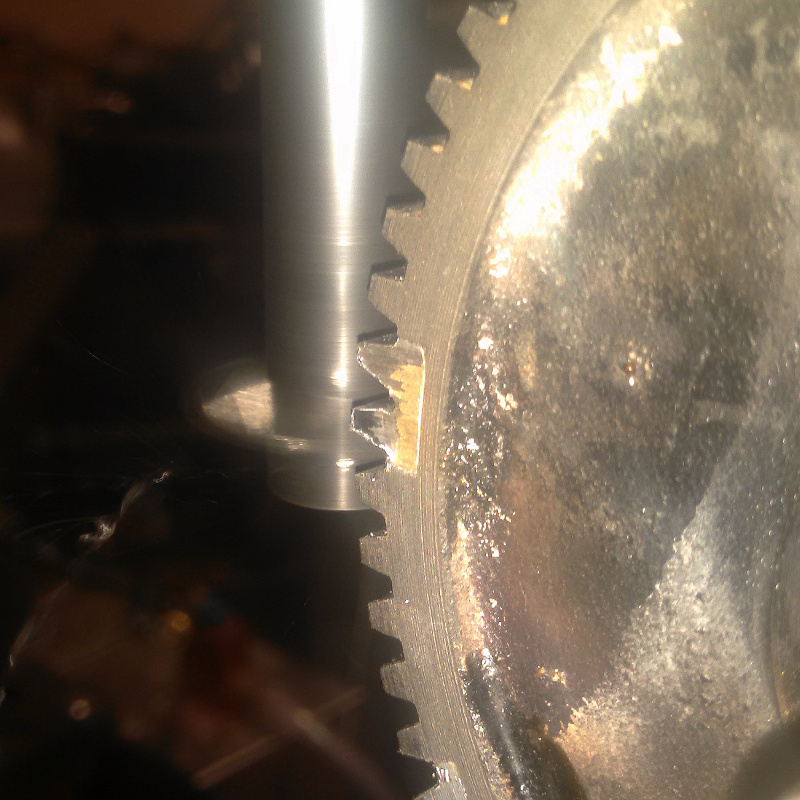
Now back to the mill, this time with the gear mounted on my indexing table. This is where I was thankful that the gear was only a low speed item that didn't really need any precision and also luckily happened to have an even number of teeth. The indexer has degree markings and a veneer that reads down to 10 arcminutes which isn't good enough for making a gear but is close enough to fudge fixing one like this. Because the number of teeth was even I just had to indicate in on the gullet of the opposite tooth and read the angle. Turning the part exactly 180° then lined me up to take a cut.
To get the tooth form right I cheated and didn't use a pre-made cutter. I ground a toolbit so that it fit exactly inbetween two undamaged teeth. Refining the cutting tool geometry is pretty easy to do just by holding the tool and gear up to the light and looking at the outline. I roughed all the sides of the missing teeth out and then touched up the cutter again before making a final pass on all sides.
A little burr cleanup by hand with some files and there she is, ready to go and working fine ever since.