


Learning Towers
October 2016
We needed some learning towers for the kids to "help" in the kitchen. They are readily available but there is one little wrinkle that prevented me from just saying go buy one. Our kitchen is on the small side so between the baby gate to keep little ones out and their triplet feeding table space is at a premium. The learning towers can't be out and in the way all the time so the best place to put them is under the feeding table but that is a small space and a cursory search of what was on the market didn't turn anything up. So, as always I get to make it. This time though I was able to make it a fast project and resist the excess features / unnecessary craftsmanship I usually pursue.
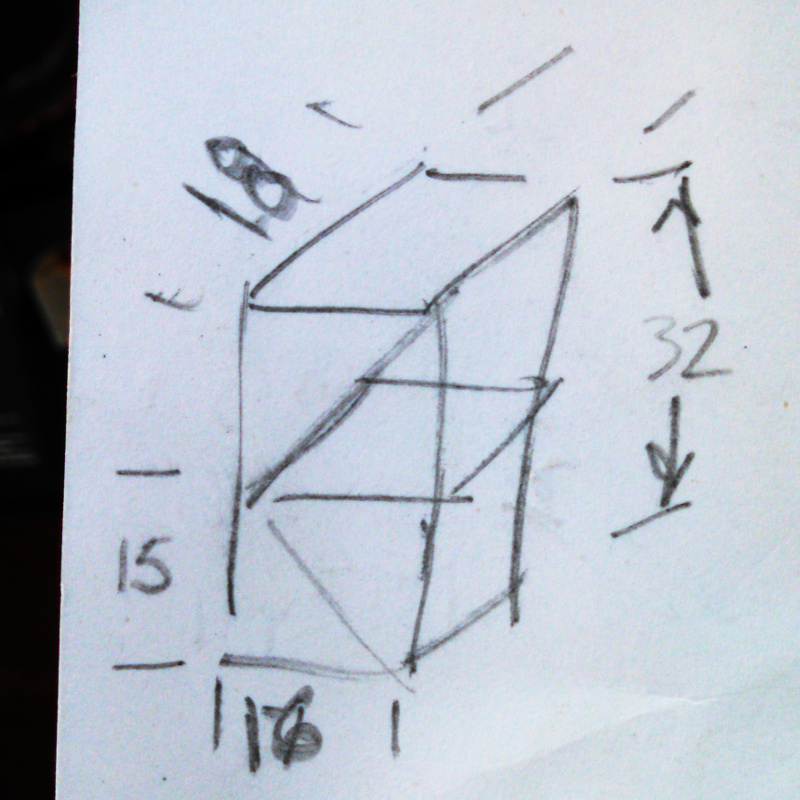
I measured the kids and the available space then whipped up a quick sketch with rough dimensions. I didn't have the wood I wanted on hand so I dropped by the lumber store and picked up some cheap 1x2 whitewood boards and 1x16 project panels on the way home from work one day.
No picture but before cutting anything I gave all the boards a quick sand then coat of polyurethane. Then after it all dried I gave everything a quick once over with very fine sandpaper to knock off all the protruding wood fibers. There are a lot of times it isn't appropriate but I like to pre-finish anything that is painted or just sealed with a clear coat and not stained. Everything from baseboard to weldments is easier this way if it works, touching up is much easier than finishing in place.
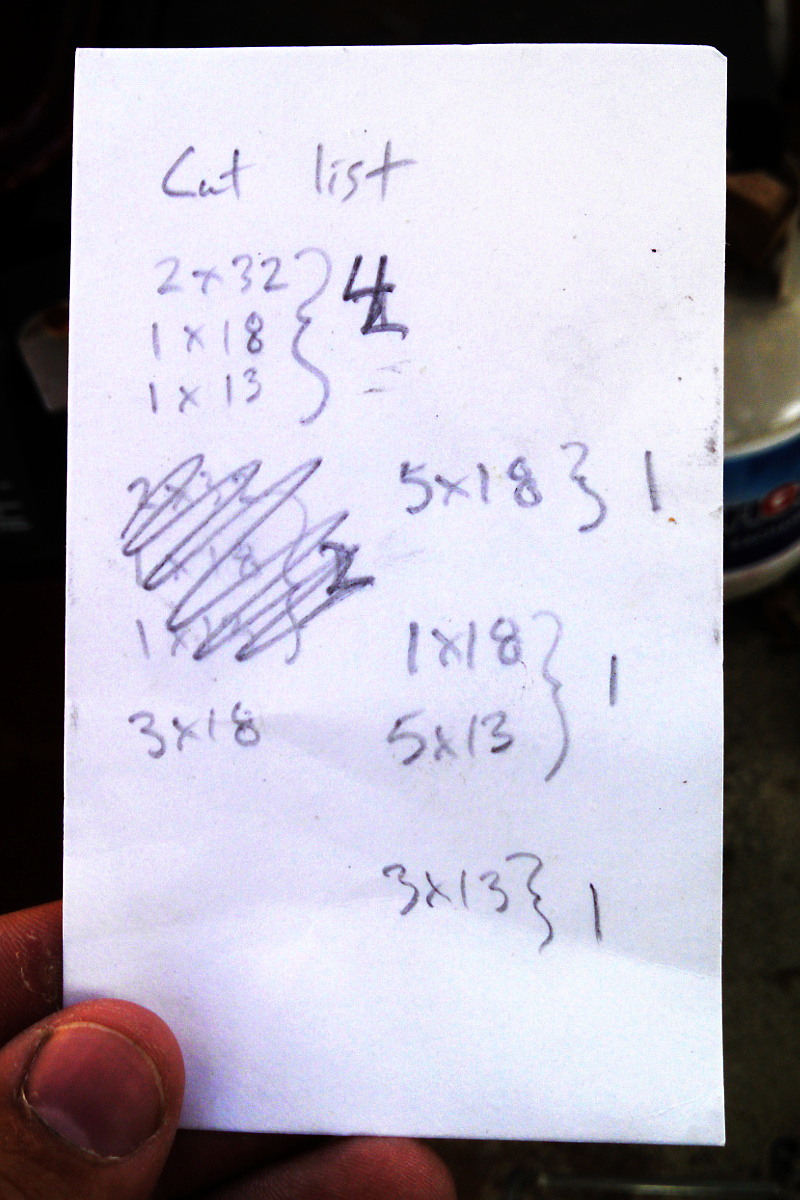
So after the finishing was done I wrote out a cut list and started chopping it up.
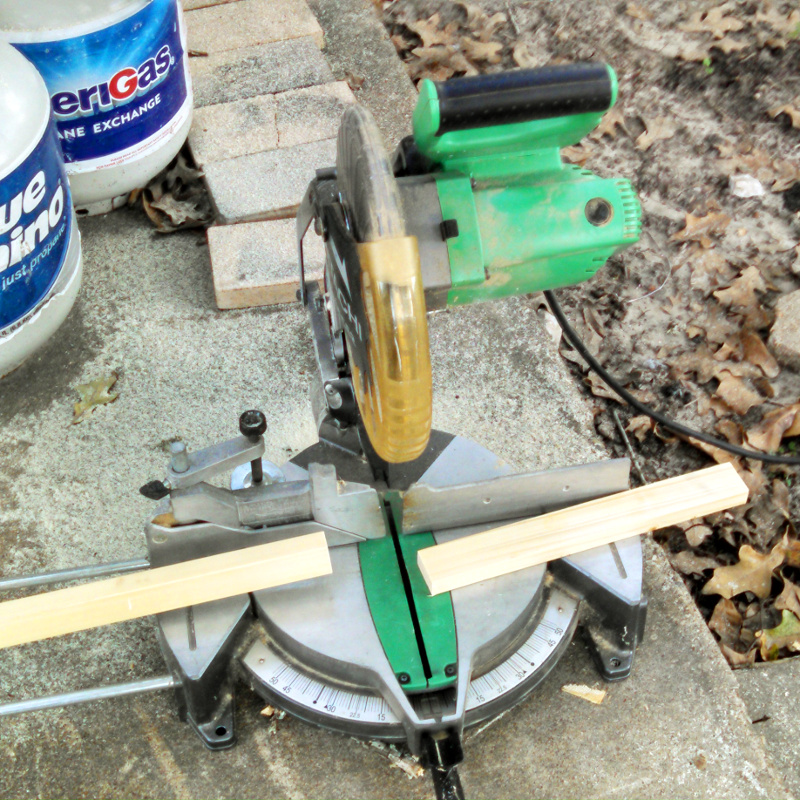
If you don't have a compound miter saw then I recomend getting one as soon as you can. While there aren't any cuts you couldn't do with patience and handsaw or standard circular saw the results are so much better and quicker that it just isn't worth it. This saw has paid for itself many time already.
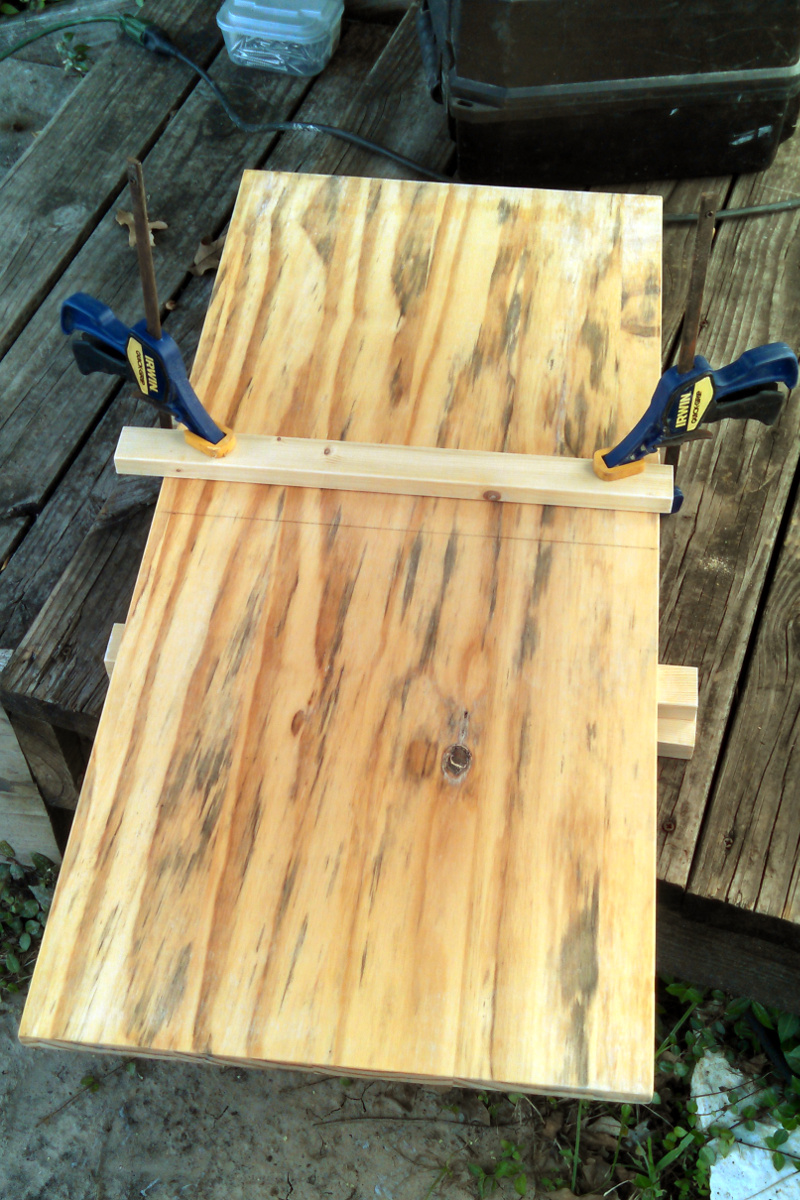
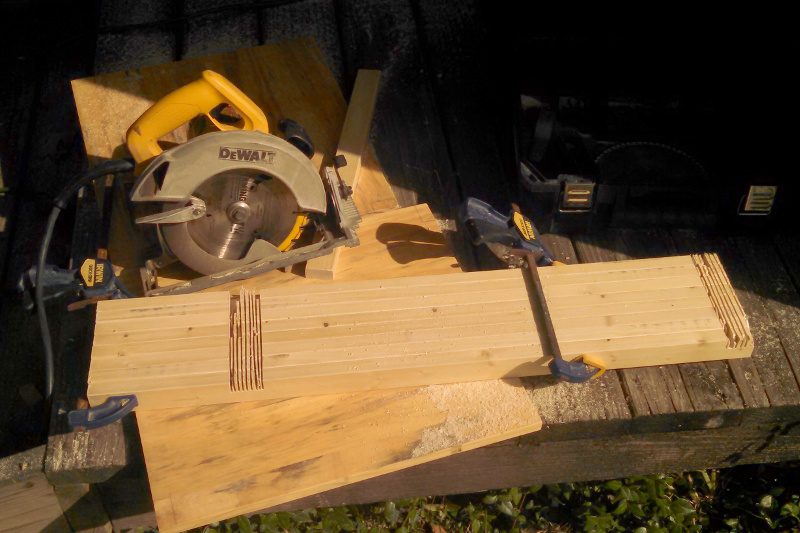
Some cuts still require a circular saw though. While the best choice for ripping the 1"x16" footboards would be panel or table saw I don't have either yet and this project isn't important enough to drive my board down the street to borrow one. To keep cosmetic cuts straight though I do like to use a guide board clamped to whatever I am ripping.
To save space and make the towers as strong and light as possible I notched out the legs to take the cross peices and foot boards. While a table saw with a dado stack would be great using the circular saw to take out the majority of the waste and then clean it up with a chisle isn't too much of a hassle.
So now I have two piles of parts that are all cut and finished. I'm just going to glue them with gorilla glue and screw them together with some small headed stainless steel screw I have left from another project.
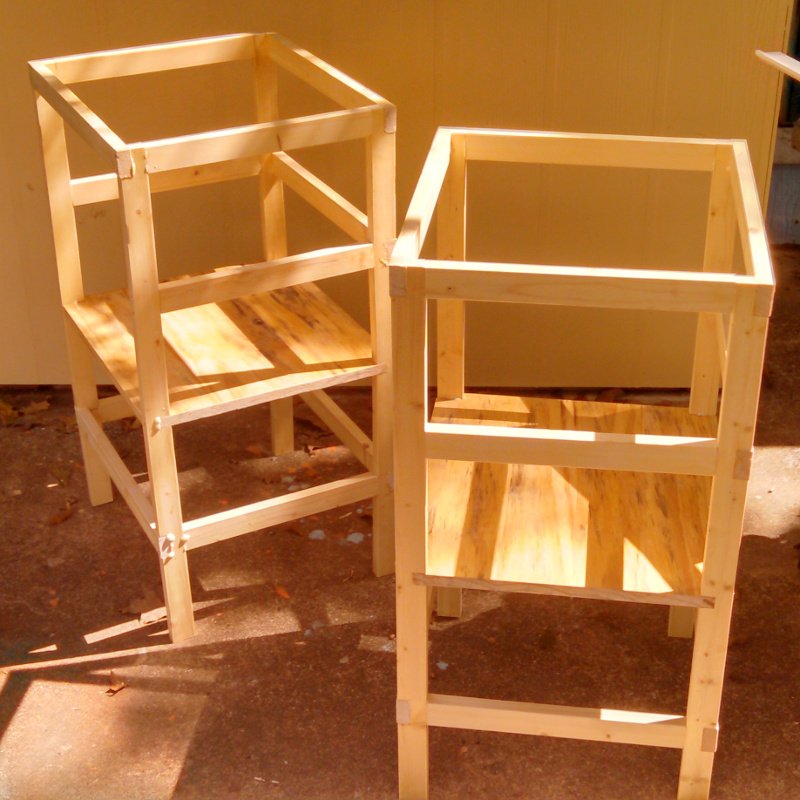
You can see the gorilla glue foaming out of the joints so that will have to be trimmed off with a razor blade later but the towers are pretty much done and will enter service tomorrow. The execution got spread over a couple days with buying materials and waiting for thing to dry after polyurethane and gluing but my actual time spent on these was definitely less than a day total and I have no remorse about build quality. They definitely don't look pretty but they are quite strong and light so they will do their job and easily last as long as the children need them.