


Wells 8M Horizontal Bandsaw Rebuild
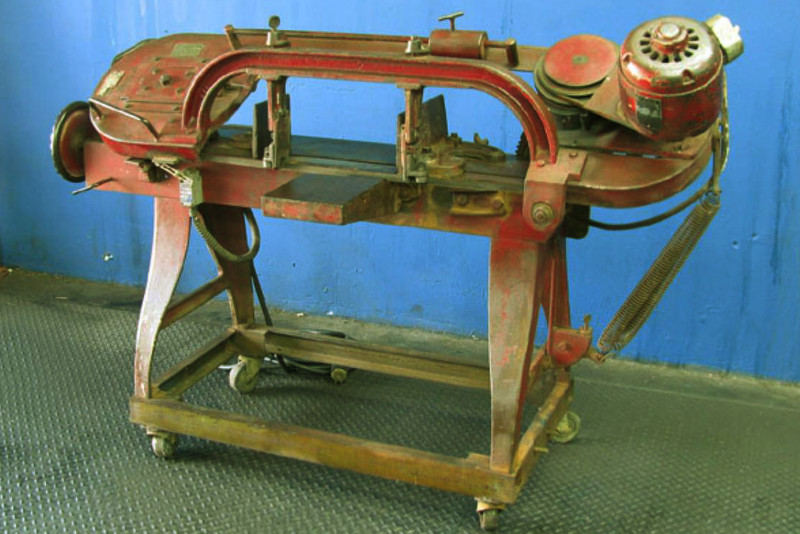
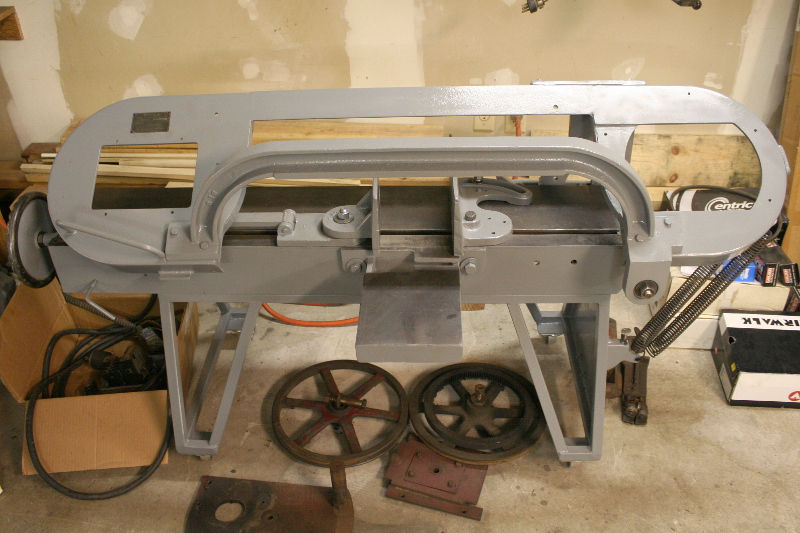
A horizontal bandsaw is practically a requirement for any machine or fabrication shop. It is probably one of the most productive tools/dollar that a any shop has. So the usefulness plus low cost (relative to many other machine tools) but it high up on my to-acquire list. I suffered along with my hacksaw, circular saw, angle grinder and then the dinky little homemade power hacksaw for year or so in California until I saw a Wells 8M go up for auction in LA pretty cheap. This machinery dealer likes to overexpose pictures (following auction pic has been darkened back to reality) and make things look better than they are but I knew this and decided to bid on the saw anyway since it was going for cheap.
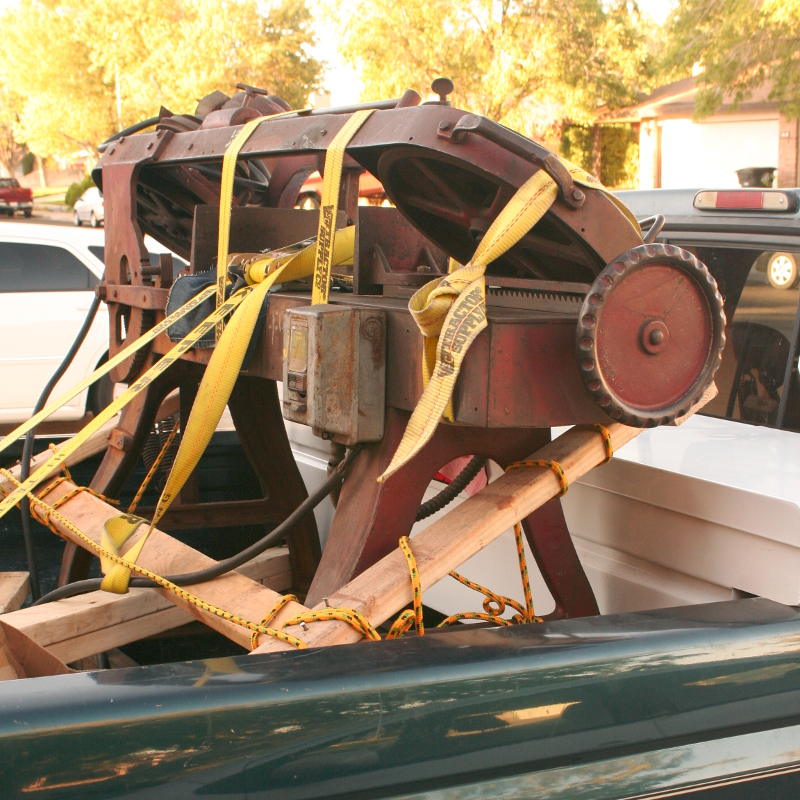
I won and went to go pick it up. No need for a trailer or anything, just the back of the pickup. They placed it in the bed for me with a forklift easy enough and I blocked it in with 2x4s and strap it down good for the drive back home.
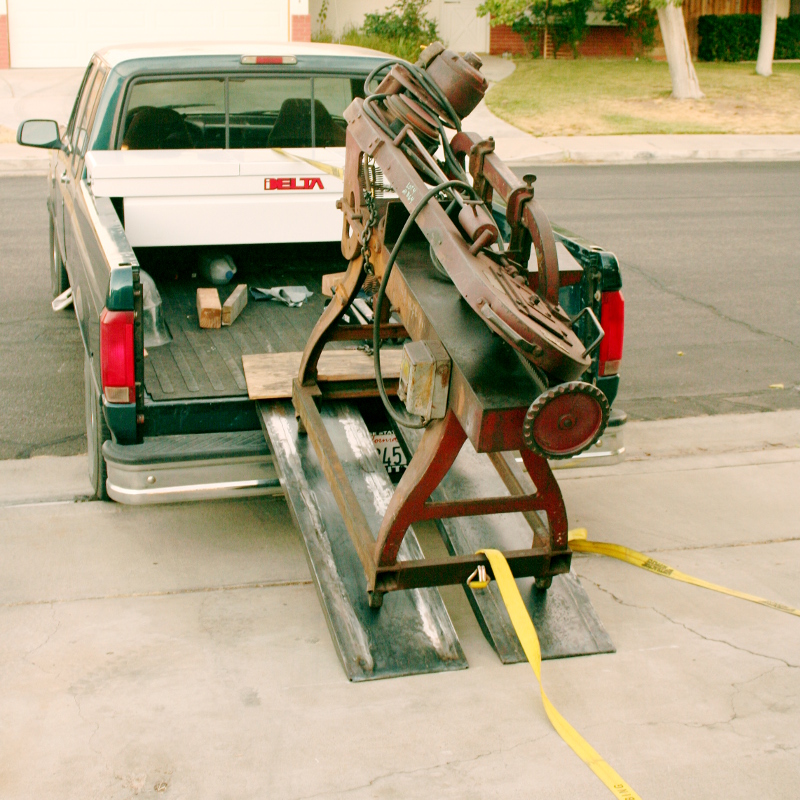
I don't have a forklift at home though (maybe one day)! Still it wasn't that big of a deal to unload. The saw is narrow and top heavy but the dip in the street combined with the steepness of the rental house driveway made my trailer ramps work real well rolling it out of the bed. I used one ratchet strap to pull it down out of the truck and one ratchet strap to hold it back. This can be slow and requires a lot of back and forth but is a safe, well controlled way to handle a machine like this.
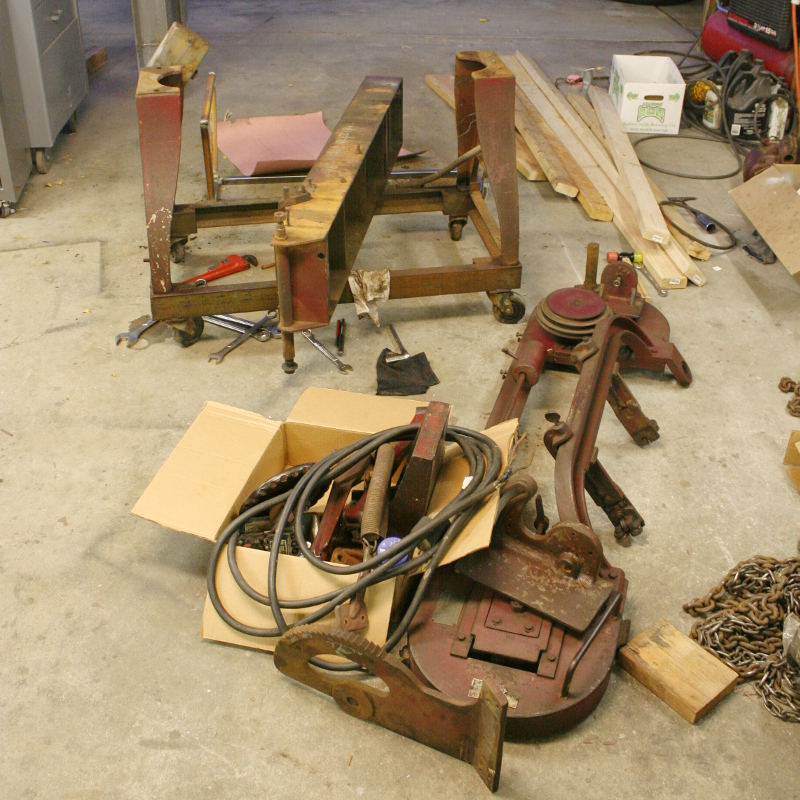
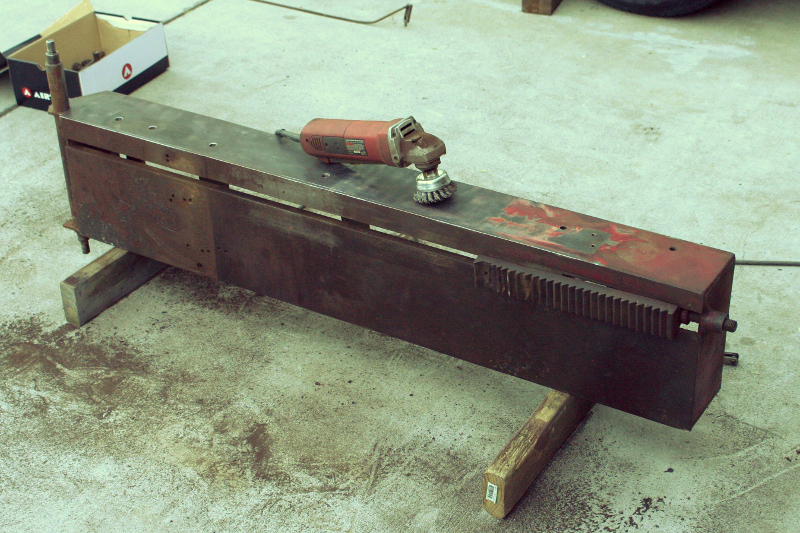
I knew I was going to go for a complete rebuild instead of a clean and run so I started on just that immediately. Break it down into parts and start inspecting / cleaning.
The existing paint was in pretty rough shape and some of the grime was as hard as the pain so I decided to strip everything and paint my it my favorite grey.
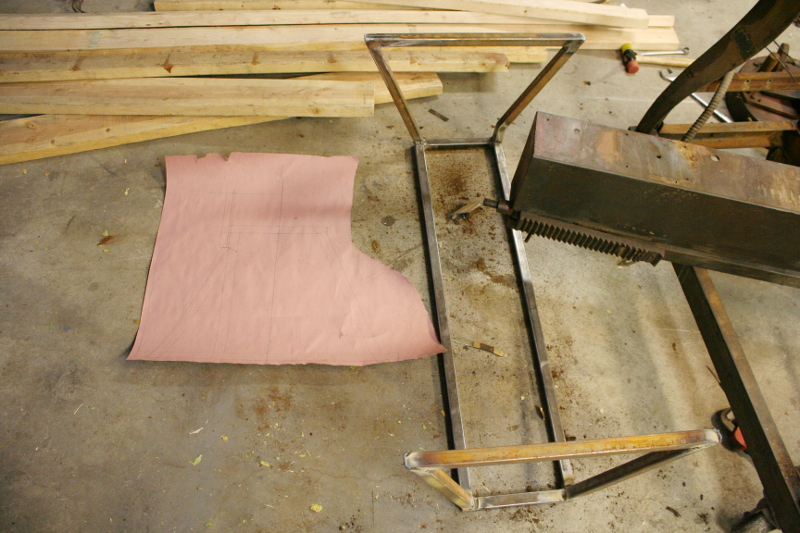
Now I probably won't ever have space to leave this saw set up with a feed table and everything so life will consist of being rolled in and out of a corner as I need to use the saw. The previous owners solution to this was a channel frame with casters that the original legs bolted to. This was ugly and all the casters were shot so re-using that was a no go. I could have purchased caster and just installed them on the legs but I have seen a number of machines where that was done and it did not fare well for the legs since they weren't design for it. Eventually someone rolls it into something too hard and ping, the cast iron leg breaks (even did it myself once unfortunately).
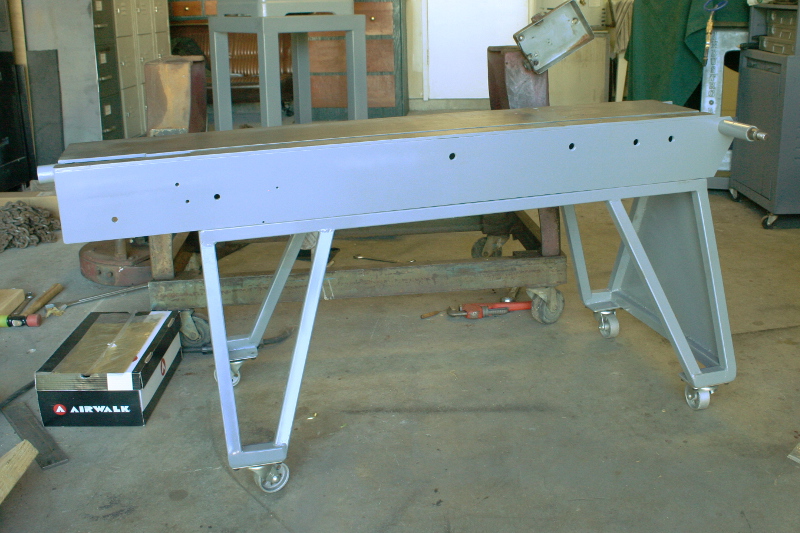
In addition to the legs not being suitable to just bolting on a caster the whole saw sat up higher off the ground that I really liked for something that will see a lot of rolling around. At this point I decided I would weld up a new, shorter frame for the saw and discard the original legs. I say discard but that would be a crime for such a pretty iron casting. I re-used the legs for my favorite piece of furniture in the house, the coffee table.
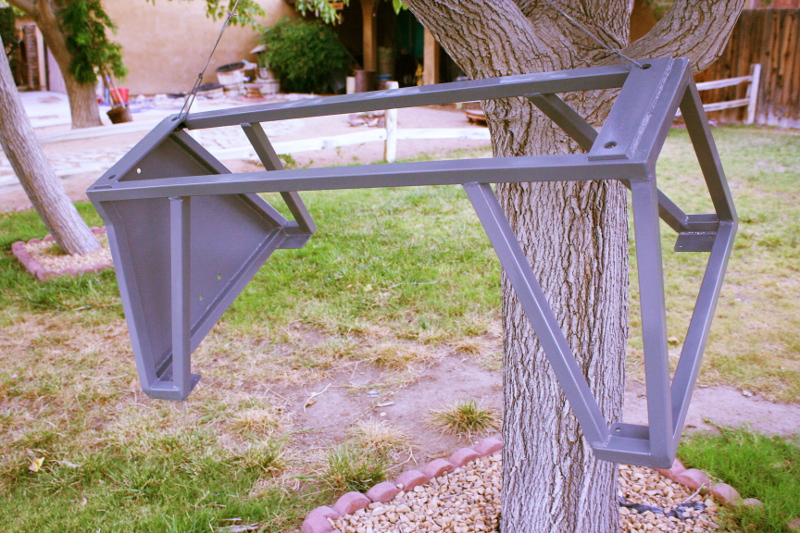
I gave the frame a good wash with soap and water then a wipe with acetone before hanging it in the tree and applying a coat of good 'ole rustoleum smoke grey.
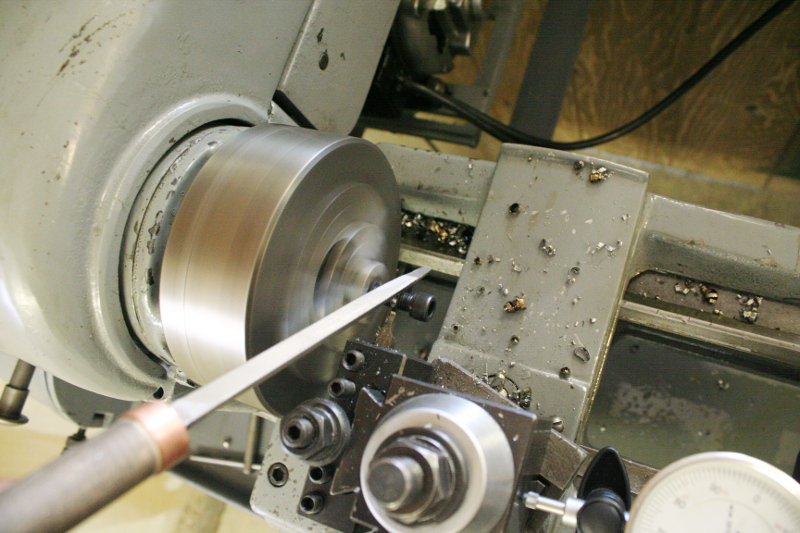
I had purchased some cast iron swivel casters to mount to the frame which was going to require some screws pointing up. I didn't have any short screw laying around but I had a large number of longer socket head cap screws in the right size so I cut a run of them down to size.
To make them all the same length I touched off the underside of the cap screw head with my parting tool and zeroed a dial indicator on the toolpost then moved over my set distance to start the parting.
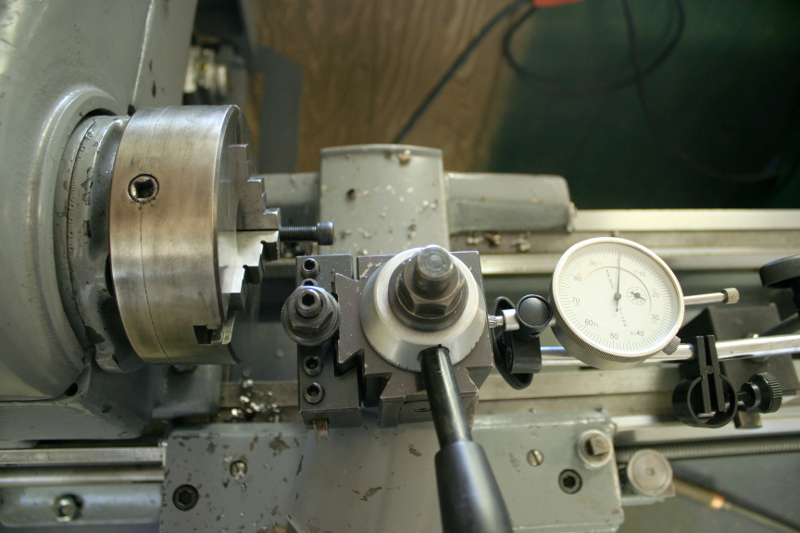
Before I finished parting the screw off I touched up the end with a triangle file
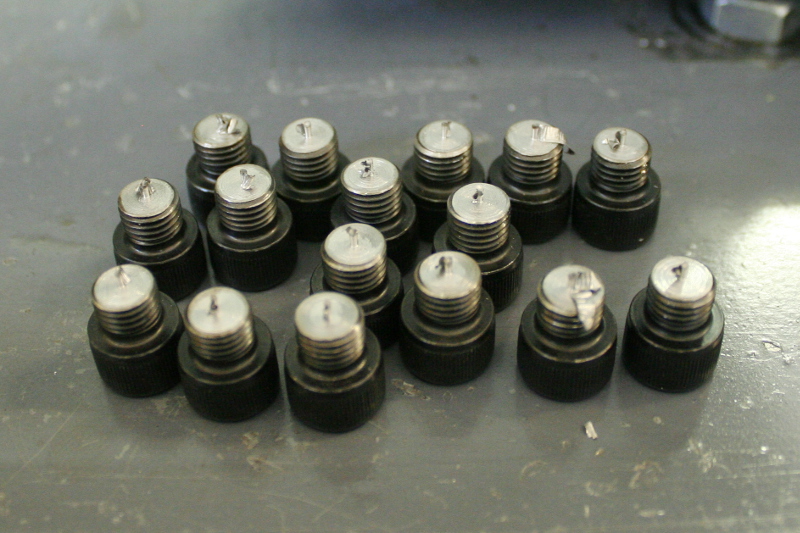
I still have to remove the little tits left over from parting (should have ground the tool to eliminate the nub) but there you go, the power of having a lathe on hand. A few minutes turns those over length screws into 16 identical, perfect length screws.
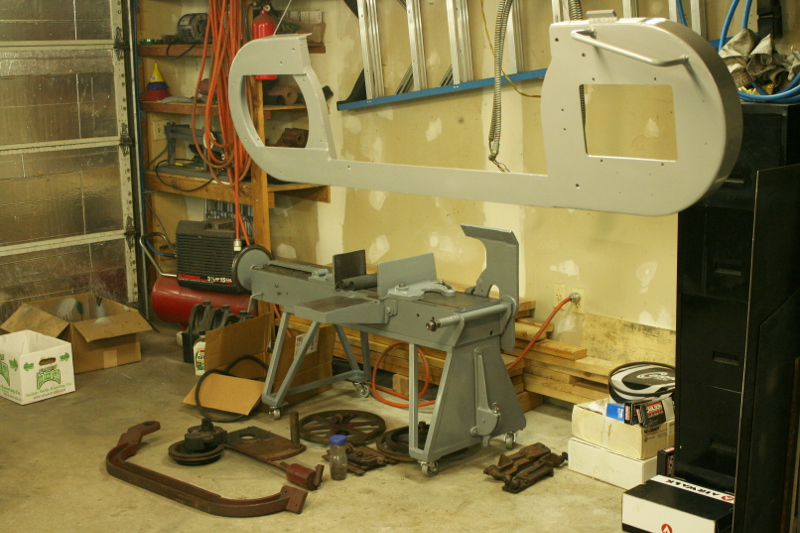
Now that I had the screws finished and the frame painted I started putting things back together. The base and casters first:
Then more of the little parts and painting some of the other large pieces.
Disassembly and repaint is good and all but it isn't exactly a rebuild. The pivot bushings were worn out and needed some attention. I didn't get any pictures of repair the damage but I did document the final solution. The original design did not include any method of oiling or greasing the pivot point, hence the eventual damage. To solve this I decided to add some zerk fittings.
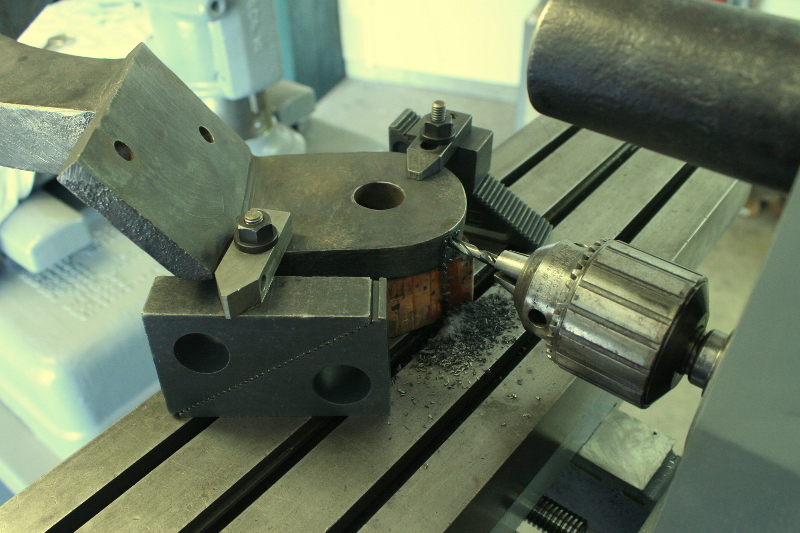
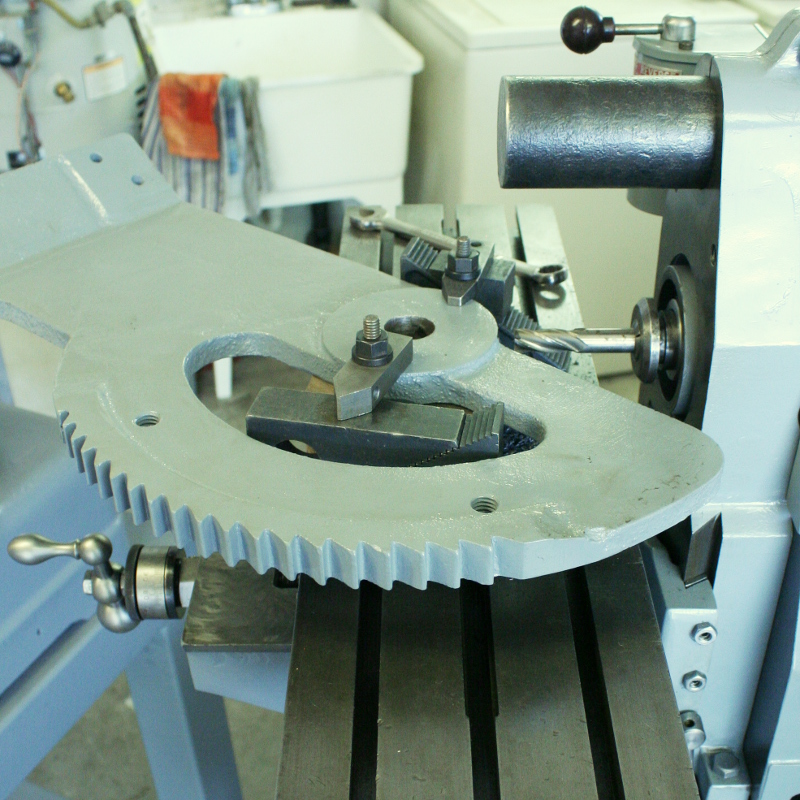
Now the parts that needed to be drilled for fittings are pretty large but this one of the instances where even a small horizontal shines. I held one end of the casting up with the incomplete rockwell grinder and drilled the hole with my little industrolite.

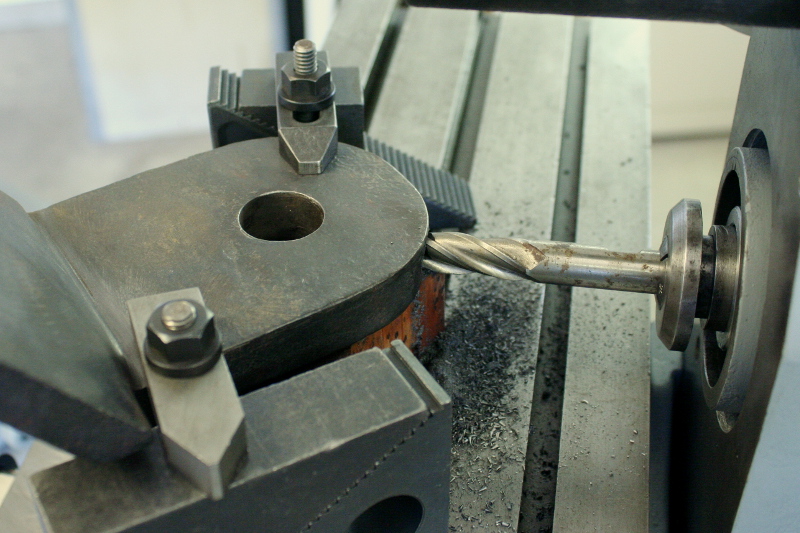
Then I spot faced with an endmill.
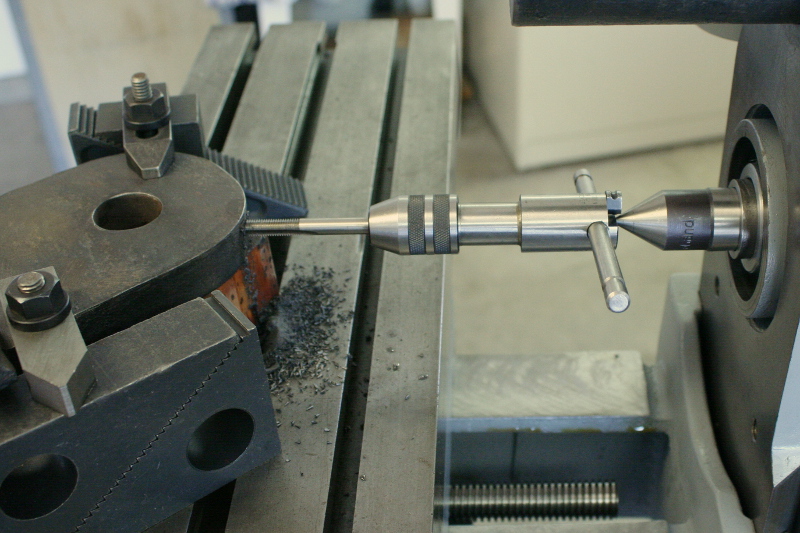
And followed up with a 1/4-28 tap guided by a dead center in the mill spindle.
I did the same thing to the other much smaller casting for the other side.
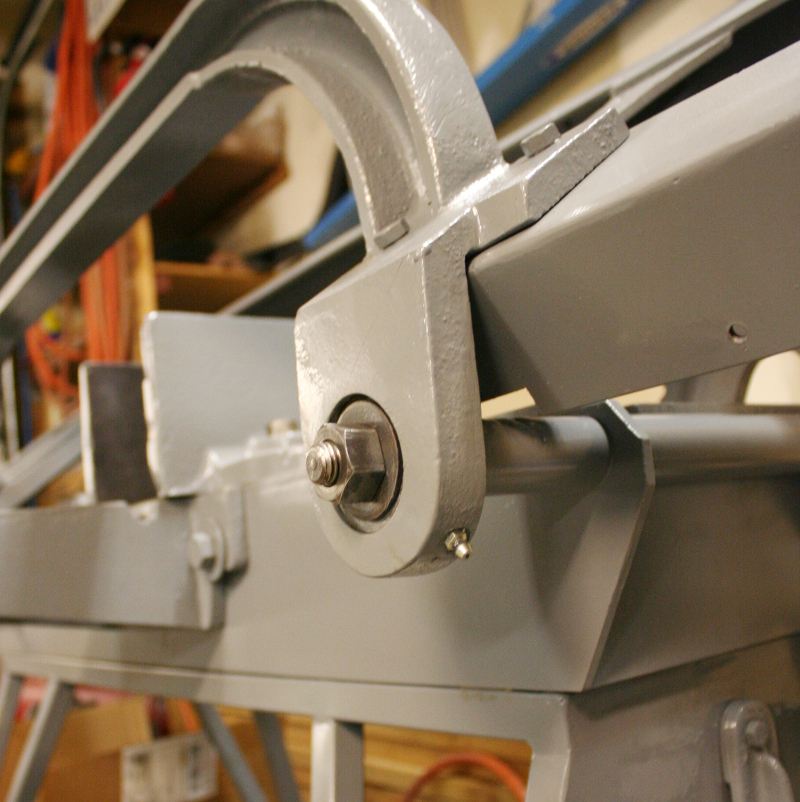
And there it is installed on the machine with a zerk fitting in place. I imagine that as long as I shoot some grease in occasionally the pivot will now last longer than the rest of the machine.
And the re-assembly continues. Mostly just driveline parts left to go through and put back on. You know, the stuff where all the damage and problems usually are! It wasn't bad though, I had to replace some bearings here and there but everything was in decent enough shape to just clean up and put back together.
That is the end for now. I don't have a picture but everything except the original 3 phase motor is finished and put back together. I was originally intending to make a mount for a single phase motor and just keep the three phase motor on hand for another project which slowed the project down right before moving from California. Since then though I have acquired more three phase machines and as soon as I get a shop setup again I will make a phase converter and slap the original motor back on.